
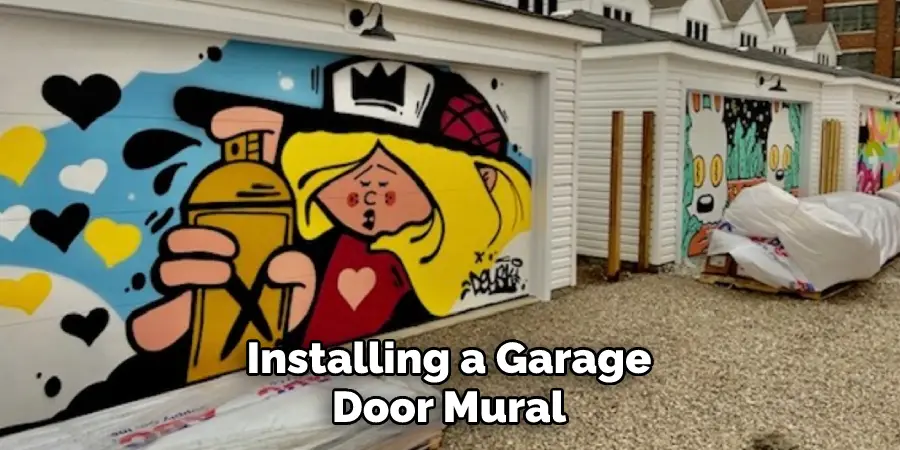
Are you looking to add a bit of flair to your garage? Installing garage door murals is an easy and cost-effective way to do so. This article will provide step-by-step instructions for installing garage door murals.

Adding a personal touch to your garage door is easy, cost-effective, and can significantly transform the area. Garage door murals are growing in popularity as a unique way to customize your space with original artwork or photographic prints or even to cover existing damage and wear and tear.
Murals can be found in stores all over the world, so there’s sure to be something for everyone, regardless of taste or budget. Read on to learn more about how to install garage door murals quickly and safely!
What Are the Benefits of Garage Door Murals?
Besides adding a unique touch to your garage, installing murals also has several other benefits.
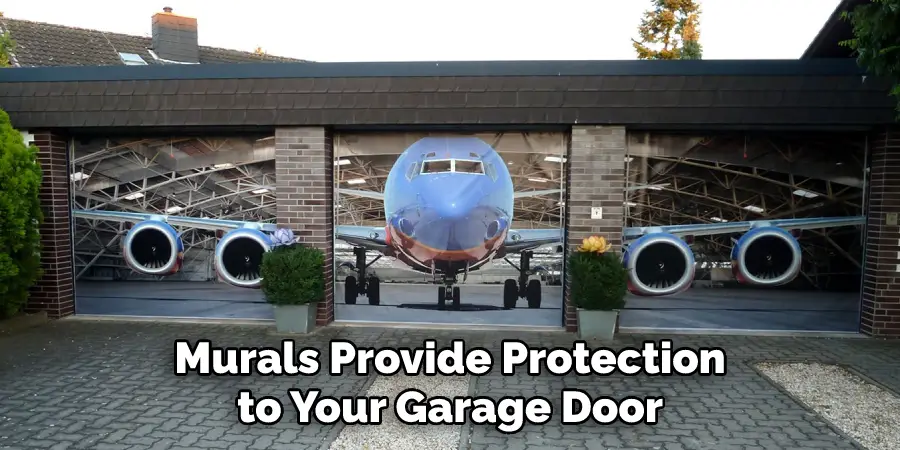
Murals provide protection to your garage door from the elements and can help insulate it. This means they act as a natural barrier that prevents heat and cold air from entering or leaving your home, helping keep energy bills down. Murals also hide scratches, dents, and other damage to the garage door itself, extending its lifespan for many years to come.
Lastly, you can increase your curb appeal by adding an eye-catching design or artwork piece to your garage’s exterior. Not only is this good for resell value should you ever decide to move homes, but it will also make pulling into the driveway more exciting with a beautiful display on your garage door!
What Do You Need To Install Garage Door Murals?
Before you get started, make sure you have all the necessary supplies on hand. You’ll need a:
- Tape measure
- Level
- Pencil
- Scissors or utility knife
- Wallpaper paste or adhesive of your choice
Once you have all your supplies, you’re ready to begin.
10 Easy Steps on How to Install Garage Door Murals
Step 1: Choose the Mural You Want to Use
Before you can start installing your garage door mural, you’ll need to pick one out. Consider how much space you have available and how much work it will take to install the mural. If you’re pressed for time or don’t want to invest in professional installation, try looking into pre-cut murals that are designed specifically for garage doors.
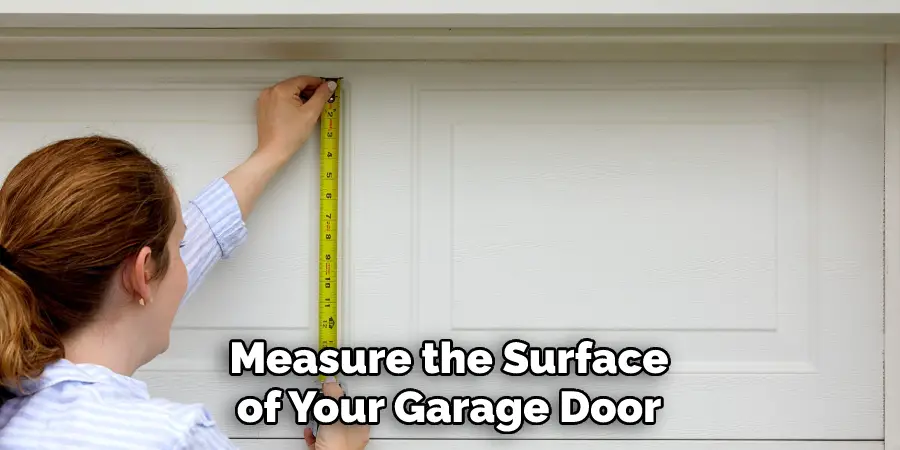
Step 2: Measure Your Garage Door
Once you’ve chosen a design, measure the surface of your garage door carefully with a tape measure. Take several measurements along each side and determine how much space you have available for your mural. It will need to fit perfectly, so be sure to measure twice and cut once!
Step 3: Cut the Mural to Size
Using scissors or a utility knife, cut your mural to size so that it fits correctly on your garage door. Make sure to leave extra material at the top and bottom of the mural for wrapping around the sides. No additional cutting should be necessary if you’re using a pre-cut mural.
Step 4: Prepare Your Wall
Clean off any dirt, debris, or dust from your garage door before you start installing the mural. This will help ensure that your mural adheres properly and looks its best when finished. Try using a damp cloth to remove dust or dirt, then let the surface dry before proceeding.
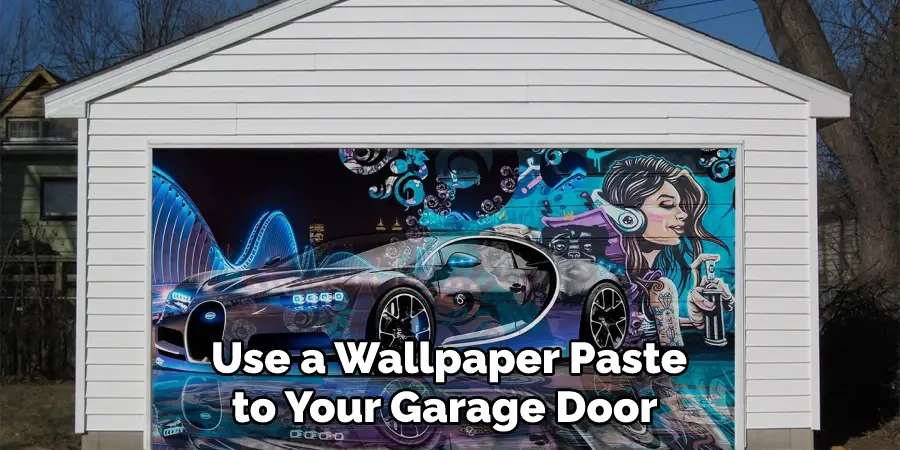
Step 5: Apply Your Adhesive or Paste
Spread wallpaper paste or adhesive evenly across your garage door using a paint roller. If you’re using pre-pasted wallpaper, follow the manufacturer’s instructions for how to apply it correctly. Otherwise, you can use a wallpaper paste or adhesive of your choice.
Step 6: Line Up Your Mural & Stick It On
Line up one end of your mural with one side of the garage door and press it into place. Make sure to use a level to ensure that your mural is even and straight. Use your hands to press the wallpaper into place and then roll a seam roller or rolling pin over the mural for extra adhesion.
Step 7: Smooth Out Any Bubbles or Wrinkles
Use a clean cloth to press out any wrinkles or air bubbles in your mural as you go. This will help create an even, smooth finish on your mural when it’s finished. Additionally, if your mural has excess adhesive, use a damp rag to wipe it off.
Step 8: Wrap Your Mural Around the Corners
Once one side of the mural is attached, carefully wrap the excess material around each corner. Be sure to smooth out any wrinkles as you go. You can use the same rolling pin or seam roller to press the wallpaper into place.
Step 9: Trim Excess Material from the Edges
Using scissors or a utility knife, trim off any excess material. This will help ensure that the mural fits snugly against your door and doesn’t cause any gaps or wrinkles. Moreover, trimming the edges will help create a neat and professional look.
Step 10: Enjoy Your New Garage Door Mural!
Once you’ve finished installing your garage door mural, step back and admire your work! You now have a unique garage door design that is sure to turn heads and impress visitors. Remember to clean your mural every few months to keep it looking its best.
Installing a garage door mural can be an easy, fun way to add some personality and flair to your space. With the right supplies on hand and following these simple steps, you can easily install one yourself in no time!
5 Additional Tips and Tricks
- Use painter’s tape to section off the mural and surrounding surface before you begin so you don’t accidentally paint outside the lines.
- When applying adhesive to the back of the mural, start from the middle and work your way out in concentric circles for a smooth application.
- To ensure an even adhesion, use a wallpaper smoothing tool to get rid of any air bubbles or wrinkles as soon as possible.
- Choose a mild detergent for cleaning your garage door regularly once the mural is installed; harsh chemicals can damage it over time.
- Finally, ensure to trim excess material away after hanging since this can prevent it from sticking properly or being removable later on.
By following these tips and tricks, you’ll be sure to have an easy and successful installation of your garage door mural!
5 Things You Should Avoid
- Do not attempt to install the mural in wet or humid conditions.
- Do not use any adhesive on the door that is not specifically designed for outdoor applications.
- Avoid using staples or nails as a method of installation, which can cause damage to the door and affect its structural integrity over time.
- If possible, avoid installing during periods of extreme temperature or strong wind, as these can cause problems with adhesion and alignment.
- Be sure to measure twice and make all cuts once to ensure proper fitment of your garage door mural when installing it onto the pre-existing metal surface of your garage door.
These five tips should make the installation of your garage door mural a breeze! For additional help or advice, you can always contact a local garage door technician to assist with the process.
What is the Best Paint for a Garage Door Mural?
For best results, use high-quality exterior paint specifically designed for outdoor applications. This type of paint is formulated to withstand the elements and protect against fading, mildew, and chipping. When selecting a color, keep in mind that dark colors absorb more heat than lighter shades – so consider this when deciding which hue to choose!
Additionally, be sure to use an appropriate primer prior to painting. This will provide a better base for the mural and ensure it adheres properly for years.
We hope these tips are helpful as you install your new garage door mural! Be sure to follow all instructions thoroughly for a successful installation.
Conclusion
Installing murals on garage doors is a great way to customize the look of your home and add a unique touch. Not only do they look stunning, but they also increase your curb appeal and yield increased property value. Furthermore, you don’t need to hire a professional; this is a project that you can definitely do yourself, given some patience and know-how!
Before getting started, you should determine how much mural coverage you want, find a quality wallpaper mural that fits your taste, measure out the dimensions of what needs to be covered, and prep the surface of the door.
From there, attach the mural paper with adhesive smoothing out any bubbles that appear until fully laid. With these steps firmly in mind, you should have no trouble transforming your garage door into something truly beautiful!
Hopefully, the article on how to install garage door murals has been helpful in guiding you through the process. If you have any questions, don’t hesitate to reach out to a local garage door technician or professional artist for additional guidance! Good luck and happy decorating!
I am Rick. I grew up helping my dad with his handyman service. I learned a lot from him about how to fix things, and also about how to work hard and take care of business. These days, I’m still into fixing things- only now, I’m doing it for a living.
I’m always looking for new ways to help people grow and develop. That’s why I have created this blog to share all my experience and knowledge so
that I can help people who are interested in DIY repair.