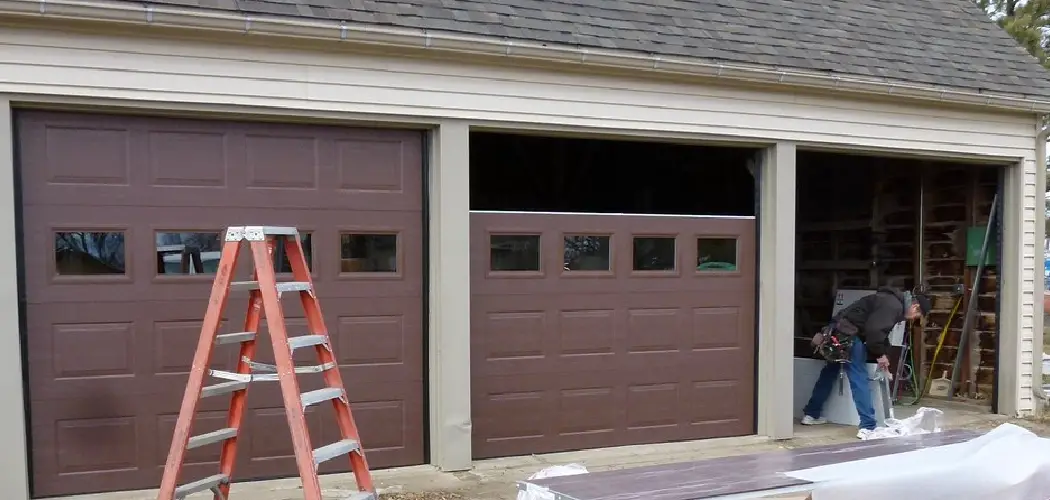
Install Garage Door Weatherstripping is an easy process that will help keep your garage warmer in the winter and cooler in the summer. By weatherstripping your garage door, you will also be able to keep the inside of your home more comfortable by keeping the hot or cold air from escaping through the cracks. In addition, weatherstripping will help to keep pests and insects out of your garage as well.
The materials needed for this project are inexpensive and can be found at most hardware stores. With a little time and effort, you can easily install garage door weatherstripping and improve your home’s comfort and energy efficiency. In this blog post, you will learn in detail how to install garage door weatherstripping.
Summary: Installing weatherstripping to a garage door is an important part of home maintenance that can help improve energy efficiency and comfort. Weatherstripping helps block drafts, dust, and moisture, creating a more comfortable environment. The installation process is relatively straightforward, taking approximately 30 minutes to complete. It involves measuring the width of the door’s perimeter, cutting the weatherstripping to the correct size, and attaching it with a few basic tools.
Materials Do You Need
- Tape measure
- Screwdriver
- Cordless drill
- 1/8” drill bit
- Pencil or pen
- Hammer
- Nails
- Chisel
- Pry bar
Steps by Step Processes for How to Install Garage Door Weatherstripping
Step 1: Determine the Type of Weatherstripping You Need
Garage door weatherstripping comes in many different shapes, sizes, and colors. The most common type is the “U” shaped weatherstripping that is inserted into a groove on the bottom of the door. There are also “V” shaped weatherstrips that fit into a similar groove on the sides of the door. There are also adhesive-backed weatherstrips that can be applied to the door surface.
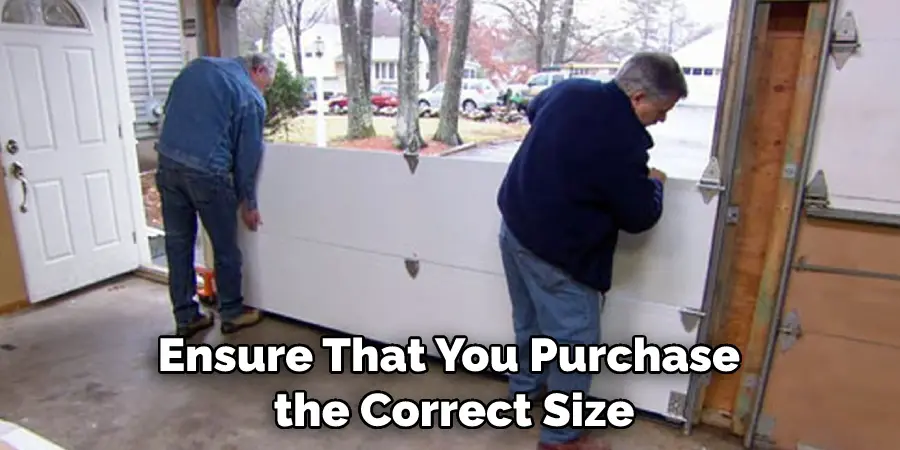
Step 2: Measure the Door
To ensure that you purchase the correct size of weatherstripping, you will need to measure the width and height of the door. Most doors are standard sizes, but it is always best to measure just to be sure. Once you have determined the type and size of weatherstripping you need, you can purchase it from a hardware store or online retailer.
Step 3: Remove the Old Weatherstripping
If there is existing weatherstripping on the door, you will need to remove it before installing the new weatherstripping. Use a putty knife or screwdriver to pry the old weatherstripping off of the door.
Step 4: Clean the Door Surface
After the old weatherstripping has been removed, you will need to clean the door surface to remove any dirt, dust, or debris. A clean surface will ensure that the new weatherstripping adheres properly.
Step 5: Cut the Weatherstripping to Size
If you use adhesive-backed weatherstripping, you will need to cut it to size with a razor blade or scissors. If you use “U” or “V” shaped weatherstripping, you should not need to cut it to size.
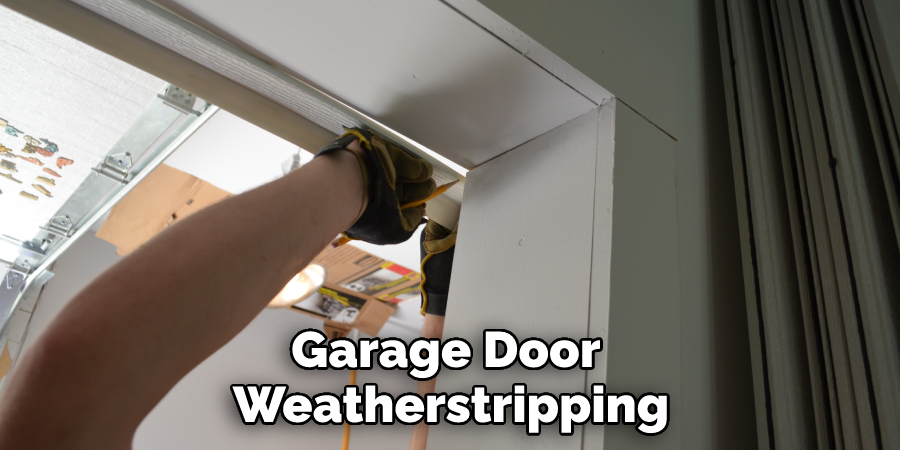
Step 6: Apply the Weatherstripping
If you use adhesive-backed weatherstripping, simply peel off the backing and apply it to the door surface. If you are using “U” or “V” shaped weatherstripping, you will need to insert it into the groove on the bottom or side of the door.
Step 7: Trim Any Excess Weatherstripping
Once the weatherstripping has been applied, you may need to trim off any excess material. Use a razor blade or scissors to trim the weatherstripping flush with the edge of the door.
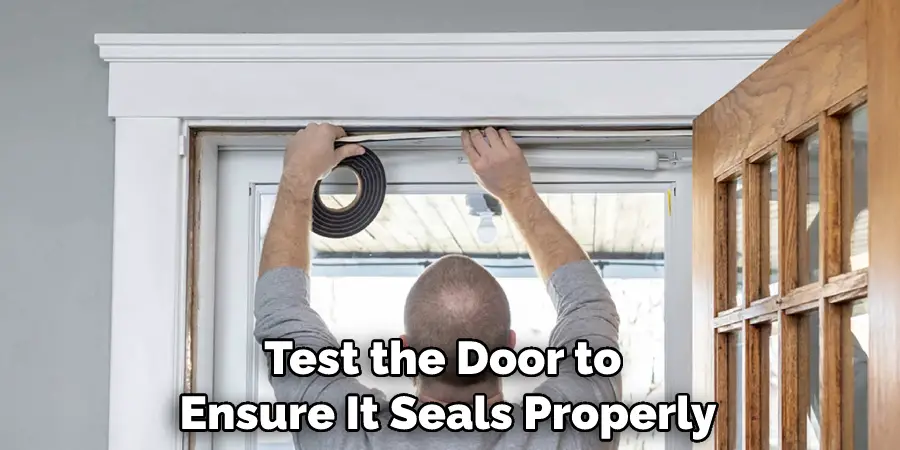
Step 8: Test the Door
After installing the weatherstripping, you should test the door to ensure it seals properly. Close the door and check for any gaps between the door and the weatherstripping. If there are any gaps, adjust the weatherstripping or add additional strips of weatherstripping until the door is sealed properly.
Once the door is sealing properly, you can enjoy a warmer, drier garage that is better protected from the elements. You may also notice a decrease in your energy bills as your home will be better insulated.
8 Tips for How to Install Garage Door Weatherstripping
- Read the manufacturer’s instructions carefully before beginning the installation. Ensure the door is properly balanced and lubricated before installing the weatherstripping.
- Install the weatherstripping on the bottom of the door first, then work your way up. Use a putty knife or another thin, blunt instrument to press the weatherstripping into place.
- Ensure that the weatherstripping is flush with the door surface and that there are no gaps. Use a hammer, nails, or screws to attach the weatherstripping to the door frame.
- Make sure that the nails or screws are driven into the doorframe at a slight angle so that they will not pull out easily. Use weatherstripping sealant or another type of sealant around the perimeter of the weatherstripping to ensure a tight seal.
- Allow the sealant to dry completely before closing the door. Check the weatherstripping periodically to ensure that it is still in good condition and that there are no gaps.
- Replace the weatherstripping if it begins to deteriorate or if there are any gaps. Do not paint over the weatherstripping.
- Do not use solvents or other chemicals to clean the weatherstripping.
- Do not allow the weatherstripping to come into contact with petroleum products, such as gasoline. Follow all manufacturer’s instructions carefully to ensure proper installation and operation of the garage door weatherstripping.
How Can You Ensure a Proper Seal With Your New Weatherstripping?
It’s important to ensure that your new weatherstripping provides a proper seal to keep out drafts and moisture. Here are some tips on how to install garage door weatherstripping:
- Start by cleaning the surface where the weatherstripping will be applied. This will help the strips adhere better.
- Line up the weatherstripping along the edge of the door, leaving a small gap at the bottom.
- Press the weatherstripping into place and use a utility knife to trim off any excess.
- To secure the weatherstripping, you can use adhesive or nails.
By following these tips, you can be sure that your garage door weatherstripping will provide a tight seal. This will keep your garage more comfortable and help to prevent damage from moisture and pests.
What Are Some Common Problems With Garage Door Weatherstripping?
One of the most common problems with garage door weatherstripping is that it can become brittle and crack over time. Another problem is that it can get pushed out of place by the weight of the garage door, which can cause it to no longer seal properly. If you notice any cracks or gaps in your weatherstripping, it’s important to replace them as soon as possible to prevent drafts and leaks.
Installing garage door weatherstripping is a relatively easy process, but there are a few things you need to keep in mind. First, ensure you measure the width of your garage door so you know how much weatherstripping you need to purchase.
Second, be sure to clean the surface of your garage door before installing the weatherstripping to ensure it adheres properly. Finally, take your time installing the weatherstripping to avoid gaps or bubbles.
Is It Necessary to Call Any Professional to Install Garage Door Weatherstripping?
If you have a garage door, it is important to ensure that it is properly insulated. One way to do this is to install garage door weatherstripping. This will help to keep the cold air out in the winter and the heat out in the summer. Garage door weatherstripping is not difficult to install, but there are a few things that you need to know before you get started.
The first thing that you need to do is to measure the door. You will need to know the door’s width and height to purchase the correct size of weatherstripping. Once you have the measurements, you can choose the type of weatherstripping you want.
There are two main types of weatherstripping: foam and rubber. Foam is the most common type of weatherstripping, and it is also the cheapest. Rubber is more expensive but will last longer and provide a better seal.
It is also a relatively inexpensive way to improve your home’s energy efficiency. You should consult a professional if you have any questions about installing garage door weatherstripping. They will be able to help you choose the right type of weatherstripping and walk you through the installation process.
How Much Will It Cost to Install Garage Door Weatherstripping?
Garage door weatherstripping is an important part of keeping your garage door in good condition. Weatherstripping helps to seal the door against the elements, preventing drafts and moisture from getting inside. Garage door weatherstripping is relatively inexpensive, and it is easy to install.
The cost of materials will vary depending on the type of weatherstripping you choose, but you can expect to pay between $10 and $20 for a standard roll of weatherstripping. Installation is quick and easy so the total cost will be around $50.
Conclusion
Installing garage door weatherstripping is a great way to keep your garage door insulated and protected from the elements. Weatherstripping can also help keep your garage cooler in the summer and warmer in the winter. There are a few different weatherstripping types available, so be sure to choose the right type for your needs.
Follow these steps to install garage door weatherstripping and keep your garage door in top condition. I hope this article has been beneficial in learning how to install garage door weatherstripping. Make sure the surface of your garage door is clean before installation.
You Can Check It Out to Disable Liftmaster Garage Door Opener
I am Rick. I grew up helping my dad with his handyman service. I learned a lot from him about how to fix things, and also about how to work hard and take care of business. These days, I’m still into fixing things- only now, I’m doing it for a living.
I’m always looking for new ways to help people grow and develop. That’s why I have created this blog to share all my experience and knowledge so
that I can help people who are interested in DIY repair.