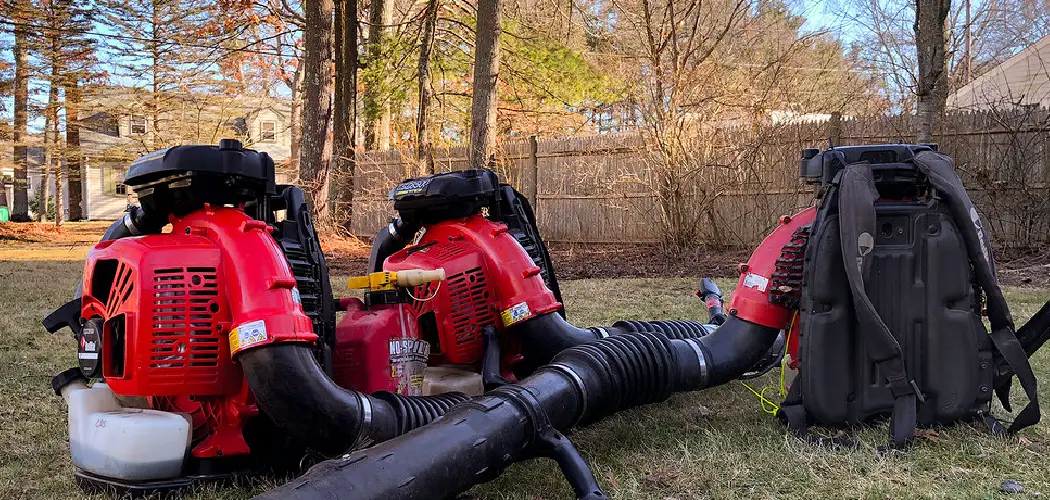
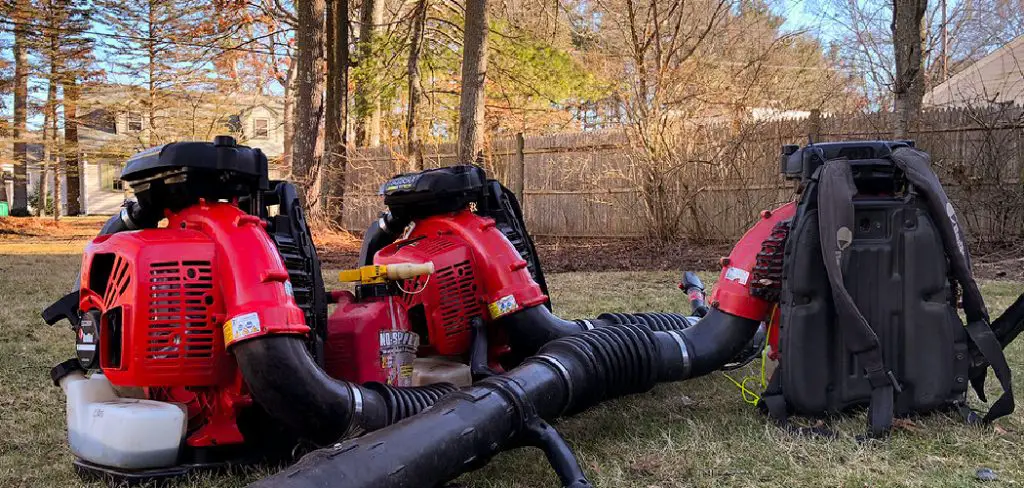
When it comes to yard work, there are few tools as versatile as the backpack blower. This simple device can quickly and easily clear away leaves and debris, making lawn care a breeze. However, storing a backpack blower can be a bit tricky.
In this blog post, we’ll show you how to hang backpack blower in garage in your garage, so it’s out of the way but still easily accessible when you need it.
As fall approaches, it’s time to start thinking about getting your yard ready for the cooler temps. A great way to do this is by using a backpack blower to clear away all the leaves and debris. But how do you store your backpack blower when it’s not in use? Here are a few tips on how to hang your backpack blower in your garage. Let’s get started!
Summary: Hanging a backpack blower in the garage is an excellent way to keep it out of the way and reduce clutter. With the right tools and a little bit of time, anyone can hang their blower in their garage safely and securely. First, you’ll need to locate studs in the wall to ensure a secure mount for your blower. You’ll then need to drill pilot holes and attach the mounting bracket.
Why May You Need to Hang Backpack Blower in Garage?
There may be many reasons why you may need to hang a backpack blower in your garage. Such as:
1. To Keep the Bulk of Gardening Equipment
A backpack blower is a powerful and useful piece of equipment for your garden. However, it may take up quite a bit of space in your garage when not in use.
By hanging the backpack blower in your garage, you can keep this bulky gardening tool out of the way while freeing up more room to store other tools and equipment that you may need for your garden.
2. To Protect the Blower from Moisture and Damaging Elements
A backpack blower is a powerful and useful tool, but it can be prone to damage if left exposed or unsecured in your garage. By hanging the backpack blower in your garage, you can help protect it from moisture that may cause rusting or damage and from damaging elements such as sand or gravel that could potentially scratch and damage the blower’s exterior.
3. To Ensure Easier Access
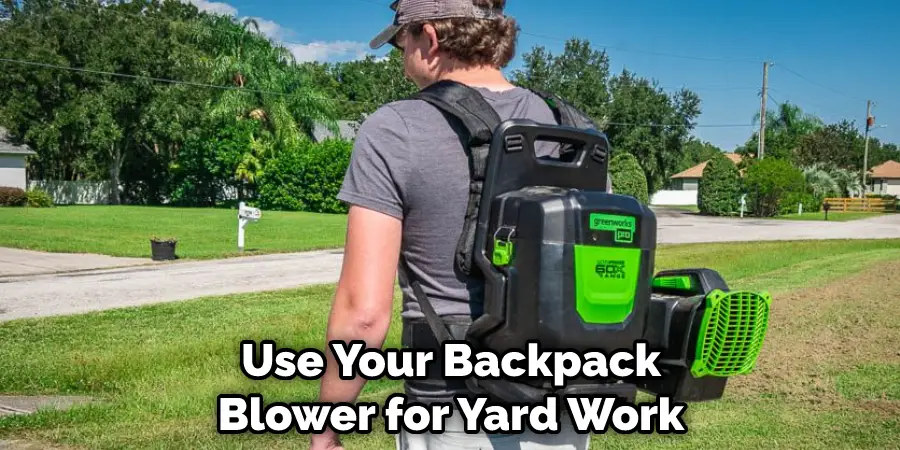
If you frequently use your backpack blower for yard work, it can be very convenient to have it hanging in your garage so that you can quickly and easily access it when you need it. This can save you time and frustration, as well as help ensure that you can get your yard work done more quickly and efficiently.
Whether you need to free up more space in your garage, protect your backpack blower from damage, or simply ensure that it is always within easy reach, hanging the blower in your garage can be a great way to optimize its performance and convenience.
How to Hang Backpack Blower in Garage in 6 Easy Steps
Step 1: Choose the Right Location
Selecting an appropriate location for hanging your backpack blower in the garage is crucial. Look for a spot that is easily accessible, yet out of the way of foot traffic and other equipment. The location should be near a wall or sturdy support structure to ensure that the blower can be securely mounted. Keep in mind the length of the blower tube and make sure there is adequate space to accommodate it without obstructing other items in your garage.
Step 2: Determine the Type of Storage System
There are various storage systems available for hanging backpack blowers in your garage. Some popular options include:
- Wall-mounted hooks or brackets
- Slatwall systems with compatible hooks or hangers
- Pegboard systems with appropriate hooks or attachments
- Custom-made storage racks
Evaluate the pros and cons of each option and choose the one that best suits your garage layout, budget, and personal preferences.
Step 3: Gather Necessary Materials and Tools
Once you have chosen the type of storage system, gather the necessary materials and tools for installation. These may include:
- Wall-mounted hooks, brackets, or hangers
- Screws, anchors, or other mounting hardware
- A drill or screwdriver
- A stud finder
- A level
- A measuring tape
- A pencil or marker
- Protective eyewear
Having all the required materials and tools on hand will streamline the installation process and ensure that you are well-prepared for the task.
Step 4: Locate Wall Studs
For a secure and stable installation, it is essential to mount the storage system to wall studs. Use a stud finder to locate the studs in your chosen location. Once you have identified the studs, mark their locations with a pencil or marker. If you are unable to locate studs, consider using heavy-duty wall anchors to ensure a secure installation.
Step 5: Measure and Mark the Mounting Points
Measure the distance between the mounting points on your backpack blower’s storage system. Using these measurements, mark the corresponding mounting points on the wall, ensuring that they align with the wall studs or anchor locations. Double-check the measurements to ensure accuracy and use a level to make sure the mounting points are properly aligned.
Step 6: Install the Storage System
Following the manufacturer’s instructions or guidelines for your chosen storage system, install the hooks, brackets, or hangers at the marked mounting points. If you are using screws, drill pilot holes first to make the installation process smoother and prevent damage to the wall. Ensure that the storage system is securely mounted and can support the weight of your backpack blower before proceeding.
Step 7: Hang the Backpack Blower
With the storage system in place, carefully hang your backpack blower. Make sure that the blower is securely seated on the hooks or brackets and that all straps and tubes are properly contained. If necessary, use additional straps or bungee cords to secure the blower and prevent it from shifting or falling.
Step 8: Store Additional Accessories
If your backpack blower has any additional accessories or attachments, such as extra tubes or nozzles, find a suitable storage solution for these items as well. This may include using additional hooks or brackets, installing a small shelf, or placing the accessories in a storage bin near the blower. Keeping all of the blower’s components organized and easily accessible will make it more convenient to use and maintain.
Step 9: Label the Storage Area (Optional)
For added organization and clarity, consider labeling the storage area for your backpack blower. This can be particularly helpful in shared garages or workshops, as it will ensure that everyone knows where the blower belongs and can easily locate
it when needed. Use a label maker, adhesive labels, or a simple piece of masking tape and a marker to create a label that clearly indicates the storage location for the backpack blower.
Step 10: Regularly Inspect the Storage System
Over time, the storage system may become loose or worn, compromising its ability to securely hold your backpack blower. Regularly inspect the hooks, brackets, or hangers for signs of wear or damage, and tighten any loose screws or hardware as needed. By keeping the storage system in good condition, you can prevent accidents and ensure that your backpack blower remains safely stored when not in use.
Step 11: Keep the Area Clean and Organized
Maintain a clean and organized workspace around your backpack blower storage area. Sweep or vacuum the floor regularly to remove dirt, dust, and debris that could cause tripping hazards or damage the blower. Avoid stacking items or cluttering the area around the blower, as this can make it difficult to access and could lead to accidents.
Step 12: Perform Routine Maintenance on the Backpack Blower
To keep your backpack blower in optimal working condition, perform routine maintenance as recommended by the manufacturer. This may include cleaning the air filter, replacing spark plugs, and checking for loose or damaged components. By taking care of your backpack blower and storing it properly, you can extend its lifespan and ensure that it is always ready for use when needed.
By following these step-by-step instructions, you can create a functional and organized storage solution for your backpack blower in the garage. This will not only help you maintain a tidy workspace, but also protect your equipment and make it easily accessible for future use.
Precautions You Must Take to Hang Backpack Blower in the Garage
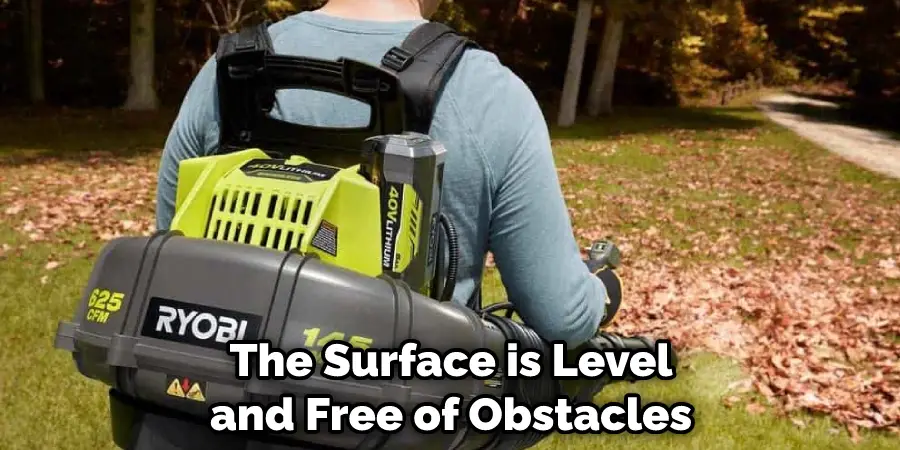
1. Level Surface in the Garage
Before you begin to hang your backpack blower in the garage, make sure that the surface is level and free of obstacles. This will ensure that the blower is stable and secure once it is mounted on the wall.
2. Use a Ladder or Other Support
To hang your backpack blower safely in the garage, it’s important to use a ladder or other support system. This will help to prevent the blower from falling and potentially causing damage or injury.
3. Use Safety Straps and Cords
When hanging your backpack blower in the garage, it’s important to use safety straps and cords to secure it in place. This will help to keep it safe and prevent it from falling during use. So make sure to follow all safety precautions and use appropriate mounting hardware when hanging your blower.
4. Check for Damage or Wear Before Use
Before using your backpack blower in the garage, be sure to check for any damage or wear that may impact its functionality. This will help to ensure that you get the most out of your blower and can safely use it without worrying about potential issues.
If you follow these simple precautions when hanging your backpack blower in the garage, you can rest assured that it will be secure and safe for use. And with regular maintenance and care, it should last for years to come.
So if you’re looking for an efficient, powerful way to clear leaves or other debris from your garage or driveway, consider investing in a quality backpack blower today.
Frequently Asked Question
How Can You Prevent Your Backpack Blower From Getting Damaged While It’s Stored in Your Garage?
One of the most important things you can do to protect your backpack blower from damage when it’s stored in your garage is to hang it up on a sturdy hook or bracket. This will help keep it off of the ground and prevent any accidental bumps or drops that could cause dings, dents, or other cosmetic damage.
How Can I Prevent My Backpack Blower From Falling Over When It’s Hanging in the Garage?
In addition to hanging your backpack blower on a sturdy hook or bracket, you can also use safety ties or straps to secure it in place. This will help prevent it from falling over if the garage gets bumped or jostled while someone is moving around inside.

Another option is to hang your backpack blower between two pieces of sturdy plywood, which will help keep it stabilized and prevent it from falling over.
What Other Tips Should I Keep in Mind to Help Protect My Backpack Blower When It’s Stored in the Garage?
Along with hanging your backpack blower on a sturdy hook or bracket, taking other steps to protect it from damage can also be helpful. These can include investing in a high-quality backpack blower cover and making sure that your garage is clean and free of clutter.
Additionally, avoid storing your backpack blower near any harsh chemical cleaners or other chemicals, as this could damage the surface of your equipment over time.
Conclusion
If you have a backpack blower, it’s important to know how to properly hang it in your garage. This will help keep the blower in good condition and make it easy to access when you need it. Follow these steps, and you’ll be able to store your backpack blower safely and securely.
Now that you know how to hang backpack blower in garage, you can organize your space and keep your equipment running smoothly. By following these simple tips, you’ll be able to take care of your tools and make sure they’re always ready to go when you need them. Thanks for reading, and good luck!
You Can Check It Out to Hang Leaf Blower in Garage
I am Rick. I grew up helping my dad with his handyman service. I learned a lot from him about how to fix things, and also about how to work hard and take care of business. These days, I’m still into fixing things- only now, I’m doing it for a living.
I’m always looking for new ways to help people grow and develop. That’s why I have created this blog to share all my experience and knowledge so
that I can help people who are interested in DIY repair.