If you’re a homeowner, chances are you have run into various maintenance problems that require attention. One of the most common ones is garage door repair. With regular use, garage door tracks can become damaged or worn down, which causes the door to open and close with difficulty—or not at all.

Fortunately, fixing a hole in your garage door doesn’t require too much time or effort; it just requires knowing what materials and tools you need and following some basic steps. In this blog post, we’ll show you how to fix hole in garage door!
Summary: Holes in garage doors can be a nuisance, not only in terms of aesthetics but also as they can let in drafts of air and water. Fortunately, fixing a hole in your garage door is relatively easy to do yourself. Start by cleaning the area around the hole using a vacuum and a damp cloth to remove any dirt or debris. Fill the hole with a high-quality silicone caulk, and spread it evenly around the edges with a putty knife.
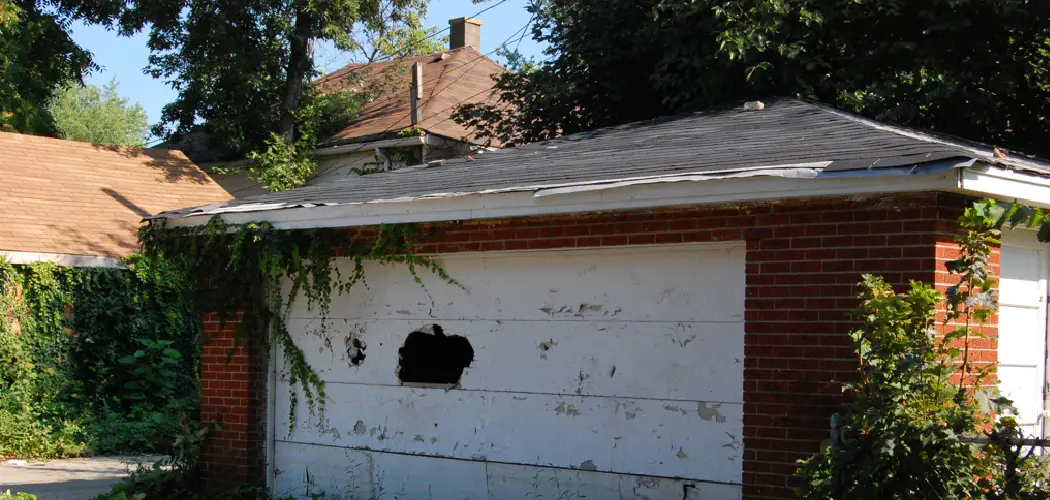
Can You Fix a Hole in The Garage Door?
Not sure if you can fix a hole in the garage door? Don’t worry – these repairs are easier than you may think. With some knowledge and patience, anyone can successfully patch up their garage door’s weak spots. First, take note of the size and location of the hole.
Then, purchase some garage door patch material that can be found at most hardware stores or online. Cut this material to fit the hole size, then adhere it with adhesive according to the instructions on your patch kit. Once firmly in place, open and close your garage door a few times to ensure that it is properly secured.
Finally, take pride in knowing that you not only saved money by completing this fix yourself but also learned how to tackle new repairs around your home.
Why Should You Fix a Hole in The Garage Door?
Keeping a hole in your garage door could be more of an issue than you think. Not taking the time to fix it could lead to bigger problems down the road, like pests entering the space, pests living in the garage and creating damage, or even potential theft of stored items.
Additionally, a hole in the door can decrease the energy efficiency of heating and cooling your space, driving up bills. Repairing a hole in the door is easy to do as there are several kits accessible from DIY stores that come with instructions and all of the necessary parts.

In some cases, you may need extra help from a handyman, but either way, investing some time and cash now will stop bigger issues from arising later on.
7 Steps to Follow on How to Fix Hole in Garage Door
Step 1: Diagnose the Problem
The first step is to determine what caused the hole. If the hole was caused by impact, such as a baseball or golf ball, then you have an easy fix on your hands.
However, if the hole was caused by rust or rot, then you may need to replace the entire panel of the garage door. If this is the case, consult a professional before proceeding with any repairs.
Step 2: Choose Your Repair Method
Once you know what caused the hole, you can choose an appropriate repair method. A patching kit should do the trick for small holes caused by impact or weather wear and tear.
Most kits have everything you need for repairs, including sandpaper and filler material. Make sure to read all instructions carefully before applying any materials to your garage door.
Step 3: Clean the Area
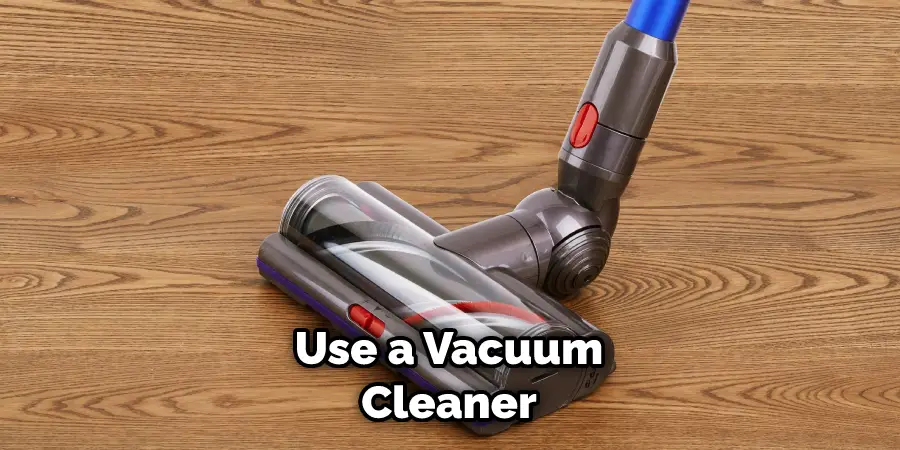
Before you can patch the hole, it’s important to clean the area thoroughly. Use a wire brush or sandpaper to remove any rust, paint chips, and dirt from around the hole. If necessary, use a vacuum cleaner with a hose attachment to clear away any debris inside the garage door.
Step 4: Cut Out the Damaged Area
Once the area is clean, you will need to cut out the damaged area of your garage door. Trace around the hole with a pencil and then use a jigsaw or reciprocating saw to cut away the damaged section. Be sure to wear safety glasses when cutting, and use a workbench to secure the door in place.
Step 5: Prepare the Patch
Once you’ve removed the damaged area, it’s time to prepare the patch. For metal doors, cut a piece of sheet metal that is slightly larger than the hole and then file down any rough edges. For wooden doors, cut a piece of wood that is the same thickness as the door and then sand any rough edges.
Step 6: Attach the Patch
Now it’s time to attach the patch to your garage door. If you are using metal, use pop rivets or self-tapping screws to secure it in place. If you are using wood, use nails or screws to attach it. Ensure the patch is level and all the edges are flush with the door before proceeding.
Step 7: Fill and Sand
Once the patch is secure, you can now fill in any gaps or holes. Use a filler material such as fiberglass or epoxy resin for metal doors. For wooden doors, use wood filler or putty. Once the material dries, lightly sand the area before applying a coat of primer and paint to match the existing color of your garage door.
And there you have it — how to fix hole in garage door with these seven steps. With a little patience and the right tools, you can patch up your garage door in no time.
Things You Need to Know Before Fixing Hole in Garage Door
Fixing a hole in a garage door may seem like an intimidating task, but with the right knowledge and preparation, it can be done with relative ease. Before tackling this job, you should make sure to have all the necessary supplies on hand.
These include a power drill, various screws of different sizes, and steel wool for protecting exposed surfaces from rusting. Additionally, you should double-check proper safety precautions, as many power tools are dangerous if not handled correctly.
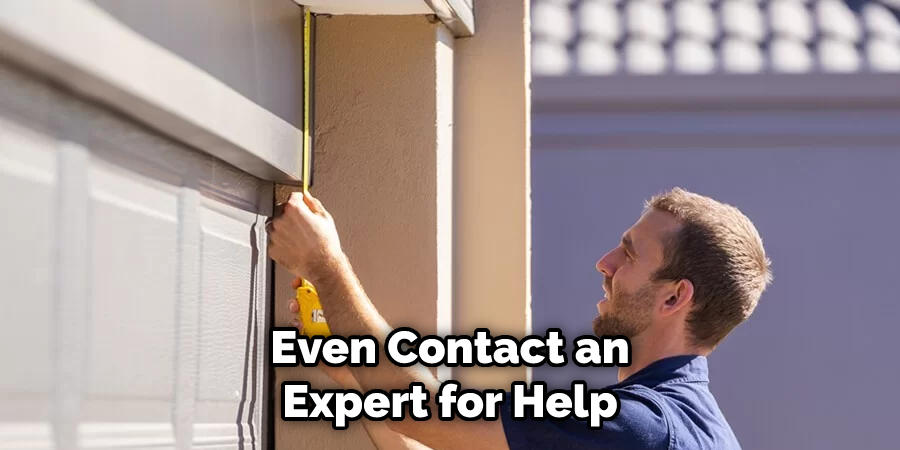
If instructions seem confusing or uncertain during setup, feel free to consult additional resources or even contact an expert for help. Taking time to carefully go through all the steps will save time and money in the long run, and your garage door will look like new in no time!
Benefits of Fixing Hole in Garage Door
One of the most important yet often neglected benefits of fixing the hole in your garage door is it will help to keep unwanted pests from entering your home. Repairing or replacing a hole in the garage door using a heavy-duty aluminum alloy material is essential for keeping pests from gaining access to your property.
It deters animals like rodents and snakes and prevents insects from entering, protecting stored items from damage. Keeping pests out also ensures that your family can remain safe and healthy since many are known for carrying illnesses.
Fixing the hole in your garage door keeps pests out and adds an extra layer of security, giving you peace of mind when you’re away or sleeping at night.
5 Common Mistakes People Make When Trying to Fixing Hole in Garage Door
1. Not Measuring the Hole
One of the most common mistakes people make when trying to fix a hole in their garage door is not measuring the hole correctly. If you do not measure the hole correctly, you cannot purchase the correct size patch to fix the hole. Additionally, if the hole is too large, you may need to purchase a new garage door.
2. Not Cleaning the Area Surrounding the Hole
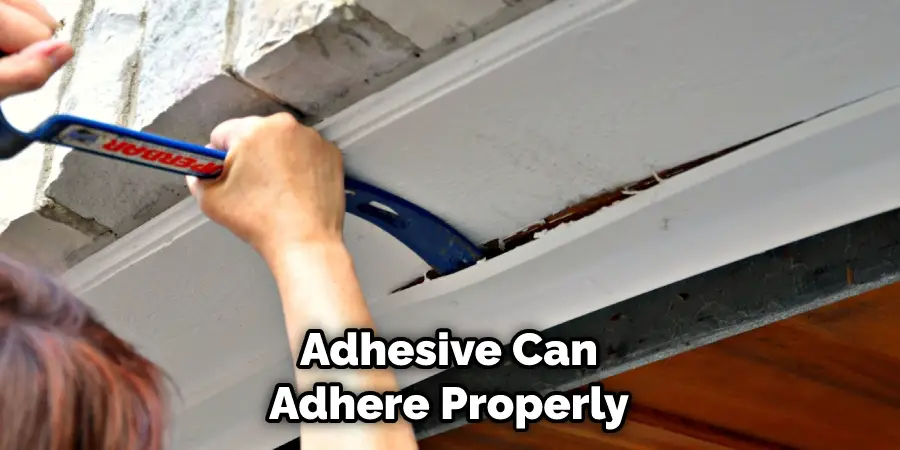
Another common mistake people make when trying to fix a hole in their garage door is not cleaning the area surrounding the hole. It is important to clean the area around the hole so that the adhesive can adhere properly. If dirt or debris is on the area around the hole, it could prevent the adhesive from bonding correctly.
3. Not Applying Adhesive Properly
Another mistake people make when trying to fix a hole in their garage door is not applying the adhesive properly. If you do not apply enough adhesive, the patch will not be able to bond properly and will eventually fall off. On the other hand, applying too much adhesive could drip down and cause more damage.
4. Not Applying Pressure
It is important to apply pressure to the patch to bond properly with the surrounding area. If you do not apply pressure, there is a chance that the patch will come loose and fall off.
5. Not Letting the Adhesive Dry
Finally, people make common mistakes when trying to fix a hole in their garage door, not letting the adhesive dry completely before opening or closing the door. If you open or close the door before the adhesive has had a chance to dry, it could cause further damage or cause the patch to come loose.
Conclusion
Patching up holes in your garage door doesn’t have to be intimidating! By following these steps – diagnosing the problem and choosing an appropriate repair method – anyone can get their garage door looking good as new in no time!
Of course, if you’re feeling overwhelmed by any aspect of this process (or if your repair job calls for more extensive work than expected), don’t hesitate to call in a professional for help. After all, keeping your family safe should always be a top priority! Thanks for reading our post about how to fix hole in garage door.
I am Rick. I grew up helping my dad with his handyman service. I learned a lot from him about how to fix things, and also about how to work hard and take care of business. These days, I’m still into fixing things- only now, I’m doing it for a living.
I’m always looking for new ways to help people grow and develop. That’s why I have created this blog to share all my experience and knowledge so
that I can help people who are interested in DIY repair.