Are you dealing with a broken bracket on your garage door? Don’t worry — it’s not as daunting of a task as you may think. Fixing a garage door bracket with the right tools and knowledge is relatively easy.
If you’re a homeowner or experienced DIYer, chances are you’ve seen some of the common garage door bracket problems that can happen to your system. Unfortunately, it all starts with rusty hardware, bent frames, and brittle rubber—eventually leading up to an inability to properly open or close your garage doors.
Despite these potential setbacks in functionality, however, there is still hope! With just a little bit of elbow grease and guidance from this comprehensive guide on how to fix garage door bracket issues like frame warping, broken rollers, and corroded hinges—you too can be well on your way towards restoring those garages back into sturdy working condition again!
What are the Causes of Garage Door Bracket Problems?
Garage doors are assembled with a variety of parts and components that make up their overall structure. Over time, due to general wear and tear, it’s possible for some of these pieces to become bent or warped — leading to further issues when opening/closing the door.
Additionally, issues like broken rollers, corroded hinges, and even loose screws can add up to create a large problem that requires more than just tightening or WD-40.
Fortunately, issues like these can usually be fixed with some basic supplies and the right know-how. Let’s take a look at how to address some of the most common problems related to garage door brackets.
What Will You Need?
Before you start, it’s important to ensure you have the right tools and materials. A basic toolkit should include items like:
- Screwdriver
- Wrench
- Hammer
- Level
- Wood shims
- Steel support bracket (optional)
Once you have the necessary tools and materials. Let’s look at how to fix some of the most common issues related to garage door brackets.
10 Easy Steps on How to Fix Garage Door Bracket
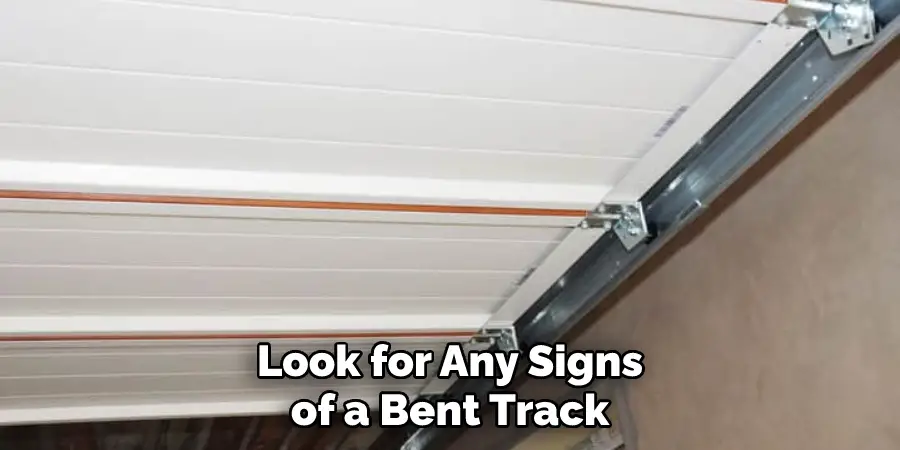
Step 1. Check for Bent Track
The first step is to look for any signs of a bent track. This can be done by standing in front of the door and seeing if there’s any space between the top of the track and the rollers. If there is, this indicates that the track may be bent.
Step 2. Straighten Frame
If your frame is warped or misaligned, you will need to straighten it out before attempting to reattach it. You should use a level to help gauge how much adjustment needs to be made. Once you have determined how much work is necessary, use a hammer or wrench to adjust accordingly.
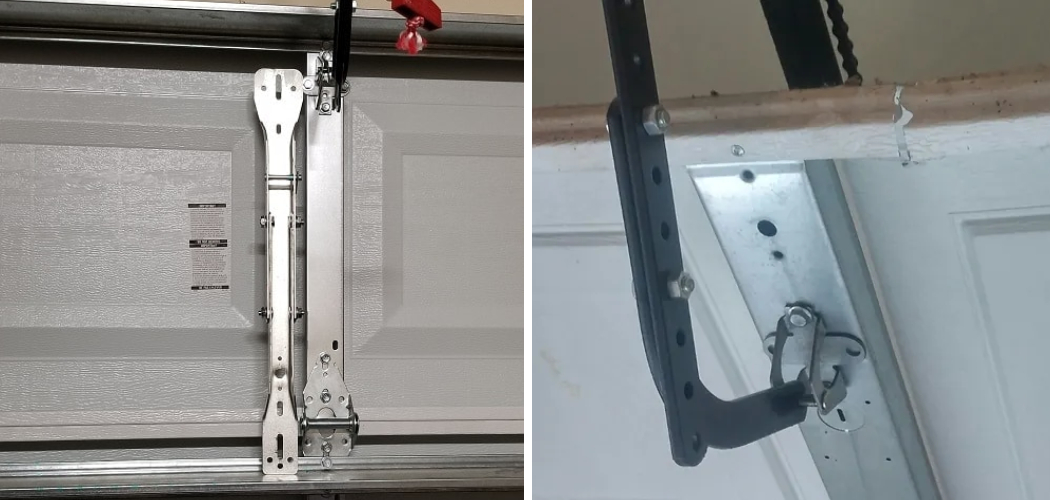
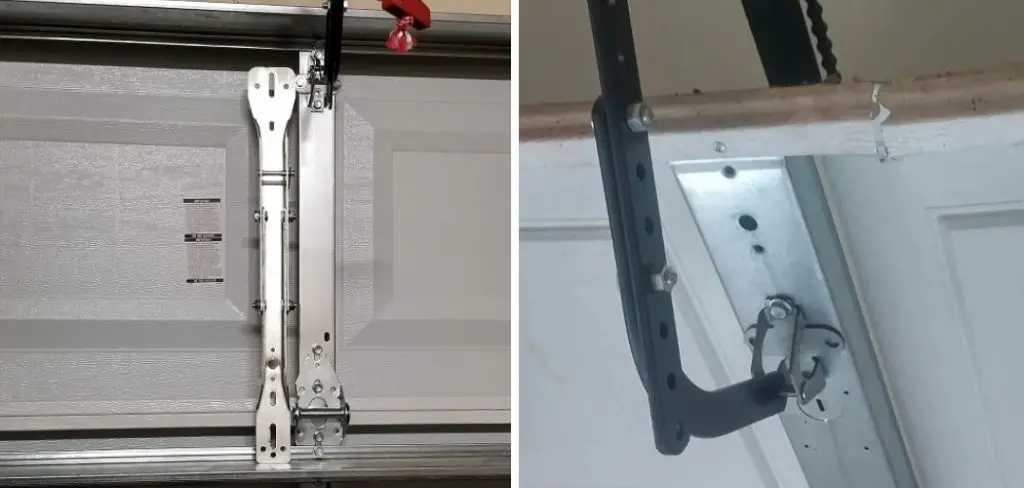
Step 3. Reattach Brackets
Once the frame has been straightened, you must reattach the brackets. Depending on how tightly they are attached, this can be done using a screwdriver or wrench. Make sure to tighten them securely, but not too tight, as this could damage the track.
Step 4. Tighten Rollers
If your rollers have become loose, you will need to tighten them back into place using a screwdriver or wrench. You may also need to replace any broken rollers if necessary. Because rollers can become brittle over time, so it’s important to check for any signs of wear and tear before tightening them.
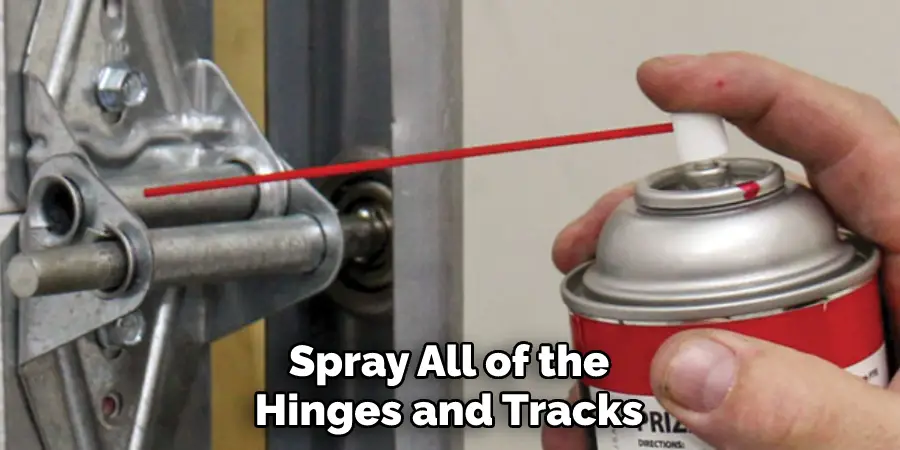
Step 5. Grease Hinges & Tracks
Using a lubricant such as WD-40, spray all of the hinges and tracks that make up your garage door system in order to ensure that everything is working properly and smoothly when operated. Don’t forget to check the springs as well! It’s important to keep them lubricated for your system to work properly and prevent further damage.
Step 6. Install Steel Support Bracket
If your brackets are particularly weak, you may want to install a steel support bracket in order to provide extra reinforcement. This should be installed on the inside of the door and will offer additional protection for any heavy-duty use. Additionally, make sure to check that the frame is level before tightening.
Step 7. Add Wood Shims
Wood shims can be used to tighten up any gaps between the frame and the track. This will help ensure that your garage door operates smoothly and without issue when opened or closed. Another benefit of using wood shims is that they can be easily removed if necessary.
Step 8. Tighten All Connections
Once all of the above steps have been completed, it’s important to go back over all connections, screws, bolts and hinges one last time to make sure they are tightened securely. If any of the connections are loose, they can cause further damage and should be tightened immediately. So make sure to go back and double-check everything.
Step 9. Test the Door
Now that you’ve fixed your garage door bracket, it’s time to test how everything works by manually opening and closing the door several times. If everything is working properly, you can congratulate yourself on a job well done! Don’t forget to replace any broken parts if necessary.
Step 10. Seek Professional Help
If none of the above steps have been able to resolve your problem, it may be time to seek professional assistance in order to get your garage back up and running again.
A qualified technician will be able to assess the situation and provide more specialized repairs that may not have been possible on your own. Be careful not to attempt any repairs that you are unsure how to do, as this could result in further damage.
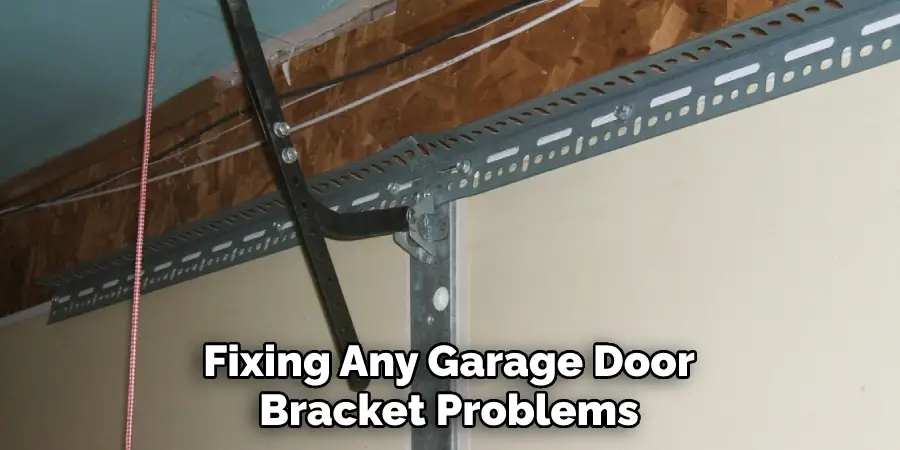
Fixing any garage door bracket problems doesn’t need to be an overwhelming task. With the right tools and a bit of know-how, you can easily address any issues that come up in no time.
5 Additional Tips and Tricks
- Make sure to use the right tools for the job. Use a wrench set to loosen and tighten nuts and bolts and an adjustable wrench to adjust how tight the bracket is.
- Put a rag or piece of cloth between the wrench and the garage door to prevent any scratches.
- Determine how much adjustment needs to be made before you start adjusting the bracket. Make sure that it will fit securely once tightened, as this may affect how well your garage door opens and closes.
- Double-check all bolts and screws after adjustments are made, especially at mounting points like where the bottom rollers attach to the bracket. Doing so will ensure that everything is properly secured and reduce any safety risks associated with an improperly mounted door bracket.
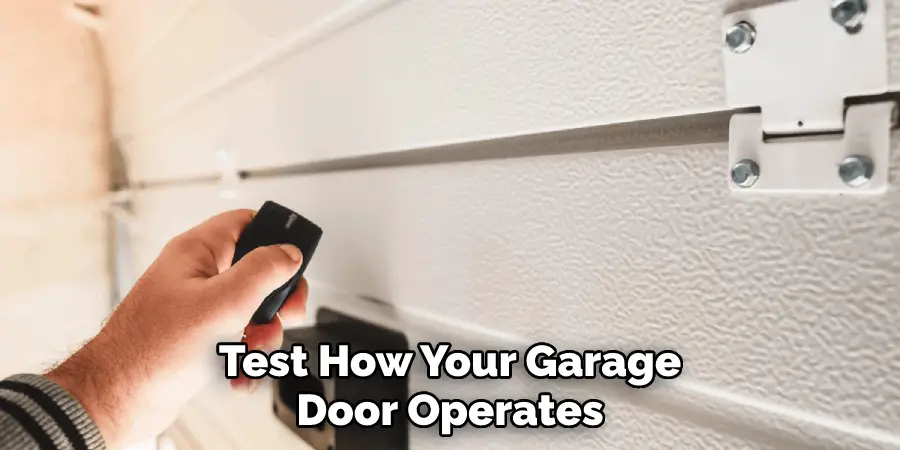
- Once everything is in place, carefully test how your garage door operates by opening it up several times to check how smoothly it runs. If there is any scraping or grinding sounds, make sure to take the time to readjust the bracket.
With proper care and maintenance, your garage door should be back up and running in no time!
5 Things You Should Avoid
- Avoid using a drill to secure the bracket – drilling into the garage door can cause damage and will weaken its structural integrity.
- Don’t use too much adhesive when securing the bracket – this can make it difficult to remove in the future and may also damage your garage door.
- Don’t tighten the screws too tightly, as this can cause cracking or splitting of the material surrounding them.
- Be sure not to leave any gaps between the brackets and the door itself, as these can let in dirt, dust, and other debris that could damage your garage over time.
- Finally, be careful not to overtighten or apply too much pressure on any nuts or bolts that you are using to secure your brackets – doing so can strip the threads and cause further problems.
Following these steps will ensure that your brackets are properly secured to your garage door without causing any damage or compromising its structural integrity.
What are the Signs of an Unbalanced Garage Door?
- The door opens and closes on its own.
- You hear scraping or grinding noises when the door is opening or closing.
- Your garage door shakes, rattles, and vibrates as it moves.
- The motor runs for extended periods of time before the door opens or closes all the way.
- It takes more effort than usual to manually open and close your garage door.
If you experience any of these signs, you may have an unbalanced garage door that needs to be fixed by adjusting the tension in your springs or replacing your brackets with stronger ones if necessary – doing so will help ensure that your garage works properly and safely in the long run!
Conclusion
To summarize, repairing a garage door bracket can be easily done by most homeowners who are just starting out with DIY projects. All you need is some basic tools and a few replacement parts, which you can get from any local retailer, hardware store or home improvement chain.
This article has outlined the step-by-step process of how to fix garage door bracket in detail so that you can do it again in the future if you ever find yourself in a similar situation. There’s nothing like being able to take matters into your own hands when it comes to home repairs, so don’t hesitate to give it a try.
With just a bit of time and effort, you’ll soon have your garage door back on track!
I am Rick. I grew up helping my dad with his handyman service. I learned a lot from him about how to fix things, and also about how to work hard and take care of business. These days, I’m still into fixing things- only now, I’m doing it for a living.
I’m always looking for new ways to help people grow and develop. That’s why I have created this blog to share all my experience and knowledge so
that I can help people who are interested in DIY repair.