
If you’re like most homeowners, a dripping garage door can be one of the biggest headaches and nuisances around. Not only is it annoying to constantly hear that whirring sound every time you open or close it, but depending on how bad the leak is, it can also lead to other damage in your home, like mold or water damage.
All hope isn’t lost, however! You can try several solutions before investing in a brand new garage door that will hopefully help stop your leaky problem once and for all.
In this blog post, we’ll explain why a garage door may start leaking in the first place and provide some simple hacks for how to stop a garage door from leaking, so you don’t have to worry about extra water coming into your home anymore.
Why Do Garage Door Leaks Happen?
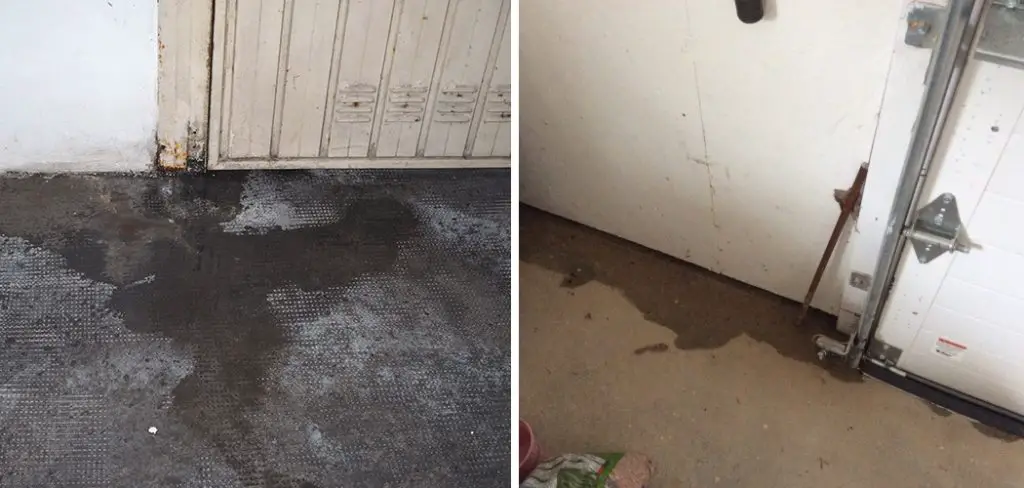
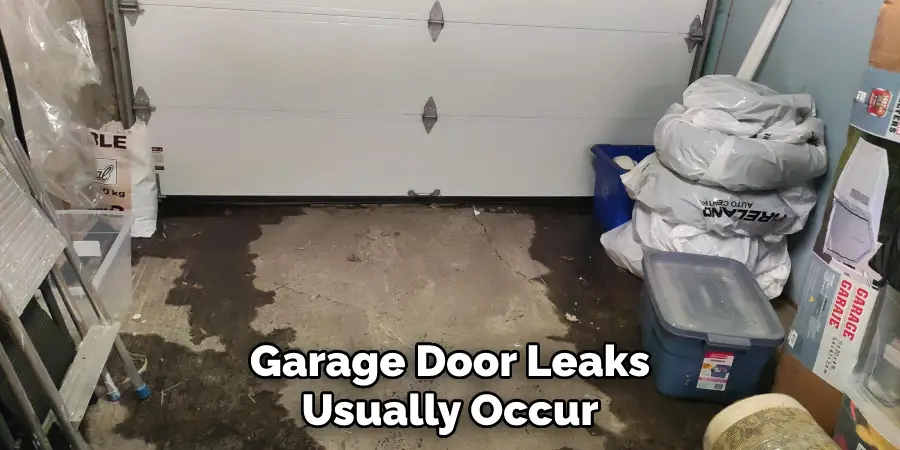
Garage door leaks usually occur when there is a gap between your garage door and the walls of your house. This can be caused by age, general wear, and tear, or simply improper installation. Over time, these gaps can become larger, so it’s important to check them periodically and ensure they are not too wide.
In addition to gaps, the seal your garage door can also become worn down and less effective over time. This is especially true if you live in an area with extreme temperatures or weather conditions. If the seal is no longer doing its job properly, water will likely start entering your home through these openings as well.
Now that we know why garage door leaks happen let’s look at some of the ways you can stop them from occurring.
What Will You Need?
Before starting any work on your garage door, ensure you have the right tools and materials. You’ll need the followings:
- Weatherstripping
- Caulk
- Hammer
- Nails
- Putty knife
- A rag or cloth
- Screwdriver
Now that you have all the tools and materials, it’s time to get to work and stop your garage door from leaking.
10 Easy Steps on How to Stop a Garage Door From Leaking
Step 1. Check the Seals & Gaps:
The first thing you should do is inspect the seals around your garage door for wear and tear. If they are cracked or damaged in any way, water will likely get through them, so replace them as soon as possible. Additionally, check for large gaps between the walls and your garage door where water could enter your home.
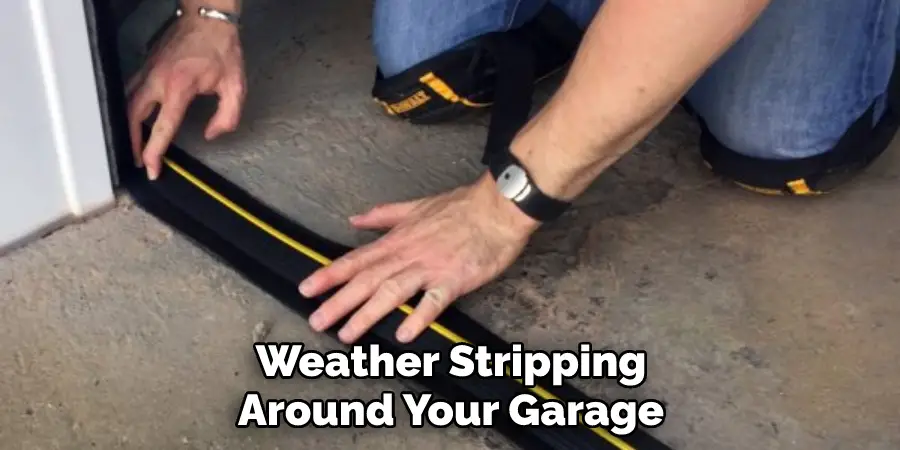
Step 2. Adjust the Weatherstripping:
If you notice that the weather stripping around your garage door is loose, then it’s time to adjust it. Use a putty knife and hammer to ensure the weatherstripping is tight against the edges of your garage door. This will help create a better seal and reduce the chances of water leaking through.
Step 3. Apply Caulk:
Once you’ve adjusted the weatherstripping, apply some caulk in any areas where there are gaps or cracks in your garage door frame, walls, or ceiling. This should help fill in any remaining spaces that could allow water to enter your home. Otherwise, the water will get through and cause damage.
Step 4. Check the Bottom of the Door:
The seals at the bottom of your garage door can also become worn down over time, so make sure to check them too. If you notice any cracks or gaps, replace them with new ones as soon as possible. Don’t forget to check the bottom weatherstripping as well!
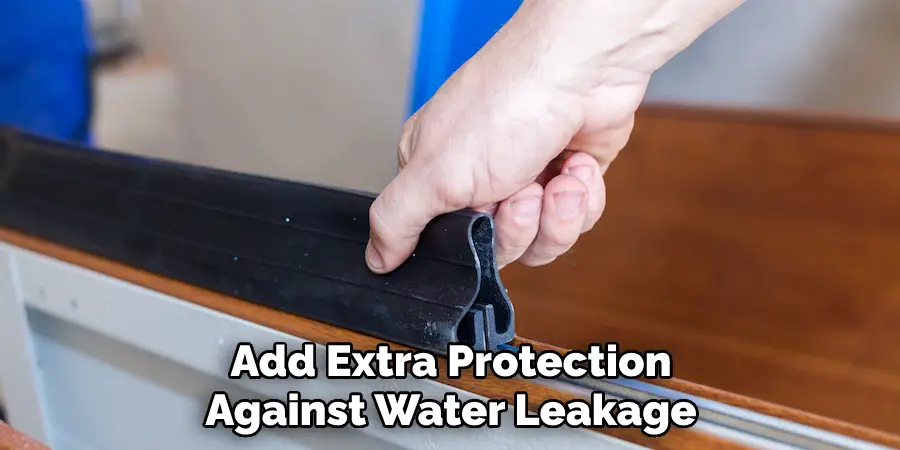
Step 5. Put Nails Along the Bottom Edge:
You can also add extra protection against water leakage by hammering a few nails along the bottom edge of your garage door, which will help keep it secured in place when open. This will prevent further gaps from forming and provide extra protection against water getting into your home. Moreover, it will also make your garage door look better.
Step 6. Test the Door:
Once you’ve made all the necessary adjustments and repairs, it’s time to test your garage door. Open and close it a few times to make sure that water is not coming in through any of the openings. If you notice any leaks, re-adjust the weatherstripping or caulk as necessary.
Step 7. Seal Any Gaps:
If you find that water is entering your home even after all these steps, use some more caulk or weatherstripping to seal up any gaps overlooked earlier. You can also use a rag or cloth to absorb any water that has already entered your home. It’s important to keep the area dry in order for all these steps to be effective.
Step 8. Use a Rag or Cloth:
Once you have sealed all the gaps and cracks in your garage door with caulk or weatherstripping, take a rag or cloth and wipe down the entire surface. This will help ensure that there are no areas left unsealed by accident that could be allowing water to enter your home. As an extra precaution, you can also use a sealant spray to provide even more protection.
Step 9. Inspect Regularly:
To make sure that you don’t have any more problems with water leaking into your garage, inspect the area regularly and take care of any minor repairs as soon as they appear. This will help keep your garage door in good condition and prevent any future leaks. Additionally, if you notice any wear and tear, then it’s best to replace the parts as soon as possible to avoid further damage.
Step 10. Get Professional Help If Necessary:
If all these steps fail or you feel uncomfortable doing the work yourself, it may be wise to call a professional specializing in repairing garage doors. They can provide valuable advice on stopping a garage door from leaking and ensuring that everything is correctly sealed up so that no more water enters your home.
By following these steps, you can stop a garage door from leaking and keep your home dry. Make sure to inspect and repair the area regularly in order to maintain its condition and prevent any more water from entering your home. Don’t forget to get professional help if you need it!
5 Additional Tips and Tricks
- Check the weatherstripping around your garage door. Make sure it is installed properly and not cracked or worn down.
- Inspect the top of the door for any gaps or openings between the garage door and ceiling.
- Check that the door is properly aligned and centered in its track, as an imperfectly installed or misaligned door can cause water to leak in.
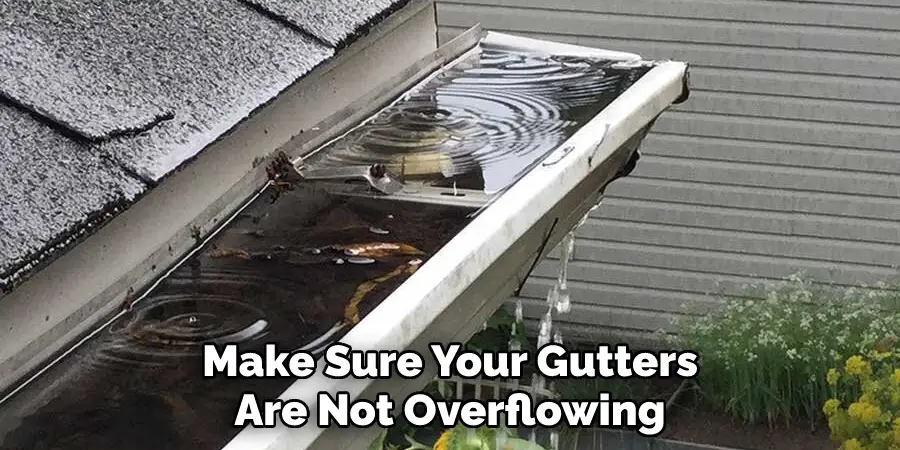
- Make sure your gutters are not overflowing onto your garage door, as this will often lead to leaks around the frame and weatherstripping of the door.
- Examine any windows located on or near your garage door for water leakage or condensation buildup, which can also cause leaks if not addressed promptly.
If none of these tips seem to be helping you stop your garage door from leaking, you may want to consider replacing it altogether with a more durable model designed to withstand the elements better. A qualified garage door specialist can help you find a new model that is right for your home and budget. With thorough inspection and proper maintenance, you can ensure your garage stays watertight and secure for years!
5 Things You Should Avoid
- Do not use insulation or weatherstripping as a water barrier. This will only trap moisture in the garage and make it harder for the door to open and close properly.
- Avoid using caulk around the edges of the door. Caulk won’t provide an adequate seal and can break down over time, leading to more leaks.
- Don’t attempt to fix a leak yourself with hardware store parts that are not designed for your specific garage door type – this will create even larger gaps than before, allowing more water through.
- Don’t try to patch up any holes or cracks; instead, replace them with new pieces of metal specifically cut for your garage door size and shape.
- Don’t ignore the problem; ignoring a leak can lead to more severe damage over time and will only cost you more in the long run. The best way to stop a garage door from leaking is to address it immediately with professional help from a reputable garage door installer or repair company.
These five tips can help you to avoid making the problem worse and can be used as a guide to help you quickly and easily identify and repair any leaks in your garage door.
Conclusion
It’s not the most glamorous task, but sealing your garage door can be an easy and relatively inexpensive way to improve your home’s energy efficiency. A leak-free garage door can keep air-conditioned air from leaving and warm air from entering, saving energy and money in the long run.
If you have any additional questions about how to seal up your own garage door or detect if a leak is present, don’t hesitate to contact a professional for help.
Although it might take some foresight and effort on your part, taking the initiative now to seal up any leaks can lead to greater savings later. Sealing your home today will enable you to enjoy a more comfortable and efficient living space tomorrow.
Hopefully, the article on how to stop a garage door from leaking has provided you with useful insight and advice on the best ways to address any water issues in your home. Proper inspection and maintenance can keep your garage door from becoming a major source of air leaks and energy loss.
I am Rick. I grew up helping my dad with his handyman service. I learned a lot from him about how to fix things, and also about how to work hard and take care of business. These days, I’m still into fixing things- only now, I’m doing it for a living.
I’m always looking for new ways to help people grow and develop. That’s why I have created this blog to share all my experience and knowledge so
that I can help people who are interested in DIY repair.