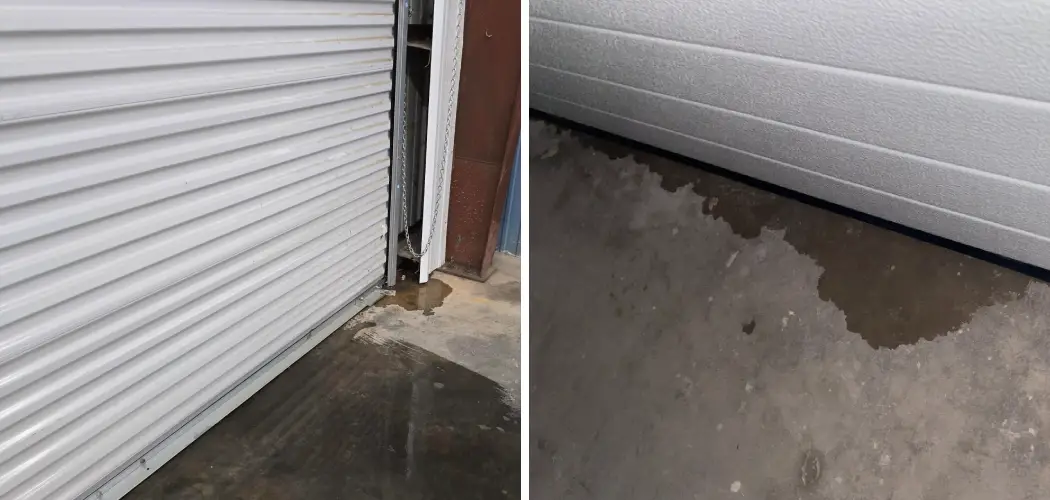
Are you tired of cleaning up the water that seeps under your roll-up door during heavy rain or snow? If so, you’re not alone. Many homeowners face this issue and struggle to find a solution. Luckily, there are several steps you can take to prevent water from coming under your roll-up door.
Keeping water from seeping under a roll-up door is essential for maintaining the integrity of your space, whether it’s a garage, warehouse, or any other area. Water intrusion can lead to numerous issues, including structural damage, mold growth, and loss of valuable items. Fortunately, there are several effective methods to prevent water from entering through the gaps beneath the door.

This guide will explore various strategies, materials, and maintenance tips on how to stop water from coming under roll up door, allowing you to protect your property from the elements effectively.
What Will You Need?
Before we dive into the methods, let’s first gather the necessary materials for the task. Depending on your chosen method, you will need some or all of the following items:
- Silicone caulk
- Weatherstripping
- Liquid rubber sealant
- Door sweeps
- Foam weatherstripping tape
- Concrete sealer
Once you have gathered these materials, it’s time to implement them and keep water at bay.
10 Easy Steps on How to Stop Water From Coming Under Roll Up Door
Step 1: Inspect the Door and Surrounding Area
Begin by examining your roll-up door and its surrounding area for any visible gaps or damage. Look for wear and tear on the door itself and the threshold it rests upon. Identifying these problem areas is crucial for determining the best approach to prevent water infiltration. Ensure that the door closes fully and securely, as even small openings can allow water to seep through. Regular inspections can help you maintain a watertight seal and extend the life of your door.
Step 2: Clean the Area
Before applying any sealing materials, it’s essential to clean the area around the roll-up door thoroughly. Remove any dirt, debris, or old sealant that may impede the effectiveness of the new materials. Use a broom to sweep away loose particles, and consider using a pressure washer for more stubborn grime. Allow the area to dry completely before proceeding to the next step, as a clean and dry surface will enhance adhesion and ensure a better seal against water intrusion.

Step 3: Apply Weatherstripping
Weatherstripping is vital in preventing water from seeping under your roll-up door. Based on the gaps you’ve identified during the inspection, start by choosing the appropriate type of weatherstripping. Various materials are available, including adhesive-backed foam, V-strip, and rubber. Measure the length of the doorframe to ensure you purchase enough weatherstripping material.
Begin applying your chosen weatherstripping along the bottom edge of the door or the doorframe. Make sure to press it firmly to create a tight seal, ensuring there are no visible gaps. If using adhesive-backed foam, peel off the backing and stick it directly to the surface. You may need to use additional adhesive for more robust options, such as V-strip. It’s crucial to check that the door can still open and close smoothly after installation. Once applied, weatherstripping will create an effective barrier against rain, snow, and wind, drastically reducing the chances of water intrusion.
Regularly inspect the weatherstripping for signs of wear and replace it as needed to ensure ongoing protection against moisture.
Step 4: Install a Door Sweep
A door sweep is an effective way to block water from entering under your roll-up door. To install a door sweep, first measure the width of your door and cut the sweep to fit if necessary. Position the sweep so it rests firmly on the floor when the door is closed, preventing gaps. Attach the sweep using the provided screws or adhesive backing, making sure it’s secure. This addition will help provide an extra layer of protection against water intrusion during heavy rain or melting snow.
Step 5: Use Liquid Rubber Sealant
Liquid rubber sealant can be applied to fill in any cracks or gaps around the threshold and bottom of the roll up door. Before application, ensure the area is clean and dry. Using a caulk gun, apply the liquid rubber evenly along the seams and let it cure as per the manufacturer’s instructions. This waterproof barrier will help seal small openings and protect against potential leaks.
Step 6: Check the Threshold
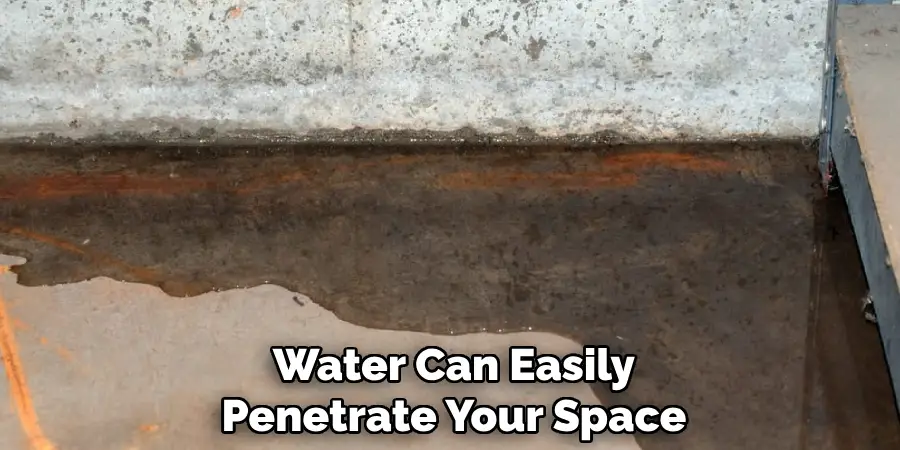
The threshold is crucial in preventing water from seeping underneath your roll-up door. The raised edge acts as a barrier between the door and the ground. Start by inspecting the existing threshold for any signs of damage, wear, or misalignment. Water can easily penetrate your space if the threshold is not properly sealed or cracked. Consider replacing it with a new threshold if it shows significant deterioration.
If the threshold is still in good shape, apply a high-quality concrete sealer along its edges to create an additional waterproof barrier. This not only enhances the threshold’s durability but also helps protect it from constant exposure to moisture. Let the sealer cure thoroughly before using the door, as this ensures the best possible seal. Additionally, suppose your door sits lower than the surrounding pavement or driveway. In that case, you might consider raising it with a new threshold extension or adjusting the door height, which can significantly reduce the risk of water intrusion from rain or melting snow. Regular threshold maintenance and checks for gaps or cracks will dramatically enhance your door’s watertight effectiveness and prolong its lifespan.
Step 7: Apply Foam Weatherstripping Tape
Foam weatherstripping tape is a supplementary barrier to further prevent water from entering under your roll-up door. Select the correct width of foam tape to suit the gaps you’ve identified. Cut the tape to the required length, then peel off the backing to reveal the adhesive side. Press the tape firmly into place along the bottom edge of the door or wherever you notice any additional gaps.
Ensure the foam creates a tight seal when the door is closed, preventing moisture from seeping in. This simple addition can significantly enhance your water protection strategy and should be inspected periodically for wear or compression, replacing it as necessary.
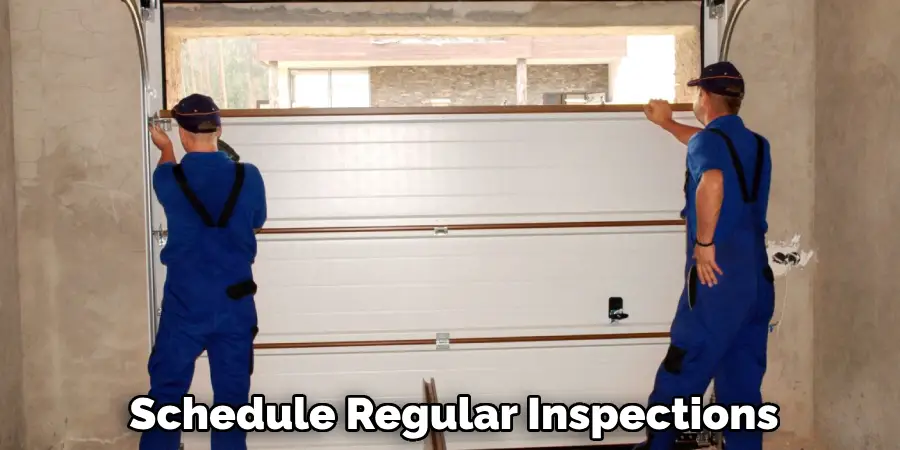
Step 8: Regular Maintenance
Proper maintenance is essential for ensuring the long-term effectiveness of your waterproofing measures. Schedule regular inspections of your roll-up door and its sealing components, such as weatherstripping, door sweeps, and thresholds. Look for signs of wear, such as cracks, peeling, or gaps, and address any issues promptly.
Clean the area periodically to prevent dirt and debris from obstructing the seals. Additionally, consider seasonal maintenance, particularly before wet weather, to ensure that all sealing mechanisms function properly. By being proactive about maintenance, you can extend the life of your door and maintain a secure barrier against moisture intrusion.
Step 9: Inspect and Repair Surrounding Areas
Beyond the door itself, inspecting the surrounding areas for potential sources of water intrusion is crucial. Examine the exterior walls, siding, and foundation near the roll-up door to identify any cracks, gaps, or other vulnerabilities. Any openings in these areas can allow water to seep in, undermining your waterproofing efforts.
If you discover any issues, seal them with appropriate materials, such as caulk or masonry sealant. Additionally, ensure that landscaping and drainage systems are appropriately directing water away from the door. Adequate drainage helps prevent water accumulation that could compromise the door’s effectiveness, ensuring your space remains dry and protected over time. Regularly assess these areas to maintain an effective barrier against moisture.
Step 10: Install a Water Diverter
A water diverter is an additional feature that can significantly enhance the waterproofing of your roll-up door. This device channels water away from the door’s entrance, preventing it from pooling near the threshold. To install, first determine the best location for the diverter, ideally positioned above the door or integrated into the awning if available.
Follow the manufacturer’s instructions to secure it in place, ensuring that it’s angled appropriately to direct water away from the entrance. Regular checks and maintenance of the diverter will ensure it functions effectively, providing an extra layer of protection by mitigating the risk of water intrusion during heavy rain or melting snow.
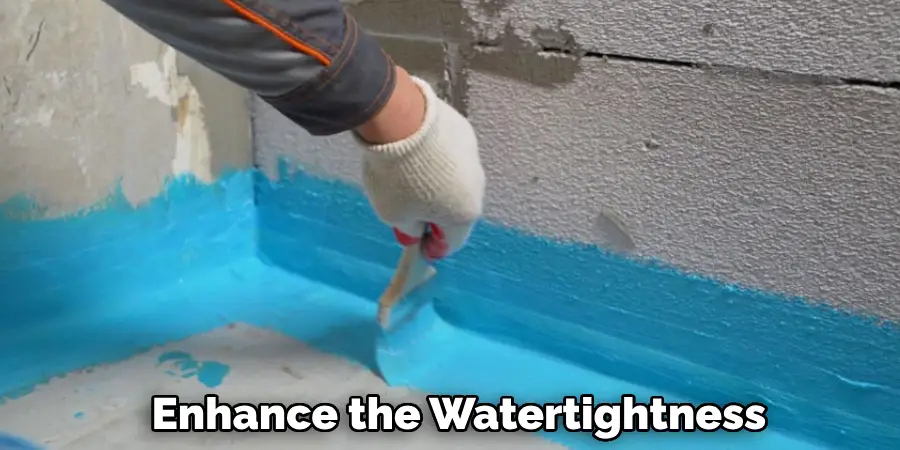
By following these steps, you can significantly enhance the watertightness of your roll-up door and protect your space from potential water damage.
Conclusion
In summary, effectively preventing water intrusion under your roll-up door involves a comprehensive approach that combines proper installation, appropriate sealing techniques, and regular maintenance practices.
You can significantly reduce the risk of water seepage by inspecting and repairing the door, threshold, and surrounding areas, as well as implementing barriers such as foam weatherstripping and liquid rubber sealant. Installing features like water diverters further enhances protection by directing rain away from the entrance. Periodic inspections and timely maintenance are essential to ensure that all measures remain effective.
By diligently following these steps on how to stop water from coming under roll up door, you can safeguard your space against moisture damage and prolong the lifespan of your roll-up door.
I am Rick. I grew up helping my dad with his handyman service. I learned a lot from him about how to fix things, and also about how to work hard and take care of business. These days, I’m still into fixing things- only now, I’m doing it for a living.
I’m always looking for new ways to help people grow and develop. That’s why I have created this blog to share all my experience and knowledge so
that I can help people who are interested in DIY repair.