Like most people, you probably use your garage door opener every day. And like most people, you may not think about how the batteries in your garage door opener work until they die. When that happens, it’s usually a scramble to find new batteries and get them installed before the garage door can’t be opened.

Instead of struggling with a manual door, learn how to replace the batteries in your Liftmaster garage door opener easily. This blog post will show you how to replace batteries in liftmaster garage door opener. We’ll also explain why it’s important to have backup batteries for your garage door opener. Read on for more information.
Summary: Locate the battery compartment on the back of the opener and remove the cover. Take out the old batteries and insert the new ones, making sure to match the positive and negative ends correctly. Replace the cover and plug the opener back in or turn the power source back on. Your Liftmaster garage door opener should now be ready to function with its new batteries.
Step by Step Instructions: How to Replace Batteries in Liftmaster Garage Door Opener
Step 1: Gather Necessary Tools and Supplies
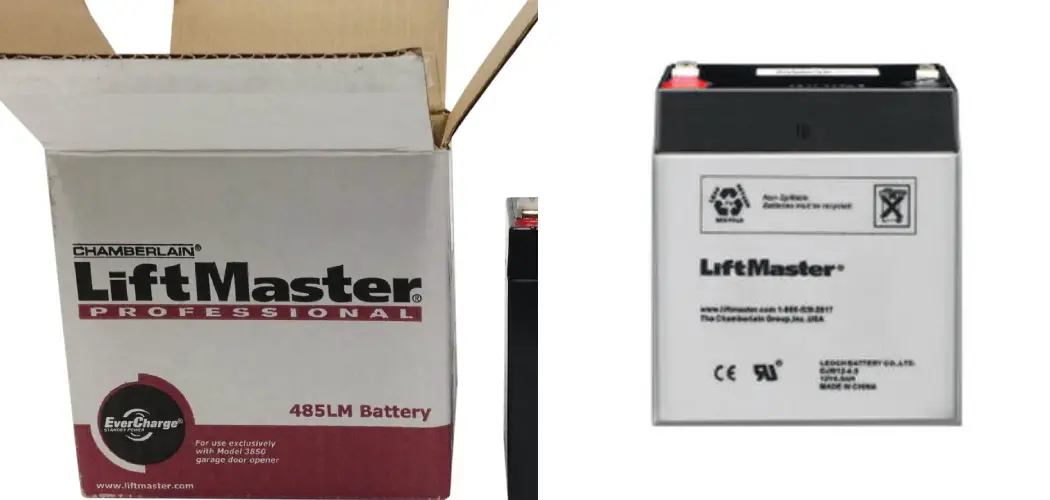
Before beginning the battery replacement process, gather the necessary tools and supplies. You will need a compatible replacement battery for your Liftmaster garage door opener, a screwdriver (typically a Phillips head), and a small stepladder or sturdy chair to reach the opener unit.
Step 2: Locate the Garage Door Opener Unit
Find the Liftmaster garage door opener unit, which is typically mounted on the ceiling in the center of your garage. Position your stepladder or chair beneath the opener to provide easy access to the unit.
Step 3: Disconnect Power to the Opener
For safety reasons, disconnect power to the garage door opener before attempting to replace the battery. Unplug the opener from the electrical outlet or switch off the corresponding circuit breaker.
Step 4: Locate the Battery Compartment
Examine the Liftmaster garage door opener unit to locate the battery compartment. The battery compartment is usually located on the back or side of the opener and may have a small door or cover that can be removed with a screwdriver.
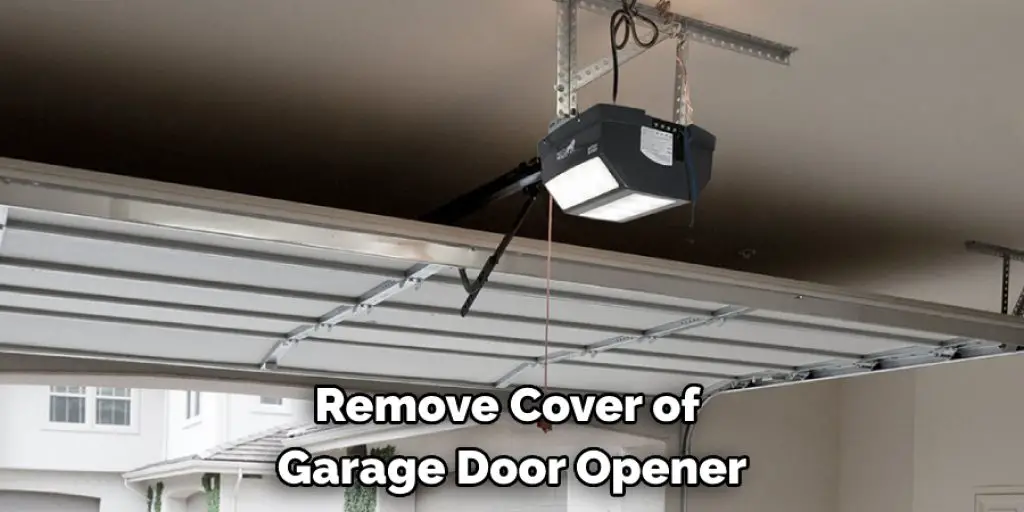
Step 5: Remove the Battery Compartment Cover
Using your screwdriver, remove the screws securing the battery compartment cover, and gently pry the cover off. Take care not to damage any surrounding components or wiring.
Step 6: Remove the Old Battery
Carefully remove the old battery from the compartment. Depending on the model of your Liftmaster garage door opener, the battery may be connected to the unit with a plug or terminals. If the battery has a plug, gently disconnect it from the opener. If the battery has terminals, take note of their orientation and gently remove the connectors.
Step 7: Dispose of the Old Battery Properly
Old batteries contain hazardous materials and should be disposed of properly. Many local waste management facilities or retail stores offer battery recycling programs. Do not dispose of the battery in your regular trash or attempt to incinerate it.
Step 8: Install the New Battery
Insert the new battery into the battery compartment, ensuring it is oriented correctly. If the battery has a plug, connect it to the garage door opener. If the battery has terminals, attach the connectors to the corresponding terminals, ensuring the proper orientation. Make sure the battery is securely seated in the compartment.
Step 9: Replace the Battery Compartment Cover
Place the battery compartment cover back onto the opener and secure it with the screws you removed earlier. Make sure the cover is firmly in place and does not interfere with any other components or wiring.
Step 10: Reconnect Power to the Opener
Plug the garage door opener back into the electrical outlet or switch the corresponding circuit breaker back on. The opener should now have power, and the new battery will serve as a backup in case of a power outage.
Step 11: Test the Garage Door Opener
Test the functionality of your Liftmaster garage door opener by using the remote control or wall-mounted control panel to open and close the garage door. The door should operate smoothly and without interruption. If you experience any issues, consult your opener’s owner’s manual or contact a professional for assistance.
Step 12: Perform Regular Battery Checks
To ensure the continued functionality of your Liftmaster garage door opener, perform regular battery checks. Most opener models have a battery status indicator, such as an LED light or a warning beep, to signal when the battery is low or needs replacement. Replace the battery as needed to maintain optimal performance and reliability.
Step 13: Maintain Proper Opener Function
In addition to regular battery checks, perform routine maintenance on your Liftmaster garage door opener to keep it functioning properly. Lubricate moving parts, tighten any loose bolts or screws, and inspect the tracks and rollers for signs of wear or damage. Consult your owner’s manual for specific maintenance instructions and recommendations for your particular opener model.
Step 14: Replace Remote Control Batteries
While replacing the battery in your Liftmaster garage door opener, it’s a good idea to check and replace the batteries in your remote controls as well. Weak or depleted batteries can cause your remote control to function inconsistently or not at all.
To replace the batteries in your remote control, follow these steps:
- Locate the battery compartment on the back of the remote control. It may have a small door or cover that slides or snaps off.
- Remove the battery compartment cover, and take note of the battery orientation.
- Remove the old batteries and dispose of them properly, as described earlier for the opener battery.
- Insert the new batteries, ensuring they are oriented correctly.
- Replace the battery compartment cover and test the remote control to ensure it operates the garage door opener as expected.
Step 15: Keep a Spare Battery on Hand
To minimize downtime and maintain the functionality of your Liftmaster garage door opener, consider keeping a spare battery on hand. This way, you’ll be prepared to replace the battery as soon as you notice any signs of depletion or receive a low battery warning.
Step 16: Familiarize Yourself with Manual Operation
In case of a power outage or battery failure, it’s important to know how to operate your garage door manually. Familiarize yourself with the manual release mechanism, usually a red cord with a handle, which disengages the opener from the garage door, allowing you to open and close the door manually. To reengage the opener after power has been restored or the battery has been replaced, consult your owner’s manual for specific instructions.
Step 17: Share Your Knowledge
Once you’ve successfully replaced the battery in your Liftmaster garage door opener, consider sharing your knowledge and experience with others. This can be done by writing a blog post, posting on social media, or creating a video tutorial to help others learn how to replace batteries in their garage door openers.
By following these steps and regularly maintaining your Liftmaster garage door opener, you can ensure its reliable performance and extend its lifespan. Replacing the battery as needed will help prevent unexpected malfunctions and provide peace of mind, knowing that your garage door opener will function even in the event of a power outage.
Other Alternative Ways to Replace Batteries in Liftmaster Garage Door Opener
1. Using a Screwdriver
You can use a screwdriver to replace the batteries in your Liftmaster garage door opener. To do this, you will need to remove the cover of the garage door opener. There should be some screws on the back of the cover that you can remove with the screwdriver. Once the screws are removed, you can take off the cover and access the batteries.
2. Removing the Bottom Plate
Another way to replace the batteries in your Liftmaster garage door opener is by removing the bottom plate. This can be done by removing the screws that hold it in place. Once the screws are removed, you can lift the bottom plate off the opener.
3. Replacing the Remote
If you have a remote for your Liftmaster garage door opener, you can also replace the batteries in it. To do this, you will need to remove the back cover of the remote. There should be some screws on the back that you can remove with a screwdriver.
Once the screws are removed, you can take off the back cover and replace the batteries. Be sure to put the back cover back on securely before putting the remote back in your pocket or purse.
4. Replacing the Wall Console
If you have a wall console for your garage door opener, you will need to remove it in order to change the batteries. There are two screws on the bottom of the console that holds it in place. Remove these screws and set the console aside.
5. Removing the Battery Door
A battery door on the back of the garage door opener needs to be removed to replace the batteries. This door is held in place by two screws. Remove these screws and take the battery door off. Once the battery door is removed, you can access the batteries and replace them.
Make sure to put the new batteries in the correct orientation, as indicated on the garage door opener. Once the batteries are replaced, put the battery door back on and secure it with the screws. Next, replace the cover of the garage door opener and reattach the screws. You should now be able to open and close your garage door using your remote or wall console.
Some Helpful Tips and Suggestions
1. Before you start, make sure the power to the garage door opener is turned off.
2. Open the cover of the garage door opener. This is usually done by pulling down on a lever or release button near the ceiling.
3. Locate the battery compartment. It will be either on the side or bottom of the garage door opener.
4. Remove the old battery. There may be a clip or screw that needs to be undone to do this.
5. Insert the new battery, ensuring the positive and negative terminals are in the correct positions.
6. Close the cover of the garage door opener and test the opener to make sure it is working correctly.
7. If the battery is unavailable locally, it can be ordered from the manufacturer’s website.
When Should You Replace Batteries in Liftmaster Garage Door Opener?
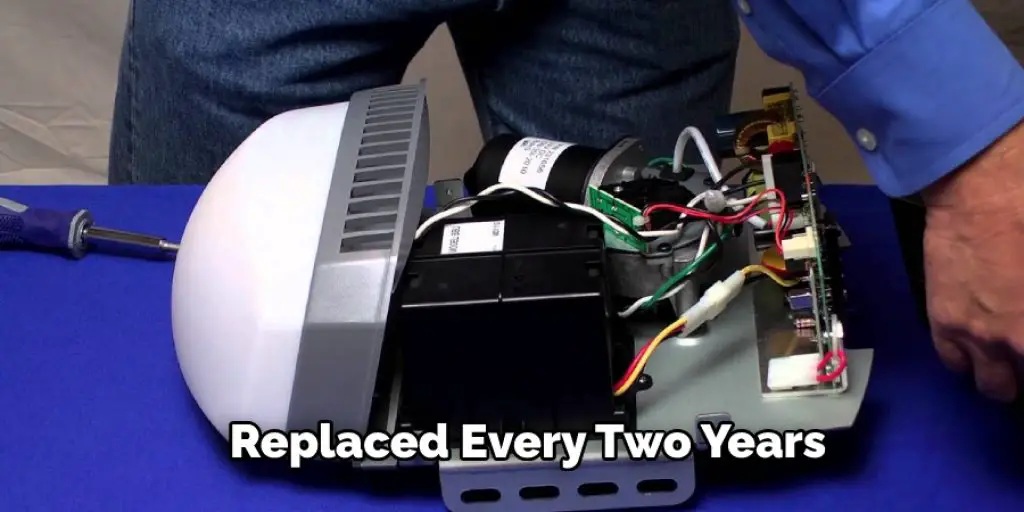
The batteries in a Liftmaster garage door opener should be replaced every two years to ensure the best performance. If you notice that your garage door isn’t opening as smoothly as it used to, or if it’s taking longer than usual to open, then it might be time to replace the batteries. You can also test the battery strength by pressing the wall button and checking the indicator light. If the light is yellow, the batteries are weak and need to be replaced.
Replacing the batteries in a Liftmaster garage door opener is relatively simple. First, make sure that the power to the garage door is turned off by flipping the switch at the breaker box. Then, remove the cover from the garage door opener and locate the battery compartment. Remove the old batteries and replace them with new ones, ensuring that the polarity is correct. Replace the cover and flip the switch at the breaker box to turn on the power. Your garage door should now open and close smoothly.
Conclusion
When it comes time to replace the batteries in your Liftmaster garage door opener, there are a few things you’ll need to have on hand before you get started. The first step is to remove the cover of the garage door opener. This can be done by unscrewing the six screws that hold it in place. There are two screws at the top and four on the bottom.
Once these are removed, you can pull off the cover. Be careful not to lose any of the screws as they will be needed later. Once the cover has been removed, locate the battery compartment. It is located on the opener’s side and is rectangular. We hope this blog post has guided you on how to replace batteries in liftmaster garage door opener. If you have any questions or want to know more, then feel free to comment below!
I am Rick. I grew up helping my dad with his handyman service. I learned a lot from him about how to fix things, and also about how to work hard and take care of business. These days, I’m still into fixing things- only now, I’m doing it for a living.
I’m always looking for new ways to help people grow and develop. That’s why I have created this blog to share all my experience and knowledge so
that I can help people who are interested in DIY repair.