
Dented garage doors are unsightly and can be dangerous. However, if you have a dent in your garage door, there is no need to replace the entire door. Instead, you can quickly repair the damage with a few simple tools. This article will show you how to repair dented garage door. We will also provide some tips on preventing further damage to your door. Keep reading to learn more.
A garage is a place where you park your car and store all the tools, equipment, and other belongings. It is also a place to work on your car or do some repairs. If you have a garage, you know that keeping it in good condition is essential. A dented garage door can make your garage look harmful and dangerous.
What is a Dent?
A dent is an indentation or concave shape in a surface caused by a forceful impact. In the case of garage doors, dents are usually caused by accidental bumps from vehicles or objects. They can also be caused by extreme weather conditions such as hailstorms, strong winds, or even heavy rain.
You may think that a small dent in your garage door is not a big deal, but it can lead to bigger problems if left unattended. It can affect the functionality of the door, making it difficult to open or close. Additionally, dents can compromise the overall integrity of the garage door, making it easier for intruders to break into your home.
It is crucial to address any dents in your garage door promptly to avoid further damage and ensure the safety of your home and belongings.
Why Should You Immediately Repair a Dented Garage Door?
Your garage door is one of the essential parts of your home, and it’s essential to keep it in good condition. A dented garage door can cause several problems, including:
1. Difficulty opening and closing the door: It may become difficult to open and close if your garage door is dented. This can be a major inconvenience, especially if you use your garage frequently.
2. decreased security: A dented garage door is more likely to be forced open than a non-dented door. This could put your home at risk for break-ins and theft.
3. Damage to your car: If your garage door is damaged, it could fall and hit your car, causing damage.
4. Increased energy bills: If your garage door is not functioning correctly, cold air could enter your home, resulting in higher energy bills.
If you have a dented garage door, it’s essential to repair it as soon as possible. Waiting to repair the damage can cause further problems and make the repairs more difficult and expensive. You can either call a professional to come out and take care of it for you or try to repair it yourself.
Determine the Extent of the Damage
Garage doors can suffer a lot of damage, especially if they are not properly maintained. The most common type of damage is denting, which can be caused by several things such as vehicles, falling objects, or even extreme weather conditions.
The first step in repairing a dented garage door is determining the extent of the damage. This can be done by simply inspecting the door for any signs of warping, cracks, or other damage. Once you have determined the extent of the damage, you can then proceed with repairing it.
If the damage to your garage door is minor, such as a small dent or scratch, then you may be able to repair it yourself. However, if the damage is more severe, such as a significant dent or crack, you will need to call in a professional.
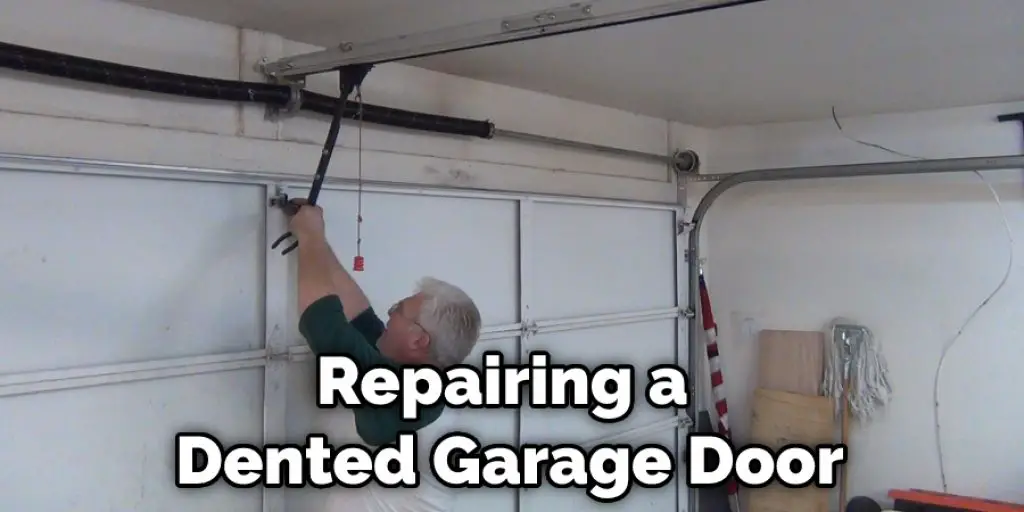
A Detailed Guide on How to Repair Dented Garage Door
Method 1: Hammering Out the Dent With a Mallet
If you have a small dent in your garage door, you may be able to repair it with a simple hammering method. This will work best on more minor dents that are not too deep. You will need a rubber mallet for this method.
Start by gently tapping the dent with the mallet. If the dent is shallow, this should be enough to pop it out. If the dent is more profound, you may need to tap harder or use a chisel to create a starting point. Once you have made a slight indentation, you can start hammering away at the dent until it pops out completely.
This method may take some time and patience, but it is a relatively easy way to fix a small dent in your garage door.
Method 2: Filling the Dent With Bondo
Bondo is a two-part putty often used to repair dents in cars. The putty can also fill small holes in wood, metal, and drywall. The pros of Bondo are that it is easy to use and can be used to fix a wide variety of things. The cons of Bondo are that it can be messy to use, and it can take some time for the putty to dry.
You will need:
Bondo:
Available at most hardware stores. It comes in two parts, which you need to mix together before using.
Spreader:
A metal or plastic tool is used to spread Bondo evenly on the surface.
Sandpaper:
Used for smoothing out the Bondo once it has dried.
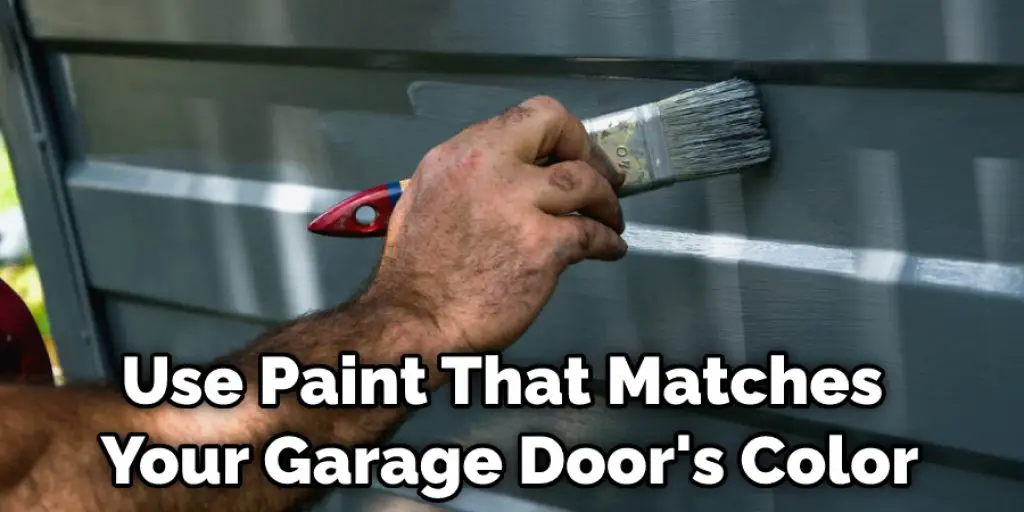
Paint:
If your garage door is painted, you will need some paint that matches the color of your door.
Use a clean rag to remove any dirt, dust, or debris from the area around the dent. This will help Bondo adhere to the garage door.
Use a putty knife to apply a thick layer of Bondo to the dent. Be sure to smooth out the Bondo to level with the rest of the garage door. Allow the Bondo to dry for at least 24 hours.
Use sandpaper to sand down the Bondo until it is level with the rest of the garage door. Be sure to use fine-grit sandpaper so that you do not damage the door.
Use a primer to prime the area around the Bondo. Once the primer is dry, use paint that matches your garage door’s color to paint over the Bondo. Allow the paint to dry for at least 24 hours before using the garage door.
By following these steps, you should be able to repair a dent in your garage door. However, if the dent is too big or the Bondo does not seem to be holding, you may need to replace the entire section of the door.
Method 3: Fixing Dents in a Garage Door With Suction Cups
If you have a dent in your garage door that you can’t seem to fix using the methods described above, you may be able to fix it using suction cups. This method is a bit riskier, as it involves standing on top of the door, but it can be a great way to fix minor dents.
Clean the surface of the door where the suction cups will be attached. Ensure there is no dirt or debris on the surface, as this could prevent the cups from sticking.
Attach two suction cups to the door’s surface, making sure that they are evenly spaced apart. Apply pressure to the suction cups until they stick firmly to the door.
Use a hammer to hit the dent from the opposite side of the door. Be careful not to hit the suction cups, as this could cause them to come loose.
Remove the suction cups and check to see if the dent has been fixed. Suppose it has not. Repeat the steps above until the dent is gone. This is a crucial method in how to repair dented garage door.
Method 4: Using Heat to Repair Dented Garage Door Panels
If your garage door panel is steel, you can use heat to remove the dent. This is a more advanced repair method and should only be attempted if you are comfortable working with tools and experience basic repairs. You will need a heat gun and a few other supplies to complete this repair.
Start by cleaning the area around the dent. This will help the heat gun work more effectively. Next, set the heat gun to a low setting and hold it about six inches from the surface of the garage door panel.
Slowly move the heat gun back and forth across the panel’s surface until the metal starts to soften. Once the metal is soft, use a plunger to push the dent out from the inside. Finally, allow the metal to cool, and then re-paint or re-coat the area.
If you are not comfortable using a heat gun, you can try using a vacuum cleaner with the hose attachment. Start by cleaning the area around the dent and then place the hose over the mark. Please turn on the vacuum cleaner and hold it for about 30 seconds. The suction should pop the dent out. Be careful not to damage the door panel with the vacuum cleaner.
Method 5: Replacing Your Garage Door Panels
If the damage is only to the panels and not your garage door frame, you can replace the panels yourself. This is a relatively straightforward process, but it will require some tools and time. You will need a drill, a screwdriver, a level, scissors, a tape measure, and replacement panels.
– Begin by measuring the height and width of your door panels. Next, you will need to purchase replacement panels that are the same size.
– Next, use the level to ensure that the replacement panel is perfectly straight. Mark where the screws will go on the panel with a pencil.
– Drill pilot holes in each of the marks you made. Be careful not to drill through the panel.
– Insert the screws and tighten them until the panel is secure.
– Repeat these steps for all of the panels on your garage door.
– If you have a section of your garage door damaged beyond repair, you can purchase a replacement section or have a professional install a new garage door for you.
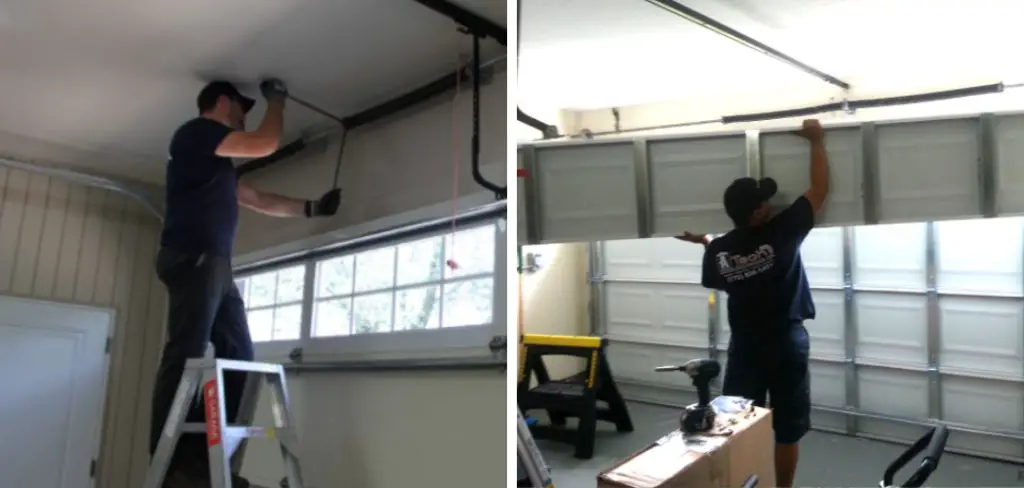
Method 6: Get Professional Help
If the damage to your garage door is extensive, it is best to get professional help. A professional will be able to assess the damage and make sure that your garage door is repaired correctly. They will also be able to advise you on whether or not it is worth improving your garage door or if you should replace it entirely.
– Contact a local garage door company and explain the damage to your garage door.
– The representative will be able to give you a quote for the repair or replacement of your garage door.
– Once you have received a few quotes, decide which company you would like to use and schedule an appointment.
– Be sure to ask any questions you have about the repair or replacement process before scheduling an appointment.
How Much Could It Cost?
The cost of repairing a dented garage door will vary depending on the severity of the damage and the repair method used. On average, homeowners can expect to spend between $100 to $500 for repairs, with more extensive damage or professional services costing more.
If you choose to hire a professional for the repair, they may also charge a service fee or hourly rate in addition to the cost of materials. However, hiring a professional can ensure that the repair is done correctly and save you time and effort in the long run.
Ultimately, it’s essential to address dents in your garage door as soon as possible to prevent further damage and potentially costly repairs. By using one of these methods or seeking professional help, you can restore your garage door’s appearance and functionality. So, don’t wait – get those dents fixed today!
Frequently Asked Questions:
Q1: Can I Repair a Dent in My Garage Door Without Professional Help?
A: Yes, you can repair a dent in your garage door with some DIY methods such as using filler or suction cups. However, if the damage is extensive or you are not comfortable attempting the repairs yourself, it is best to seek professional help. You don’t want to risk causing further damage or injury. You can always get a quote from a professional and compare it to the cost of doing it yourself to determine the best option for you.
Q2: How Can I Prevent My Garage Door from Getting Dents?
A: To prevent dents in your garage door, make sure to avoid hitting it with any objects or vehicles. You can also consider installing protective padding on the interior of your garage door to cushion any accidental impact. Regularly inspect and maintain your garage door to detect any potential issues early on and prevent them from becoming larger problems.
Q3: How Do I Know If I Should Replace My Garage Door Instead of Repairing It?
A: You should consider replacing your garage door if the damage is extensive, the door is old and worn, or you want to upgrade to a newer model with better features or design. A professional can help assess the condition of your garage door and advise you on the best course of action. So, it is always better to consult with a professional before making a decision. Additionally, if the repairs will cost more than half of the price of a new garage door, it may be more economical to replace the entire door.
Q4: Can I Use Heat or Suction Cups to Repair Dents on Any Type of Garage Door Panel?
A: No, using heat or suction cups to repair dents is only recommended for steel garage door panels. These methods may not be effective or could cause further damage if used on other materials such as wood or aluminum. It’s best to consult a professional for the appropriate method of dent repair for your specific type of garage door. End of Document.
Thank you for reading our guide on how to repair dented garage door panels. We hope you found it helpful and were able to successfully fix any dents on your own. Remember, safety should always be a top priority when attempting any home repairs, so if you are not comfortable or confident in your abilities, it is best to seek professional help. Additionally, regular maintenance and care of your garage door can help prevent dents from occurring in the future. Keep your garage door looking good and functioning properly for years to come! Happy repairing!
Conclusion:
Garage door dents can be repaired, but it is essential to take your time and do it properly. You may need a few tools and some help from a friend, but the results are worth it! If you have never tried repairing a garage door dent, now is the time to try it. We hope this article on how to repair dented garage door will help you.
I am Rick. I grew up helping my dad with his handyman service. I learned a lot from him about how to fix things, and also about how to work hard and take care of business. These days, I’m still into fixing things- only now, I’m doing it for a living.
I’m always looking for new ways to help people grow and develop. That’s why I have created this blog to share all my experience and knowledge so
that I can help people who are interested in DIY repair.