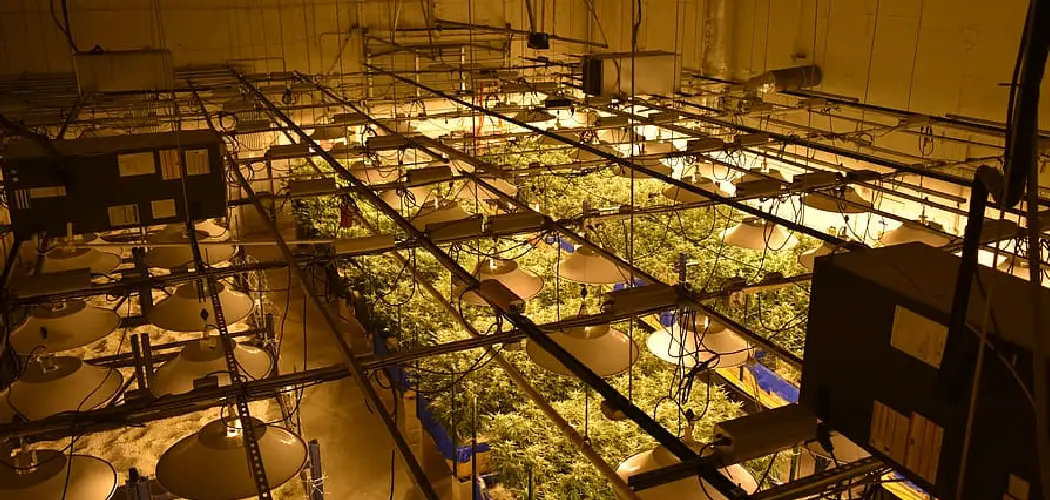
If you’re a cannabis grower, you know that having your own grow room is the key to successful cultivation. But what if you don’t have the space or money to create a traditional grow room? With a little bit of creativity, you can easily convert your garage into a perfect grow room.
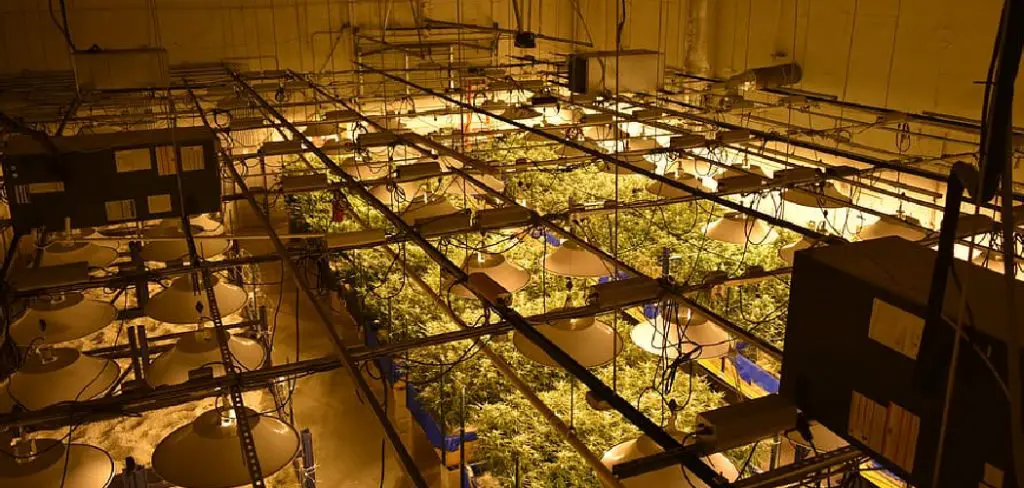
A grow room can be a great addition to your home, whether you’re using it to cultivate cannabis or other plants. However, if you’re thinking of building a grow room in your garage, there are some important things to keep in mind. In this blog post, we’ll outline how to build a grow room in a garage and provide some tips for making sure it’s done right. Keep reading for more information!
Summary: To build a grow room in a garage, you need to create an enclosed space that is well ventilated and has a controlled climate. Start by cleaning and preparing the space, then install reflective materials on the walls and ceiling to maximize light distribution. Install an exhaust fan and air intake system to regulate temperature and humidity. Set up your growing area with the proper equipment, such as grow lights, growing mediums, and pots.
8 Benefits of Building a Grow Room in a Garage
1. Increased Privacy
When growing plants in a grow room, you’ll have increased privacy since the room can be sealed off from the rest of the house. This is especially important if you live in a state where cannabis is still illegal.
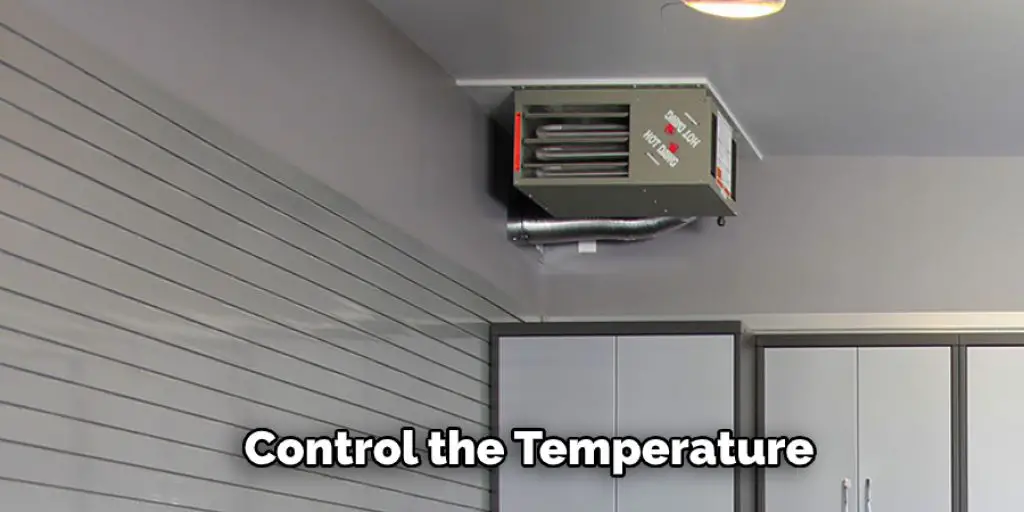
2. Temperature and Humidity Control
A grow room in a garage is the perfect place to control the temperature and humidity levels. This is important for the health of your plants. Ensure the garage is well insulated, and consider installing a humidifier or dehumidifier to get the perfect environment for your plants.
3. Ventilation
Your plants need fresh air to grow healthy and strong. Ensure you have proper ventilation in your grow room by installing a fan or using an exhaust system. This will help remove any hot air or moisture and keep your plants healthy.
4. Reduced Noise Levels
One of the benefits of growing cannabis in a grow room is that it can help to reduce noise levels. When growing cannabis indoors, you will need to use fans and other equipment that may produce noise. If you are growing in a grow room, this noise will be contained within the room, which can help to reduce noise levels in the rest of your home.
5. No Sunlight
In order to avoid exposing your plants to too much sunlight, you can build your grow room in a garage. This will also help to keep the temperature consistent. If you don’t have a garage, you can also consider building your grow room in an attic or basement.

6. Increased Security
When growing cannabis, you need to keep your plants safe from theft or burglary. A grow room in a garage is a great way to increase the security of your plants. It will be harder for someone to steal your plants if hidden away in a garage. Additionally, a grow room in a garage can help keep your plants cool in the summer and warm in the winter.
7. Easy Access to Water and Nutrients
A grow room in a garage is also a great way to have easy access to water and nutrients. This is especially important if you are growing cannabis plants, as they require a lot of water and nutrients to grow properly. Having easy access to these resources will make it much easier to care for your plants and help them grow big and healthy.
8. Cost-effective Solution
A grow room in a garage is a great way to grow your own cannabis on a budget. You can use simple materials like insulation, plastic sheeting, and duct tape to create an adequate growing space for a fraction of the cost of purchasing a pre-made grow room.
18 Effective Steps on How to Build a Grow Room in a Garage
Step 1: Plan Your Grow Room Layout
Begin by assessing the space available in your garage and determining the size of your grow room. Consider factors such as the number of plants you wish to grow, the type of lighting and ventilation systems you will use, and any additional equipment needed for your specific growing method. Sketch a layout of your grow room, noting the placement of lights, fans, and other equipment.
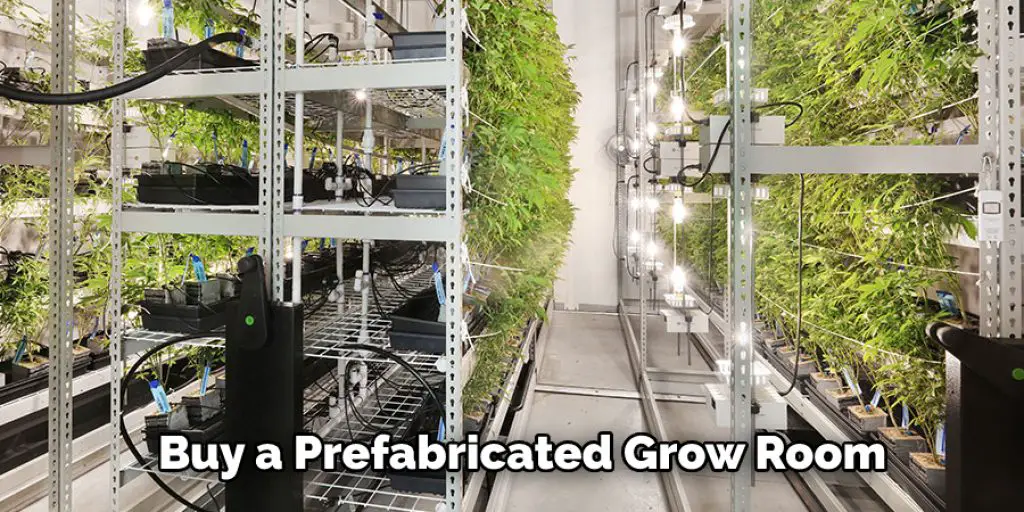
Step 2: Choose a Grow Room Enclosure
Select an enclosure for your grow room that fits within the available space in your garage. This could be a pre-made grow tent, a DIY wooden frame covered in reflective material, or a custom-built grow room using insulated panels. Ensure that the enclosure is light-tight to prevent light leaks and maintains consistent temperatures and humidity levels.
Step 3: Install Reflective Material
Line the interior walls of your grow room enclosure with reflective material, such as Mylar or white polyethylene sheeting, to maximize light exposure and efficiency. Attach the material securely to the walls and ceiling, making sure there are no gaps or openings that could allow light to escape.
Step 4: Set Up the Lighting System
Choose a lighting system suitable for your plants’ needs and the size of your grow room. Options include LED, high-intensity discharge (HID) lights, or compact fluorescent lights (CFLs). Install the lights according to the manufacturer’s instructions, ensuring they are securely mounted and at the appropriate distance from your plants. Set up a timer to automate the light cycle, providing the necessary hours of light and darkness for your plants’ growth stages.
Step 5: Install Ventilation and Air Circulation
Proper ventilation and air circulation are crucial for a successful grow room. Install an exhaust fan and carbon filter system to remove heat and odors from the grow room, as well as an intake fan to bring in fresh air. Position oscillating fans within the grow room to circulate air around the plants, helping to prevent mold and mildew growth and promoting strong, sturdy stems.
Step 6: Install a Temperature and Humidity Control System
Maintain optimal temperature and humidity levels in your grow room by installing a temperature and humidity control system. This may include a digital thermostat, humidifier, or dehumidifier, depending on your specific needs. Monitor the conditions in your grow room regularly to ensure they remain within the ideal range for your plants.
Step 7: Set Up Irrigation and Nutrient Delivery
Depending on your chosen growing method, set up an irrigation and nutrient delivery system to provide your plants with the necessary water and nutrients for healthy growth. This could include a drip irrigation system, hydroponic or aeroponic systems, or simply hand-watering your plants.
Step 8: Create a Secure and Sanitary Environment
Protect your plants from pests, diseases, and contaminants by maintaining a clean and secure environment. Seal any gaps or openings in the grow room enclosure, and consider using weather stripping around doors to prevent drafts and pests from entering. Use a HEPA filter on your intake fan to remove airborne contaminants and regularly clean the grow room, removing any dead leaves or debris.
Step 9: Install Shelving or Plant Supports
Depending on the size and layout of your grow room, install shelving or plant supports to maximize your growing space and provide support for your plants. This could include vertical shelving for smaller plants or trellises for larger, vining plants.
Step 10: Choose and Prepare Your Growing Medium
Select a suitable growing medium for your plants, such as soil, coco coir, or a hydroponic growing medium. Prepare the growing medium according to the needs of your specific plants and growing method, ensuring proper drainage, aeration, and nutrient availability.
Step 11: Plant and Monitor Your Seeds or Seedlings
Once your grow room is fully set up and functioning, it’s time to introduce your seeds or seedlings. Plant them in your chosen growing medium, following the recommended planting depths and spacing for each specific plant type. Be sure to label your plants to keep track of their growth and any specific care requirements.
Step 12: Apply Nutrients and Water
Provide your plants with the necessary nutrients and water according to their specific needs and your chosen growing method. Monitor your plants closely for any signs of nutrient deficiencies or overwatering, and adjust your feeding and watering schedule accordingly.
Step 13: Train and Prune Your Plants
As your plants grow, train and prune them to optimize their growth and yield. This may involve techniques such as topping, low-stress training, or high-stress training, depending on your specific plants and desired outcomes. Regularly remove any dead or yellowing leaves to promote healthy growth and prevent disease.
Step 14: Monitor and Adjust Environmental Conditions
Continuously monitor the temperature, humidity, and lighting conditions in your grow room, making adjustments as needed to maintain optimal conditions for your plants. This may involve adjusting the height of your lights, increasing or decreasing the intensity of your lights, or adjusting the settings on your temperature and humidity control systems.
Step 15: Manage Pests and Diseases
Regularly inspect your plants for any signs of pests or diseases and treat them promptly to prevent further damage or contamination. Employ preventative measures such as neem oil or other organic pest control methods to minimize the risk of infestations. Maintain a clean and sanitary grow room environment to reduce the likelihood of disease outbreaks.
Step 16: Harvest and Dry Your Plants
When your plants reach maturity and are ready for harvest, carefully cut and remove the plant material, leaving behind any unwanted leaves or stems. Dry the harvested material in a well-ventilated, dark, and cool space, ensuring even drying and preventing mold growth. Monitor the drying process closely and adjust the conditions as needed to achieve the desired drying rate.
Step 17: Cure Your Harvest
Once your plants are fully dried, place the material in airtight containers to begin the curing process. Open the containers daily to allow fresh air exchange and release any built-up moisture. Continue this process for several weeks, or until your harvest reaches the desired flavor and potency.
Step 18: Store and Enjoy Your Harvest
Store your cured harvest in a cool, dark, and dry place, such as an airtight jar or container, to preserve its quality and potency. Enjoy your homegrown plants responsibly, and take pride in the knowledge and effort you put into creating your own grow room in your garage.
By following these steps, you can create a thriving, efficient grow room in your garage, allowing you to cultivate your own plants and enjoy the fruits of your labor. With careful planning, attention to detail, and dedication to maintaining optimal growing conditions, you can achieve a successful and rewarding growing experience.
Some Helpful Tips and Suggestions
1. Make sure to choose a well-ventilated space. The ventilation system should be able to supply fresh air to the plants while removing the heat and humidity created by the lights.
2. Make sure to install a good lighting system. Cannabis plants need a lot of light, so that you will need at least a 600-watt light system.
3. If you’re using soil to grow your plants, use a high-quality soil mix. Soil from the store often contains chemicals that can be harmful to plants.
4. Make sure to water your plants regularly. Cannabis plants need a lot of water, especially when they are flowering.
5. Keep an eye on the pH level of your soil. Cannabis plants need a pH level of 6.0 to 7.5 to thrive.
6. Make sure to harvest your plants at the right time. Marijuana buds are ready to harvest when they are about 50% amber in color.
Few Things to Keep in Mind When Building a Grow Room in a Garage
1. Location: It is important to choose a location for your grows room that will provide the best environment for your plants. The room should be dark and have a stable temperature and humidity.
2. Size: Make sure to size the room appropriately for the number of plants you plan to grow. You don’t want to overcrowd the space and stunt the growth of your plants.
3. Ventilation: Ensure that the room is well-ventilated to provide your plants with enough airflow. This will help to keep the room cool and prevent the buildup of heat and humidity.
4. Lighting: You will need to provide your plants with adequate light to grow healthy and strong. Make sure to choose a lighting system that is appropriate for the size of your room.
5. Security: It is important to take measures to ensure the security of your grow room. Ensure to install a security system and take other precautions to protect your plants from theft or vandalism.
6. Budget: When it comes to budget, there are a few things you need to take into account. The biggest cost is going to be the construction of the room itself. If you’re handy with tools, you can do this yourself for relatively cheap, but it will be more expensive if you have to hire someone else. Other costs include the cost of the grow equipment itself and the cost of electricity to run the lights and fans.
7. Locations: You need to consider a few things when choosing a location for your to grow room. The first is that the room should be dark. This is because cannabis plants need darkness to flower. The second thing to remember is that the room should have a stable temperature and humidity level. This will help to ensure that your plants grow healthy and strong.
Frequently Asked Questions
How Long Does it Take to Build a Grow Room in a Garage?
Building a grow room in a garage can be a relatively quick process, depending on the size of the room and the extent of the modifications that need to be made. Generally, it will take two to four days to complete the construction of a small grow room in a garage.
What Supplies Do I Need to Build a Grow Room in a Garage?
To build a grow room in a garage, you will need to purchase some basic supplies, such as plywood, insulation, construction adhesive, caulk, and a door. You may also need to purchase some specialized grow room supplies, such as ventilation fans and light fixtures.
What are the Requirements for Building a Grow Room in a Garage?
Some specific requirements must be met to build a grow room in a garage. The room must be dark, and it must have proper ventilation to avoid the buildup of heat and humidity. It is also important to ensure that the room is properly insulated to maintain an appropriate temperature.
Conclusion
Building a grow room in a garage is a great way to grow your cannabis. By following the tips and suggestions in this guide, you can create a safe and secure space for your plants to provide them with all the light and ventilation they need to thrive.
Be sure to budget appropriately and take security measures to protect your plants from theft or exposure. You can have a successful grow room in your garage with a little effort! We hope this blog post on how to build a grow room in a garage has been helpful. If you have any questions or want to know more, then feel free to comment below!
You Can Check It Out To Open Broken Garage Door
I am Rick. I grew up helping my dad with his handyman service. I learned a lot from him about how to fix things, and also about how to work hard and take care of business. These days, I’m still into fixing things- only now, I’m doing it for a living.
I’m always looking for new ways to help people grow and develop. That’s why I have created this blog to share all my experience and knowledge so
that I can help people who are interested in DIY repair.