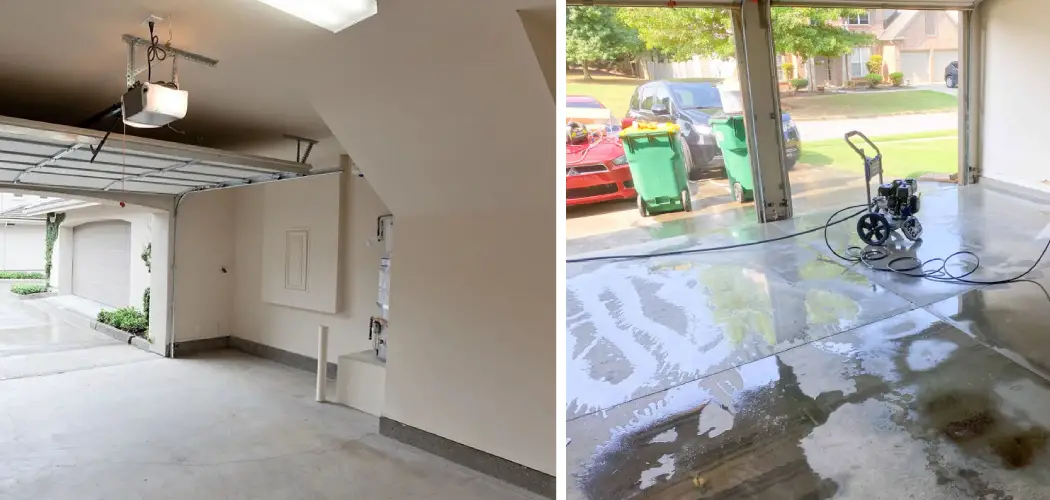
Are you tired of looking at your dirty garage? Are you ready to restore the brightness and sparkle of its exterior walls, siding and driveway? Pressure washing your garage is a powerful and efficient way to transform it from an eyesore into something that looks brand new.
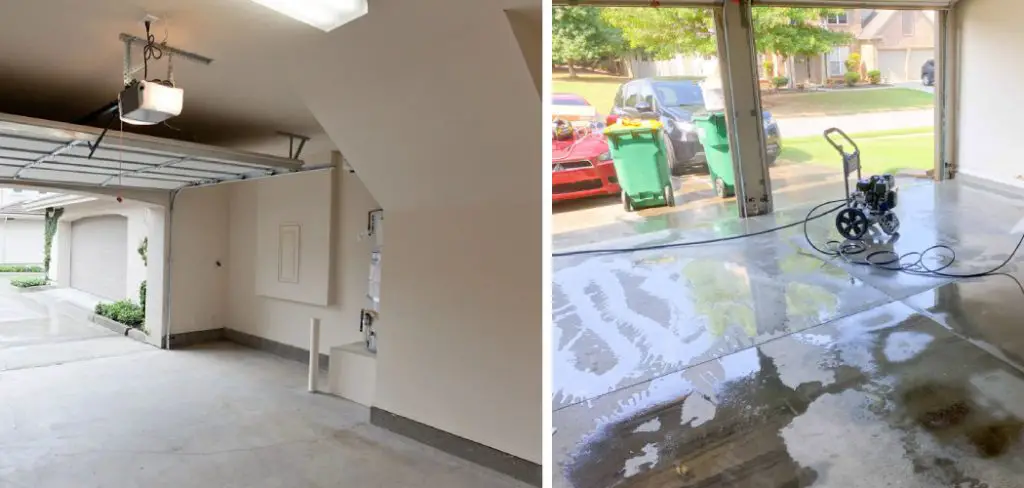
Not only will pressure washing help to improve the appearance of your property, but it can also keep surfaces free from dirt, grime, mold and mildew. In this blog post on how to pressure wash garage, we’ll walk you through everything you need to know about how to pressure wash a garage safely and effectively – so let’s get started!
Necessary Tools and Equipment
Before beginning any pressure washing project, it’s important to make sure you have all the necessary tools and equipment. The most essential items include :
- A Pressure Washer With Adjustable Settings (for a More Powerful Spray, Use 3000 Psi or Higher)
- High-pressure Hoses and Trigger Guns
- Cleaning Solution Specifically Designed for Pressure Washers
- Safety Gear Including Goggles and Gloves
- A Ladder (if Needed)
- Protective Plastic Sheeting or Tarps (to Cover Any Nearby Plants, Furniture or Items That Could Be Damaged by the Spray)
- Scrub Brushes and Sponges (for Tough Stains and Stubborn Dirt)

10 Simple Step-by-step Guidelines on How to Pressure Wash Garage
Step 1: Preparing the Area
The first step in how to pressure wash garage walls, siding and driveway is to prepare the area for cleaning.
This includes removing any debris or objects that may be in the way, such as bikes, outdoor furniture or potted plants. If you have any electrical outlets or lights near the area, make sure to cover them with plastic sheeting or tarps to protect them from water damage.
Step 2: Mixing Cleaning Solution
Next, mix your chosen cleaning solution with water according to the manufacturer’s instructions.
This will ensure that you are using the correct concentration for maximum effectiveness. This step is crucial because using the wrong cleaning solution or too strong of a concentration can cause damage to your garage.
Step 3: Attaching High-pressure Hose and Trigger Gun
Attach the high-pressure hose to your pressure washer and then attach the trigger gun to the other end. Make sure all connections are secure before turning on the machine.
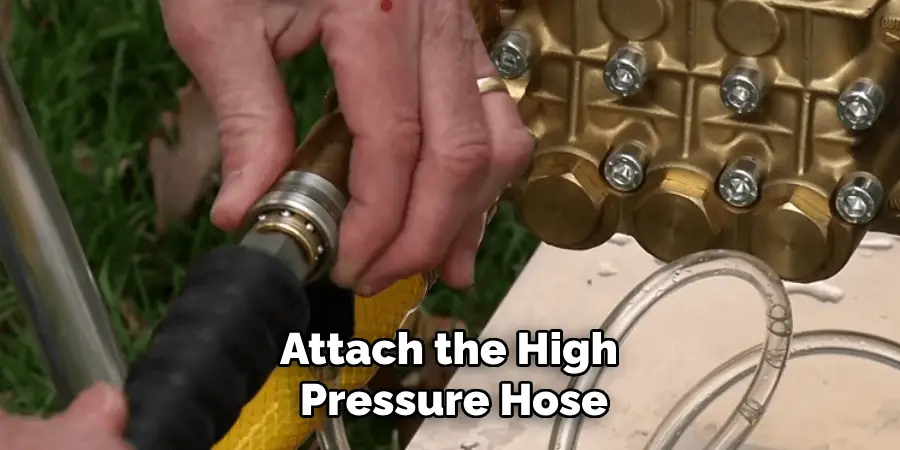
Otherwise, you may have leaks and lose pressure. You can also attach any additional accessories, such as a rotating nozzle or surface cleaner, at this point if needed.
Step 4: Adjusting Pressure Settings
Adjust the pressure settings on your pressure washer according to the surface you are cleaning. For more stubborn stains or tough dirt, increase the pressure to a maximum of 3000 psi.
However, if you are cleaning more delicate surfaces like wooden garage doors or windows, lower the pressure to avoid causing damage. It’s always best to test the pressure on a small inconspicuous area before continuing.
Step 5: Wetting Down the Surface
Before applying any cleaning solution, wet down the surface you are about to clean with plain water. This will help loosen up dirt and grime, making it easier to remove. It will also prevent the cleaning solution from drying out too quickly. But be careful not to oversaturate the surface as this can dilute the cleaning solution and decrease its effectiveness. This step is especially important for vertical surfaces like walls and siding.
Step 6: Applying Cleaning Solution
Using your pressure washer, apply the cleaning solution in sections. Start from the top of the garage walls or siding and work your way down. Make sure to cover all surfaces evenly and leave the solution on for a few minutes to allow it to penetrate and loosen up dirt and stains.
Otherwise, you can also use a spray bottle or brush to apply the solution directly onto stubborn stains. But be careful not to let it dry out before rinsing.
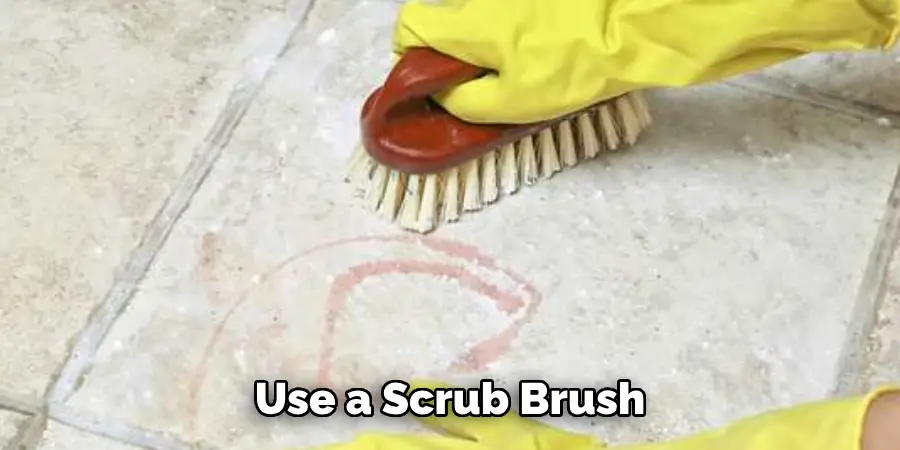
Step 7: Scrubbing and Rinsing
After allowing the cleaning solution to sit for a few minutes, use a scrub brush or sponge to agitate any tough stains. Then, rinse off the surface using your pressure washer. Make sure to rinse from top to bottom and overlap each section for even coverage.
If you are pressure washing a garage floor, it may be necessary to use a surface cleaner attachment for a more effective result. It’s also important to avoid letting the cleaning solution dry on the surface as this can leave behind streaks and residue.
Step 8: Repeating Steps If Needed
For more stubborn stains or particularly dirty areas, you may need to repeat the steps above. However, be careful not to overuse your pressure washer as this can cause damage to the surface.
It’s also important to be mindful of the cleaning solution you are using and follow the manufacturer’s recommendations for safe usage. It’s always better to err on the side of caution and clean in stages rather than risk damaging your garage.
Step 9: Cleaning Up
Once you have finished pressure washing your garage, turn off the machine and disconnect all hoses. If you use any tarps or plastic sheeting to protect nearby items, make sure to remove them carefully. Dispose of any leftover cleaning solution properly according to the product’s instructions. You can also save your supplies for future use.
Step 10: Drying and Inspecting the Area
After the area has been thoroughly rinsed and cleaned, allow it to dry completely before inspecting for any missed spots or areas that require touch-ups. Once you are satisfied with the results, your garage is now clean and ready to be admired! it’s important to remember that pressure washing can be dangerous if not done correctly, so make sure to always follow safety guidelines and use proper protective gear.
With these simple steps on how to pressure wash garage, siding and driveway, you’ll have your garage looking like new in no time! So what are you waiting for? Get out there and give your garage a good cleaning! Happy washing!
Tips
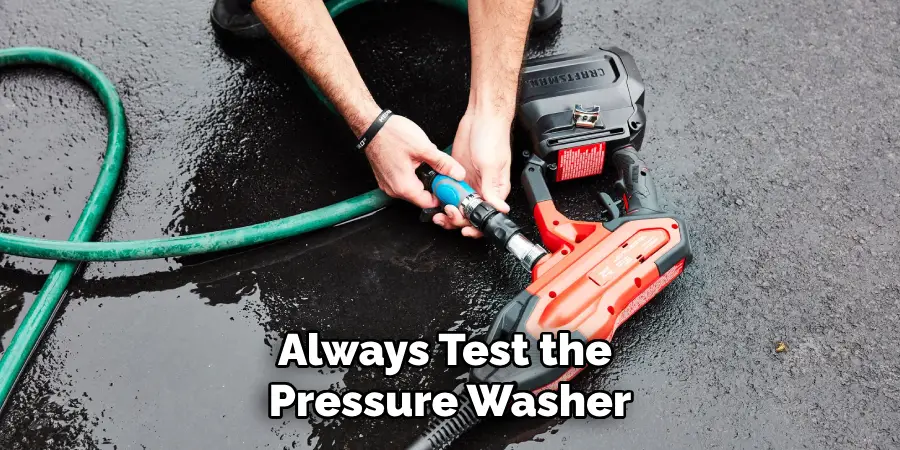
- Always Test the Pressure Washer and Cleaning Solution on a Small, Inconspicuous Area First Before Tackling the Entire Garage to Avoid Damage.
- When Using a Ladder, Make Sure It is Properly Secured and Stable Before Climbing Up.
- Avoid Spraying Directly at Windows or Electrical Outlets to Prevent Damage.
- If Your Garage Has Any Delicate or Loose Items Such as Window Screens or Shutters, It’s Best to Remove Them Before Pressure Washing.
- Wear Protective Gear Such as Goggles, Closed-toe Shoes, and Gloves When Using a Pressure Washer.
- If You Are Unsure About How to Operate the Pressure Washer or Have Any Concerns, Consult the Manufacturer’s Manual or Seek Professional Help. So Go Ahead and Give Your Garage a Fresh New Look With a Thorough Pressure Wash! Happy Cleaning!
Frequently Asked Questions
Q: Is It Necessary to Use a Specific Cleaning Solution for Pressure Washing?
A: Yes, using the right cleaning solution is crucial as it is specifically designed for pressure washers and will provide the best results without causing damage to your garage. You can find specific solutions for different surfaces, such as concrete or wood.
Q: Can I Pressure Wash My Garage in Any Weather?
A: It’s best to avoid pressure washing during extreme weather conditions such as high winds or heavy rain. This can affect the effectiveness of the cleaning solution and may also pose a safety risk.
Q: How Often Should I Pressure Wash My Garage?
A: It depends on the condition of your garage and the frequency of use. Generally, it’s recommended to pressure wash at least once a year or more frequently if you notice visible dirt or stains.
Regular maintenance can help prolong the lifespan of your garage and keep it looking clean and well-maintained. So why not add pressure washing to your yearly cleaning routine?
Q: Can I Use a Pressure Washer on My Garage Door?
A: Yes, but you need to be careful not to use too high of pressure or stand too close to the door as this can cause damage. It’s also important to avoid spraying water directly into any crevices or openings in the door to prevent water from getting inside.
Conclusion
In conclusion, pressure washing your garage can be a rewarding and beneficial project to tackle. Not only does it bring a sense of accomplishment but also the much-needed removal of grime and buildup from the walls and floors that comes with years of use.
Now more than ever, freshness and cleanliness should take precedence in our households. Once you have read up on these tips and prepped the area for success, don’t be afraid to prepare your self-project!
You’ll be thankful for doing so when you step back to enjoy the work you’ve done. So go out there, make a plan, pick up some pressure washing equipment, wear your protective gear, grab a hose, plug in the power washer and start cleaning away! Thanks for reading this article on how to pressure wash garage.
I am Rick. I grew up helping my dad with his handyman service. I learned a lot from him about how to fix things, and also about how to work hard and take care of business. These days, I’m still into fixing things- only now, I’m doing it for a living.
I’m always looking for new ways to help people grow and develop. That’s why I have created this blog to share all my experience and knowledge so
that I can help people who are interested in DIY repair.