
Transforming the appearance of your garage starts with preparing the walls for a fresh coat of paint. Over time, garage walls can accumulate dirt, grease, and other imperfections that may hinder the adhesion and longevity of your paint job.
Knowing how to prep garage walls for paint is a crucial step towards achieving a smooth, durable finish. In this article, we will guide you through the essential preparatory measures, including cleaning, repairing cracks or holes, and selecting the right primers.
Whether you are planning a simple color refresh or a more extensive garage makeover, proper wall preparation ensures that the paint adheres evenly and withstands the demands of the garage environment. By following these step-by-step procedures, you can create a clean canvas that not only enhances the aesthetic appeal of your garage but also contributes to its overall durability and cleanliness.
Importance of Preparing Garage Walls for Paint
Painting your garage walls is a simple and affordable way to improve the overall look of your garage. However, before you dive into painting, it’s important to properly prepare your walls for the best results. Prepping your garage walls for paint not only ensures a smooth finish, but also helps prolong the lifespan of your paint job.
One of the main reasons for prepping garage walls is to remove any dirt, grime, or grease that has accumulated over time. These substances can prevent paint from adhering properly to the surface, leading to flaking and peeling in the future.
In addition to cleaning, prepping also involves repairing any imperfections on your walls such as cracks, holes, or uneven surfaces. Neglecting these issues can result in an unprofessional and uneven paint job.
Another important step in prepping your garage walls is to prime the surface. Primer helps create a smooth and even base for the paint to adhere to, resulting in a more professional-looking finish. It also helps seal any remaining imperfections on your walls, ensuring that they do not show through the final coat of paint.
10 Methods How to Prep Garage Walls for Paint
1. Clean the Wall
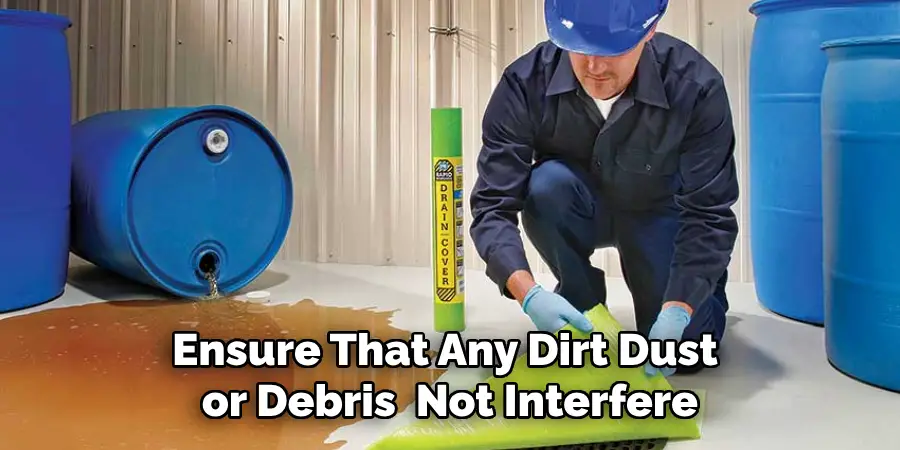
The first step in prepping your garage walls for paint is to clean them thoroughly. This will help ensure that any dirt, dust, or debris does not interfere with the painting process. Start by using a broom and dustpan to sweep away any loose dirt or debris on the wall.
Then use a damp cloth and a mild detergent to wipe down the wall and remove any stubborn stains. Allow the wall to dry completely before proceeding.
2. Fill in Any Holes
Once the wall is clean, you should fill in any holes or cracks with a spackling compound. This will help create an even surface for painting and will also prevent moisture from entering the wall through these openings. Use a putty knife to spread the spackling compound evenly over the hole or crack, then allow it to dry completely before continuing.
3. Sand Down Any Imperfections
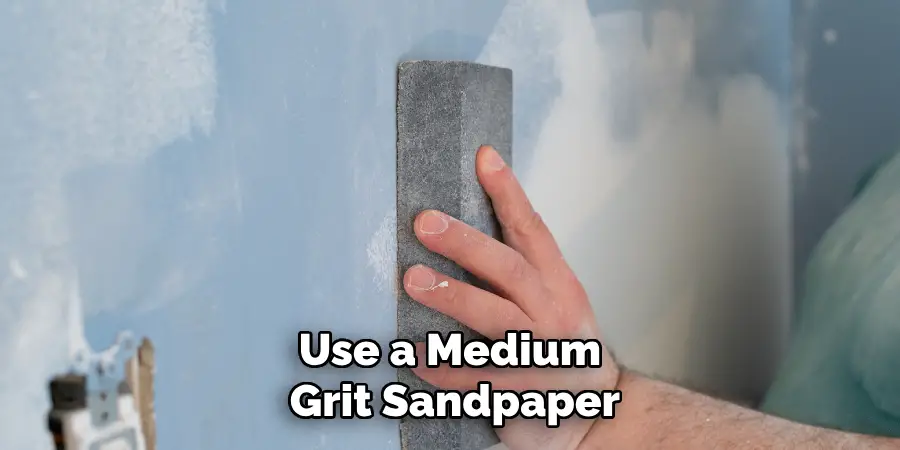
Once all of the holes have been filled, you should use sandpaper to smooth out any imperfections on the wall’s surface. This will help create an even surface for painting and will also prevent bumps from appearing after you’ve painted over them.
Use a medium-grit sandpaper and move it back and forth across the wall until all of its imperfections have been smoothed out.
4. Remove Any Loose Paint
If there are areas of paint that are starting to peel off of your garage walls, you should remove them before painting over them again. To do this, use a putty knife or scraper to gently scrape away at any loose paint until it has been removed from the wall completely.
Make sure not to damage any of the underlying surfaces while doing this, as it could lead to further issues later on down the line.
5. Prime Your Walls
Priming your walls is an important step in prepping them for paint as it helps create an even surface for painting and also helps ensure that your new coat of paint adheres properly to your garage walls.
There are several different types of primers available, so make sure to choose one that is specifically designed for use on masonry surfaces such as garage walls before applying it with a roller or brush according to its instructions.
6. Patch Up Any Damaged Areas
If there are areas of your garage walls that have been damaged due to wear and tear over time, you should patch up these areas before painting over them again, as this will help ensure that they look their best once painted over again later on down the line.
To do this, use a concrete patching compound which can be found at most hardware stores. Apply it according to its instructions using either a trowel or putty knife, depending on what type of product you purchase. Allow it time to dry completely before proceeding.

7. Tape Off Any Areas You Don’t Want Painted
Before beginning your project, make sure that you tape off any areas, such as windows, outlets, light switches, etc., that you don’t want to be painted. This will help ensure that no unwanted paint gets onto these surfaces, which could cause damage if left unattended.
Use painter’s tape along with newspaper or plastic sheeting if necessary, depending on what type of surface needs protecting.
8. Apply Caulk Around Trim Work
If there are trim pieces around your windows, doors, etc., make sure that you apply caulk around them prior to painting. This will help seal up any gaps between these pieces and your garage walls which could otherwise let moisture get inside when exposed during inclement weather conditions. Choose either silicone caulk or acrylic latex caulk, depending on what type of trim work needs caulking up before applying using either a caulking gun or tube, depending on what type of product you purchase.
9. Scrape Away Old Paint Chips Before Painting Over
Again If there are areas where old paint chips have come off due to wear and tear over time, make sure that they are scraped away prior to painting over again, as this can cause problems if left unattended, such as bubbling when exposed during wet weather conditions.
Use either a wire brush or putty knife, depending on how large each chip is, before scraping away until all chips have been removed from view.
10. Cover Your Floor With Drop Cloths Before Painting
Finally, make sure that you cover your floor with drop cloths prior to beginning your project so as not to mess up anything underneath while working above it, such as carpets or furniture items, etc; this way, nothing gets damaged during painting which could otherwise cause more problems than necessary afterward if left unattended. Use either plastic or canvas tarps, depending on what type of surface you’ll be working above before beginning your project.
Things to Consider When Preparing Garage Walls for Painting
When preparing to paint your garage walls, there are a few things you should consider. This will help ensure that you achieve the best results and have a smooth painting process.
Clean the Walls Thoroughly
Before starting any painting project, it’s important to clean the surfaces that you will be painting. In the case of garage walls, this is especially important as they tend to accumulate dust, dirt, and grease over time.
Use a mild detergent or degreaser to clean the walls and remove any stains or marks. This will provide a clean surface for the paint to adhere to.
Repair Any Damages
Inspect your garage walls for any damages such as cracks, holes, or dents. These should be repaired before painting to ensure a smooth and even finish. Use spackling paste or joint compound to fill in any cracks or holes, and sand them down until they are flush with the wall. For larger dents, you may need to use a patching compound.
Remove Any Peeling Paint
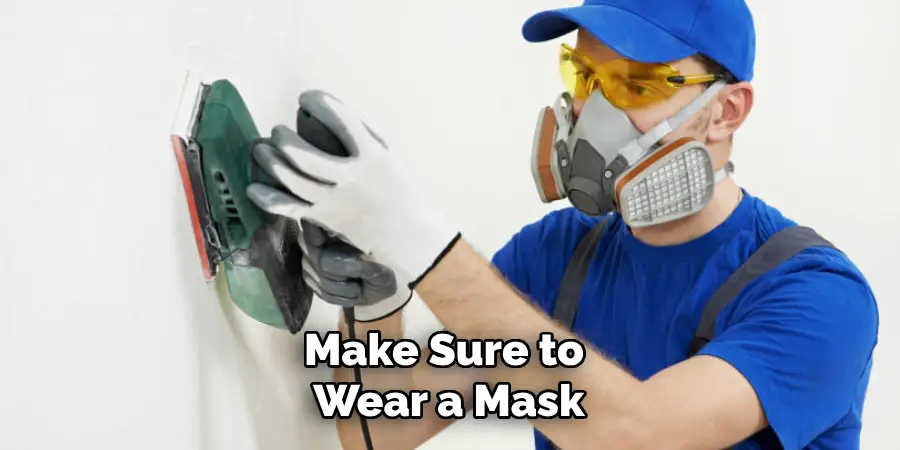
If there is existing paint on your garage walls that is peeling or flaking off, it’s important to remove these areas before painting. This can be done using a scraper or sandpaper. Make sure to wear a mask and protective eyewear when doing this, as the old paint may contain harmful chemicals.
Conclusion
Preparing your garage walls for painting is a fun, do-it-yourself project that requires minimal skill and effort. With these simple steps, you can take your garage from dull to dazzling with the flick of a paintbrush! Whether you’re looking to spruce up a space or do some repairs, learning how to prep your garage walls before painting will help ensure a professional finish.
When you use the right tools and supplies, completing this project can be surprisingly rewarding. So go ahead and put those DIY skills to the test — and don’t forget to share your end results online for others be inspired by your work! Get ready to show off your freshly painted walls and bask in the glory of successfully executing how to prep garage walls for paint!
I am Rick. I grew up helping my dad with his handyman service. I learned a lot from him about how to fix things, and also about how to work hard and take care of business. These days, I’m still into fixing things- only now, I’m doing it for a living.
I’m always looking for new ways to help people grow and develop. That’s why I have created this blog to share all my experience and knowledge so
that I can help people who are interested in DIY repair.