
Revitalizing the often-overlooked garage space extends beyond the walls to include the ceiling, and knowing how to paint a garage ceiling can significantly enhance the overall look and feel of the area.
Garage ceilings are susceptible to dirt, stains, and moisture, making a fresh coat of paint an effective way to brighten the space and protect against environmental elements.
In this article, we will guide you through the steps of how to paint garage ceiling efficiently, from surface preparation and choosing the right paint to providing tips on minimizing mess and achieving a professional finish. Whether you use your garage for storage, as a workshop, or as an extension of your home, a well-painted ceiling adds a finishing touch, creating a clean, cohesive, and visually appealing environment.
Elevating the aesthetics of your garage ceiling is a simple yet impactful way to enhance the overall functionality and ambiance of this versatile space.
Importance of Painting the Garage Ceiling
Painting the garage ceiling is not just about enhancing the visual appeal of your garage. It serves a greater purpose and offers numerous benefits that can greatly improve your overall living experience.
One of the main reasons to paint your garage ceiling is for protection against moisture and mold. Due to temperature changes, condensation can build up in the garage, leading to mold growth. By painting the ceiling, you create a protective barrier that prevents moisture from seeping into the drywall or wood, ultimately reducing the risk of mold growth.
In addition to protection against moisture, painting the garage ceiling also helps to prevent dust and debris buildup. Garages are often used as storage spaces, which means that dust and debris can accumulate on the ceiling over time. Painting it not only makes it easier to clean, but also helps to improve the air quality in your garage.
Moreover, painting the garage ceiling can make a huge difference in terms of lighting. A freshly painted ceiling can reflect light better, making the space brighter and more inviting. This is especially beneficial for those who use their garage as a workshop or for other activities that require good lighting.
Another advantage of painting the garage ceiling is that it can help to increase the value of your home. Whether you plan on selling your house in the future or not, a well-maintained and painted garage can add to the overall value and appeal of your property.
10 Methods How to Paint Garage Ceiling
1. Prepare the Surface
Before you begin painting your garage ceiling, it is important to prepare the surface. This includes cleaning the ceiling with a mild detergent and water solution to remove any dirt or debris.
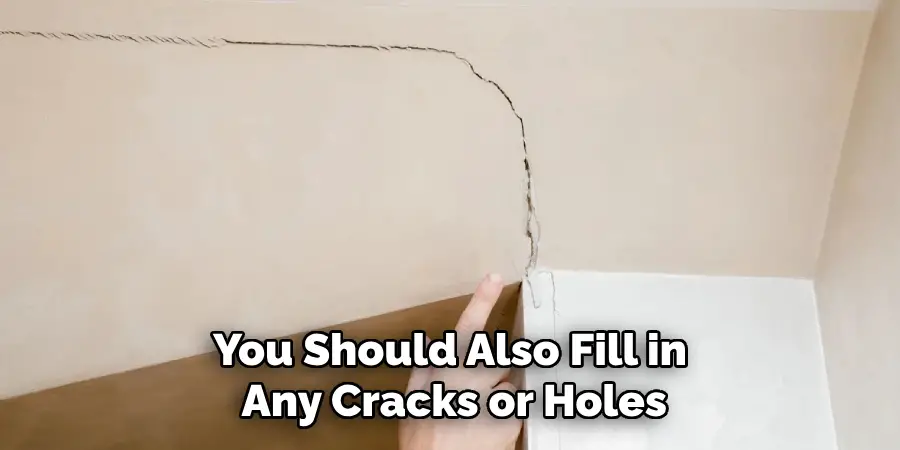
You should also fill in any cracks or holes with a spackling compound and sand down any rough areas. Once you have prepared the surface, you can apply a primer coat of paint before beginning your project.
2. Choose Your Paint
Once you have prepped the surface, it is time to choose your paint. When selecting a paint for your garage ceiling, it is important to choose one that is specifically designed for high-traffic areas such as garages. Look for paints that are labeled “high-hiding” or “stain-resistant” as these will provide better coverage and protection against wear and tear.
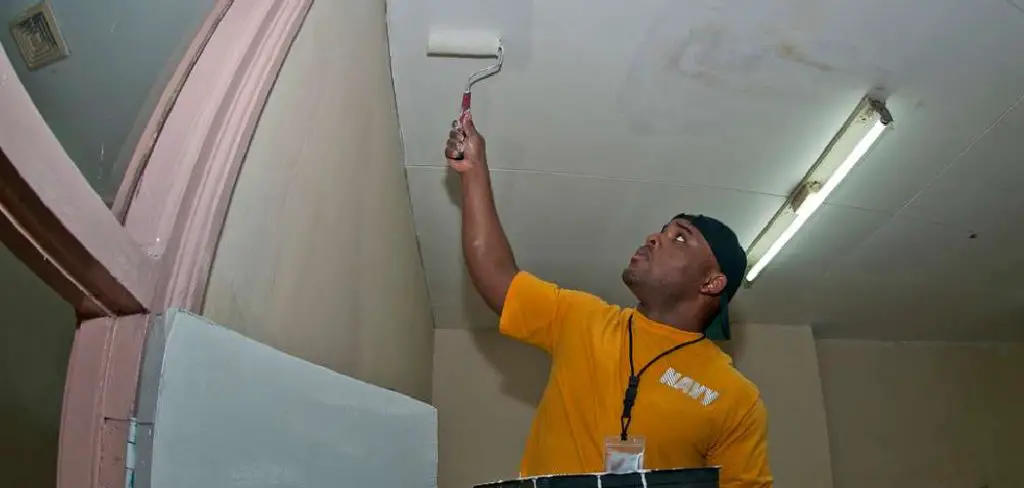
3. Use a Roller
Once you have chosen your paint, it is time to start painting! The best way to apply paint to your garage ceiling is by using a roller. Rollers are easy to use and can help ensure an even coat of paint without leaving behind brush strokes or other blemishes. Make sure to use a clean roller cover each time you paint, as this will help prevent streaks from forming on the ceiling.
4. Start at the Edges
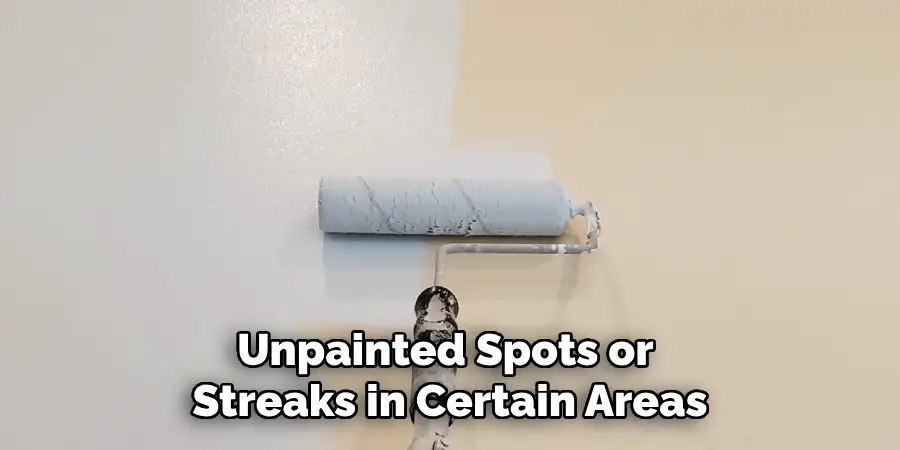
When painting your garage ceiling, it is important to start at the edges of the room first and work your way inward towards the center of the room. This will help ensure that all areas are evenly painted without leaving behind any unpainted spots or streaks in certain areas of the room.
Additionally, starting at the edges of the room will allow you more time to focus on perfecting each area before moving on to another section of wall or ceiling space.
5. Cover Light Fixtures
Before beginning your project, make sure to cover any light fixtures in order to protect them from dripping paint or splatter while painting above them. You can use painter’s tape or plastic sheeting in order to cover light fixtures and other objects that may be in danger of being covered in paint while painting above them.
6. Work In Sections
When painting your garage ceiling, it is important not to rush through it but instead take your time and work in sections so that each area receives an even coat of paint without leaving behind any bare patches or streaks in certain areas of the room due to overworking one area while neglecting another area entirely!
Working in sections also helps ensure that there are no missed spots when completing this task!
7. Use Ceiling Paint
It’s important that when painting your garage ceiling, you use specially formulated ceiling paints as they contain binders that help prevent drips from occurring during application due to their thicker consistency compared with regular wall paints! Ceiling paints also come in a variety of colors so you can find one which matches with other elements within your home!

8. Apply Even Coats
When applying coats of paint onto your garage ceiling make sure not to overload brushes/rollers with too much product as this can result in uneven coats, which may result in patchy results when finished! Instead, try applying thin layers until the desired coverage has been achieved – this helps ensure an even finish throughout!
9. Allow Drying Time Between Coats
When applying multiple coats onto surfaces such as ceilings, it’s important not to rush through each coat but instead allow adequate drying time between applications – typically 30 minutes per coat, depending on environmental conditions (humidity, etc). This ensures proper adhesion between coats and prevents peeling/flaking once complete!
10. Clean Up After Yourself
Once finished with painting, it’s essential that all tools/materials used during application are cleaned up properly – this includes brushes/rollers which should be washed thoroughly after use with warm soapy water (or according to manufacturer’s instructions) before being stored away for future projects!
Things to Consider When Painting Your Garage Ceiling
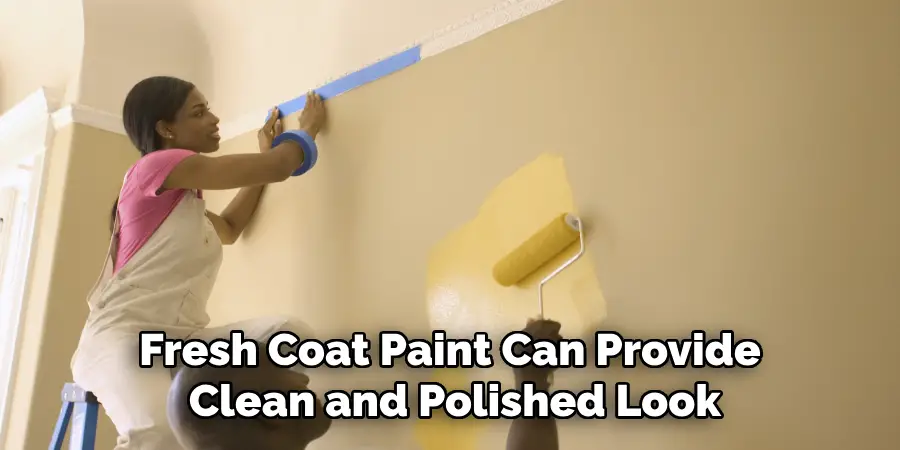
Painting your garage ceiling may not be the most exciting task, but it is an important one. A fresh coat of paint can provide a clean and polished look to your garage, making it a more enjoyable place to work in. However, painting a ceiling can be a bit daunting if you have never done it before. Here are some things to consider before picking up that paintbrush:
Prepare the Surface
Before painting, it is important to prepare the surface of your garage ceiling. This includes cleaning off any dust or grime and repairing any cracks or holes. It is also a good idea to cover any exposed pipes or wires with tape.
Choose the Right Paint
Choosing the right type of paint for your garage ceiling is crucial. You want a durable and easy-to-clean paint that can withstand the wear and tear of a garage environment. Semi-gloss or satin finishes are good options as they are both easy to clean and have some sheen, making them more resistant to stains.
Gather the Right Tools
Make sure you have all the necessary tools before you start painting. This includes a ladder, paint roller and tray, paintbrushes, drop cloths, and painter’s tape. Having everything you need on hand will make the painting process smoother and more efficient.
Consider Ventilation
Garage ceilings can often be tight spaces without much ventilation. Make sure to open any windows or doors to allow for proper airflow while painting. Additionally, consider wearing a mask to protect yourself from any fumes or dust.
Work in Sections
Instead of tackling the entire garage ceiling at once, work in sections. This will prevent the paint from drying out too quickly and allow for more control over the painting process. Start with one corner and work your way across the ceiling in manageable sections.
Conclusion
Painting the garage ceiling may seem like an intimidating task at first, but with the right tools and supplies it can be accomplished in no time. However, it is important to do it right- by cleaning the surface thoroughly and measuring out materials correctly.
If you are looking for an easier way to paint your ceiling, consider ordering a professional painter in order to guarantee excellent results. Regardless of which paint job route you take,
it is important to take extra caution when painting any surface. It may be helpful to refer back to this blog post for some helpful tips that can make painting your garage ceiling a breeze! So if you’re ready to tackle how to paint garage ceiling, pull out those brushes and get started!
I am Rick. I grew up helping my dad with his handyman service. I learned a lot from him about how to fix things, and also about how to work hard and take care of business. These days, I’m still into fixing things- only now, I’m doing it for a living.
I’m always looking for new ways to help people grow and develop. That’s why I have created this blog to share all my experience and knowledge so
that I can help people who are interested in DIY repair.