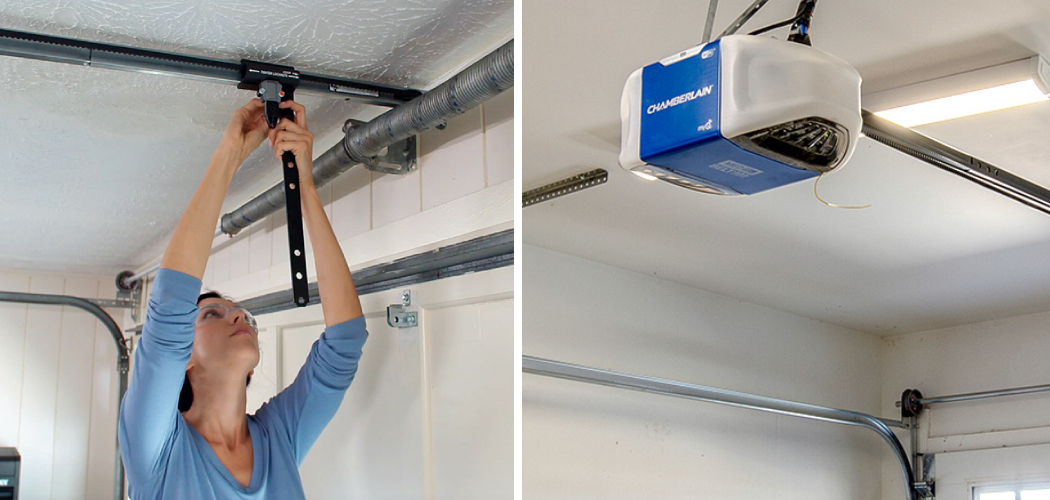
Installing a garage door opener bracket is essential in setting up your garage door opener. The piece connects the motor to the actual door, allowing it to open and close smoothly. Many people may hire a professional for this task, but you can easily install the bracket with the right tools and knowledge.

The main advantage of installing garage door opener brackets is that you can easily replace or upgrade your existing garage door opener without hiring a professional. This saves you money and gives you the independence and satisfaction of completing a DIY project. In this blog post, You will learn in detail how to install garage door opener bracket.
Tools You Will Need
- 1/2″ Wrench
- Tape Measure
- Level
- Pencil
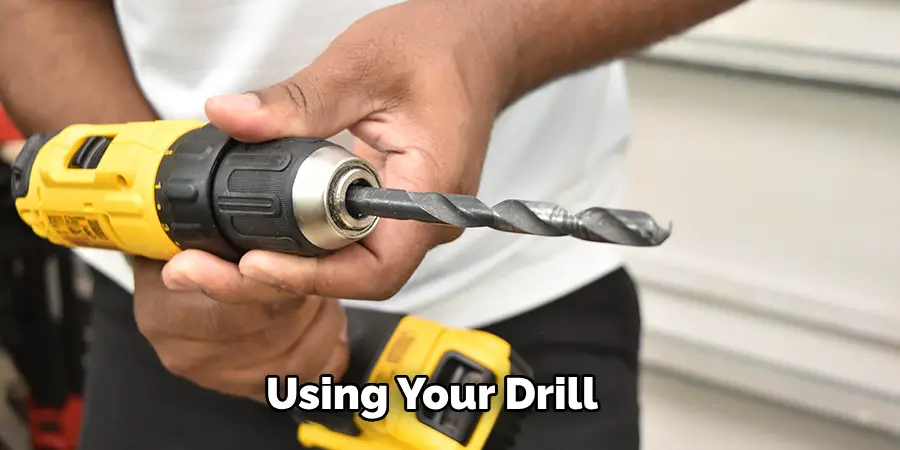
- Drill
- Drill Bits
- Adjustable wrench
- Screwdriver (Phillips and Flathead)
- Hammer
- Step Ladder
Step-by-step Instructions for How to Install Garage Door Opener Bracket
Step 1: Inspect your Garage Door Opener
Before you start the installation process, it is important to inspect your garage door opener and make sure it is in good working condition. If it shows signs of wear and tear, it is recommended to get it fixed or replaced before proceeding with the installation.
Step 2: Gather Materials and Tools
List all the tools and materials needed for the installation process. This will save you time and ensure you have everything you need. Measure the distance between the top of your garage door to the ceiling and mark it with a pencil. This is where you will install the bracket.
Step 3: Locate Studs
Use a stud finder to locate the studs on the ceiling. Mark them with a pencil. Using your drill and appropriate drill bit, attach the bracket to the ceiling by drilling screws through the pre-drilled holes.
Step 4: Assemble Opener Arm
Follow the manufacturer’s instructions to assemble the opener arm. Make sure it is securely attached to both the opener and bracket. Insert the end of the opener arm into the bracket and secure it with a cotter pin or bolt. Use a wrench to tighten it if needed.
Step 5: Secure Safety Rope
Attach the safety rope to the emergency release on your garage door opener. This will prevent the door from falling in case of an emergency. Slide the trolley onto the opener arm and secure it with a bolt. Make sure it is centered on the rail.
Step 6: Attach the Opener to the Bracket
Place the opener on the bracket and align it with the pre-drilled holes. Use bolts and washers to secure it in place. Follow the manufacturer’s instructions to connect the power supply to your garage door opener. Make sure it is securely connected.
Test the functionality of your new garage door opener by opening and closing the door a few times. Adjust the travel limits and force settings according to the manufacturer’s instructions if needed.
Tips for How to Install Garage Door Opener Bracket
- Before beginning the installation process, turn off the power to your garage door opener. This will prevent any accidents while working with electrical components.
- It is crucial to use the right tools for this installation. Some common tools you will need include a drill, screwdriver, pliers, and level.
- If you are still deciding on any step in the installation process, it is always better to consult a professional. They can guide you through the process and ensure the bracket is installed correctly.
- Carefully read the instructions the manufacturer provides before starting the installation. Different brands may have different requirements for installing their brackets.
- Having at least two people working together for this installation is recommended. One person can hold the bracket in place while the other secures it.
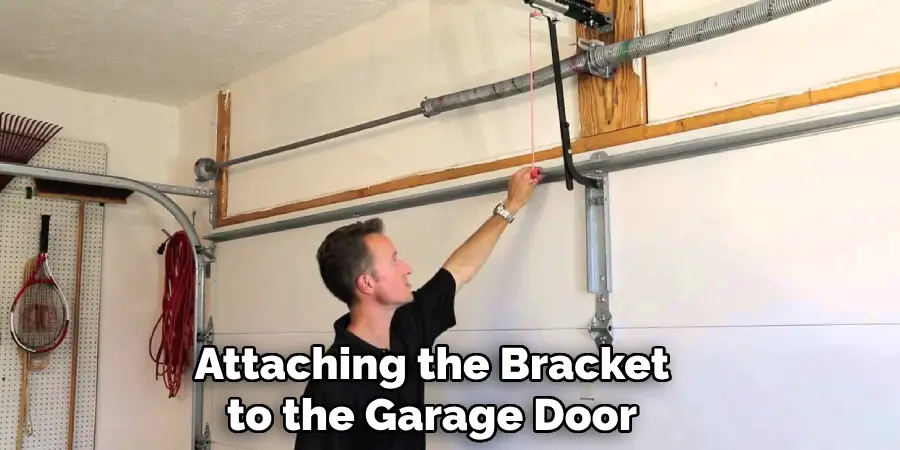
- When attaching the bracket to the garage door, ensure the screws are tightly secured. Loose screws can lead to a malfunctioning garage door opener and potential safety hazards.
- Once the bracket is installed, test the garage door’s opening and closing movements to ensure everything functions correctly. Stop using the door and consult a professional for further assistance if you notice any issues.
Can Anyone Install a Garage Door Opener Bracket, or is It Best Left to Professionals?
Many homeowners may wonder whether they can install a garage door opener bracket independently or if it’s better to leave the task to professionals. The answer to this question depends on several factors, such as your level of DIY experience and comfort with tools, as well as the complexity of the installation process.
If you have prior experience with similar projects and feel confident in your skills, then installing a garage door opener bracket may be a manageable task for you.
However, if you have little to no experience with DIY projects or need more tools and equipment, it’s best to hire a professional to ensure the job is done correctly and safely.
Another factor to consider is the complexity of the installation process. While some garage door opener brackets may be relatively simple to install, others may require more advanced skills and knowledge. It’s important to carefully read the instructions and assess your abilities before installing.
Are There Any Maintenance Tips for Keeping a Newly Installed Garage Door Opener Bracket in Good Condition?
After successfully installing a garage door opener bracket, it is important to ensure it stays in good condition for optimal use. Regular maintenance can help prevent any potential issues and prolong the lifespan of your bracket. Here are some tips to keep in mind:
- Keep the Bracket Clean: Dust and debris can accumulate on the bracket, affecting its functioning. Wipe down the bracket with a clean cloth regularly to remove any buildup.
- Lubricate Moving Parts: The moving parts of the bracket, such as the chain and rollers, should be lubricated every few months. This will help reduce friction and ensure smooth operation.
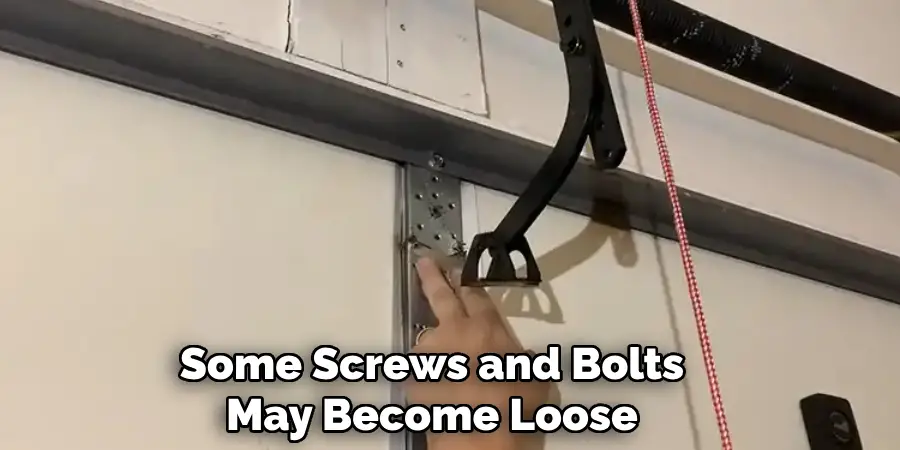
- Check for Tightness: Some screws and bolts may become loose over time due to constant movement. Check the tightness of all the components and tighten them if necessary.
- Test Safety Features: Garage door openers come with safety features such as auto-reverse, preventing the door from closing on obstructions. It is important to test these features regularly to ensure they are functioning properly.
- Inspect for Damage: Regularly inspect the bracket for any signs of damage, such as cracks or dents. If any damage is found, it should be repaired or replaced immediately to prevent further issues.
Following these maintenance tips, you can keep your newly installed garage door opener bracket in good condition for years. Remember to refer to the manufacturer’s instructions for specific maintenance guidelines and safety precautions. With proper care and upkeep, your bracket will continue to provide reliable and convenient operation for your garage door.
What Common Mistakes to Avoid When Installing a Garage Door Opener Bracket?
When it comes to installing a garage door opener bracket, there are certain things that homeowners often need to correct, which can lead to issues with the functionality and safety of their garage door. This section will discuss some common mistakes to avoid when installing a garage door opener bracket.
1. Not following the manufacturer’s instructions
One of the biggest mistakes people make is not carefully reading and following the instructions provided by the manufacturer. Every garage door opener bracket is different, and it’s important to understand the specific steps for installation to ensure proper functioning and avoid any potential safety hazards.
2. Using incorrect tools or hardware
Another common mistake is using the wrong tools or hardware during installation. This can lead to an improper fit or even damage to the bracket, causing it to malfunction or break over time. Make sure to use the recommended tools and hardware specified in the instructions.
3. Improper placement of the bracket
The position of the garage door opener bracket is crucial for proper functioning. It should be installed on a secure and stable surface, typically above the center of the garage door. If placed too high or too low, it can cause strain on the opener and affect its performance.
4. Not securing the bracket properly
A garage door opener bracket must be securely fastened to support the door’s weight and prevent accidents or malfunctions. Use strong screws or bolts and tighten them according to the manufacturer’s instructions.
5. Neglecting maintenance
After installing the garage door opener bracket, checking and maintaining its condition regularly is important. This includes lubricating moving parts, checking for loose screws or bolts, and ensuring proper alignment with the garage door.
By avoiding these common mistakes, you can ensure a smooth and safe garage door opener bracket installation. Always read and follow the manufacturer’s instructions, use the correct tools and hardware, and regularly maintain your bracket for optimal performance.
Conclusion
Installing a garage door opener bracket can be easy if you have the right tools and follow the steps correctly. This small but crucial component is essential for properly functioning your garage door opener system. Moreover, installing a garage door opener bracket is an important safety precaution.
It helps to keep the garage door in place and prevents it from falling unexpectedly. This is particularly important if you have young children or pets who may accidentally trigger the garage door to open or close. By installing a bracket, you can have peace of mind knowing that your garage door will stay in place and prevent any potential accidents.
This article has been beneficial for learning how to install garage door opener bracket. Make Sure the preventive measures are followed chronologically.
I am Rick. I grew up helping my dad with his handyman service. I learned a lot from him about how to fix things, and also about how to work hard and take care of business. These days, I’m still into fixing things- only now, I’m doing it for a living.
I’m always looking for new ways to help people grow and develop. That’s why I have created this blog to share all my experience and knowledge so
that I can help people who are interested in DIY repair.