If you’re looking to add an extra room to your home or just need some more storage space, you may be considering converting your garage into a usable space.
Before you start work on the conversion, however, there are a few things you need to take into account – like how to hang drywall in garage. By following these simple steps, you’ll be able to create a comfortable and functional space.

Summary: First, you will need to measure the area where you want to hang the drywall and purchase the appropriate amount of sheets. Then, gather the necessary tools, including a drill, drywall screws, a utility knife, a drywall saw, and T-square. Next, mark the studs and cut the drywall sheets to fit the space. Install the drywall using screws, leaving a small gap between sheets.
What Is a Drywall?
A drywall is a construction material used to create walls and ceilings. It is made of a gypsum board panel that is covered with paper or fiberglass and then covered with compound and paint. Drywalls are quick and easy to install, making them a popular choice for construction projects.
However, drywall can be damaged by water, so it is not always the best choice for areas prone to flooding. Nevertheless, drywalls remain a popular choice despite this drawback for many homeowners and businesses.
Why Should You Hang Drywall in Garage?
There are a few reasons you should consider hanging drywall in your garage. First, it will help insulate the space, making it more comfortable to work in cold weather. Second, drywall can provide a sound barrier, keeping noise from bothering your neighbors.
Third, it will help protect your belongings from damage caused by humidity and temperature fluctuations. Fourth, it can give your garage a neater, more finished appearance. And fifth, hanging drywall is relatively easy to do yourself to save money on labor costs.
So if you’re planning on spending any time in your garage this winter, hanging drywall is a great way to make the space more comfortable and functional.
How to Hang Drywall in Garage Step by Step Guide
Step 1: Gather Necessary Tools and Materials
Before you start hanging drywall in your garage, gather the necessary tools and materials. You will need:
- Drywall panels (usually 1/2-inch-thick for walls and 5/8-inch-thick for ceilings)
- Drywall screws or nails
- Cordless drill or screw gun
- Drywall T-square
- Tape measure
- Utility knife
- Drywall saw
- Drywall lift (for ceilings)
- Ladder
- Safety glasses
- Work gloves
- Pencil
- Chalk line
- Straightedge
Step 2: Prepare the Garage
Remove any obstacles from the garage that may interfere with the drywall installation process. This includes vehicles, equipment, and storage items. Ensure that the framing is complete, and electrical and plumbing work has been inspected and approved.
Step 3: Inspect and Prep the Framing
Inspect the framing to ensure that it is straight, secure, and properly spaced. Standard drywall panels are 4 feet wide, so the studs should be spaced 16 inches apart on center. If necessary, add blocking or additional studs to support the drywall edges.
Step 4: Plan the Drywall Layout
Plan the layout of the drywall panels, taking into account the size and orientation of the panels and the location of doors and windows. Start by measuring the length and height of each wall and sketching a diagram on paper. Position the drywall panels horizontally, with the long edges running parallel to the floor and the short edges meeting at the studs. Stagger the vertical seams to increase the strength and stability of the wall.
Step 5: Cut Drywall Panels to Size
Using a tape measure, T-square, and utility knife, measure and cut the drywall panels to fit the dimensions of your garage walls and ceiling. Score the drywall along the desired cut line with the utility knife, and then snap the panel along the scored line. Cut through the back paper layer with the knife to complete the cut. Use a drywall saw to cut out openings for electrical boxes, windows, and doors.
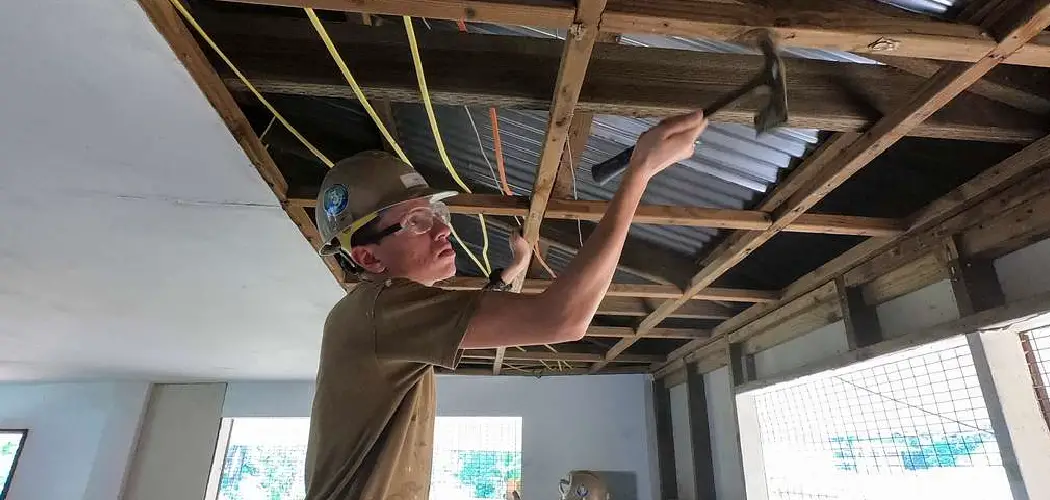
Step 6: Install Drywall on the Ceiling
If you’re installing drywall on the garage ceiling, start there before moving on to the walls. Use a drywall lift or enlist the help of a partner to lift the panels into place. Align the edges of the panel with the center of the ceiling joists and secure the panel with drywall screws or nails, spaced approximately 12 inches apart. Drive the screws or nails so that they are slightly recessed below the surface of the drywall without tearing the paper.
Step 7: Install Drywall on the Walls
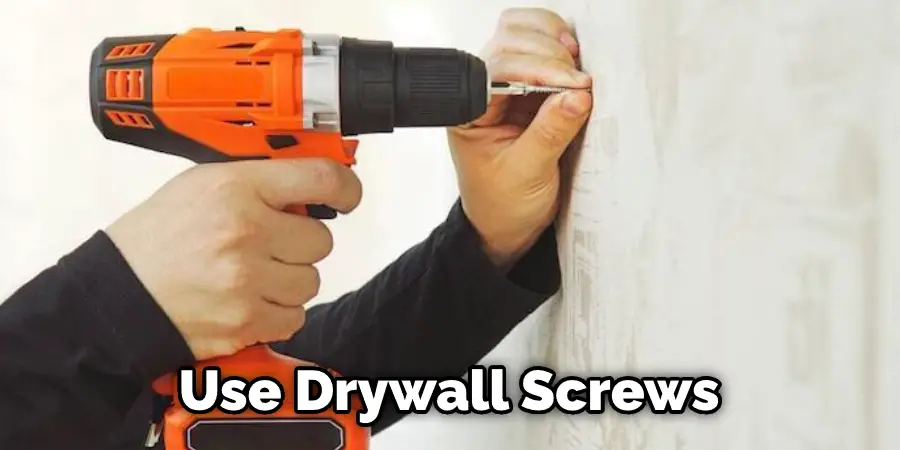
Start installing the drywall on the walls, beginning at a corner and working your way across. Position the first panel so that its long edge is flush with the floor and the short edges meet at the center of the studs. Secure the panel to the studs with drywall screws or nails, spaced approximately 16 inches apart. Drive the screws or nails so that they are slightly recessed below the surface of the drywall without tearing the paper.
Step 8: Install Additional Drywall Panels
Continue installing drywall panels, staggering the vertical seams and ensuring that the edges meet at the center of the studs. Use a straightedge and utility knife to trim the panels as necessary for a tight fit. When installing panels around doors and windows, measure and cut the panels to fit snugly around the openings.
Step 9: Cut and Install Drywall for Electrical Boxes
Before installing drywall panels that contain electrical boxes, measure and mark the location of each box on the panel. Use a drywall saw to cut out the openings, and then install the panel as previously described.
Step 10: Install Drywall on Upper Portions of Walls
After installing the bottom row of drywall panels, move on to the upper portions of the walls. Position the panels so that their long edges are flush with the top of the lower panels and the short edges meet at the center of the studs. Secure the panels to the studs with drywall screws or nails, spaced approximately 16 inches apart. Drive the screws or nails so that they are slightly recessed below the surface of the drywall without tearing the paper.
Step 11: Trim and Fit Odd-Shaped Pieces
As you work around obstacles and irregularly shaped areas, use a tape measure, straightedge, and utility knife to trim and fit the drywall panels as necessary. Be precise in your measurements and cuts to ensure a snug fit and minimize gaps.
Step 12: Inspect and Fix Issues
Once all the drywall panels are installed, inspect the garage for any issues, such as protruding screws or nails, gaps between panels, or damaged drywall. Use a cordless drill or screw gun to drive any protruding screws or nails below the surface of the drywall. If necessary, use additional screws or nails to secure loose panels or fill gaps.
Step 13: Tape and Finish the Seams
After installing the drywall, you’ll need to tape and finish the seams to create a smooth, continuous surface. Apply joint compound to the seams and press drywall tape into the compound. Use a drywall knife to smooth out the compound, feathering the edges to blend the seams into the surrounding drywall. Apply additional coats of joint compound as needed, allowing each coat to dry and sanding between coats for a smooth finish.
Step 14: Finish Inside and Outside Corners
For inside corners, fold the drywall tape along its center crease and press it into the joint compound in the corner. Smooth out the tape with a drywall knife, feathering the joint compound along both sides of the corner. For outside corners, use a metal or plastic corner bead to create a straight, durable edge. Secure the corner bead to the drywall with screws or nails, and then apply joint compound to the seams, feathering the edges for a smooth finish.
Step 15: Sand the Drywall
Once the joint compound is completely dry, sand the seams and corners with fine-grit sandpaper or a sanding sponge. Be careful not to sand too much, as this can damage the paper surface of the drywall. Wipe down the walls and ceiling with a damp cloth or sponge to remove dust and debris.
Step 16: Prime and Paint the Garage
After sanding the drywall, apply a coat of primer to seal the surface and provide a base for the paint. Once the primer is dry, apply the desired paint color using a roller or brush. Apply additional coats as needed for full coverage and a uniform appearance.
By following these steps, you can successfully hang drywall in your garage, creating a finished space that is both functional and visually appealing. With proper planning, cutting, and installation, you can achieve a professional-looking result that adds value and comfort to your home.
You Can Also Check It Out How to Disguise a Garage Wall
Do You Need Special Drywall for Garage?
When it comes to your garage, you want to make sure that you have the best drywall for the job. So while you may be tempted to just go to your local home improvement store and pick up some standard drywall, there are a few things that you should keep in mind.
First, garages are often subject to higher humidity levels than the rest of your home. This can cause standard drywall to sag and eventually fall apart. Second, garages often house tools and other equipment that can create a lot of dust. This dust can get into the seams of standard drywall and cause it to crumble over time.
For these reasons, it’s important to use a type of drywall specifically designed for use in garages. Fortunately, there are several good options on the market. Just make sure to do your research before making a purchase.
How Do You Drywall an Unfinished Garage?
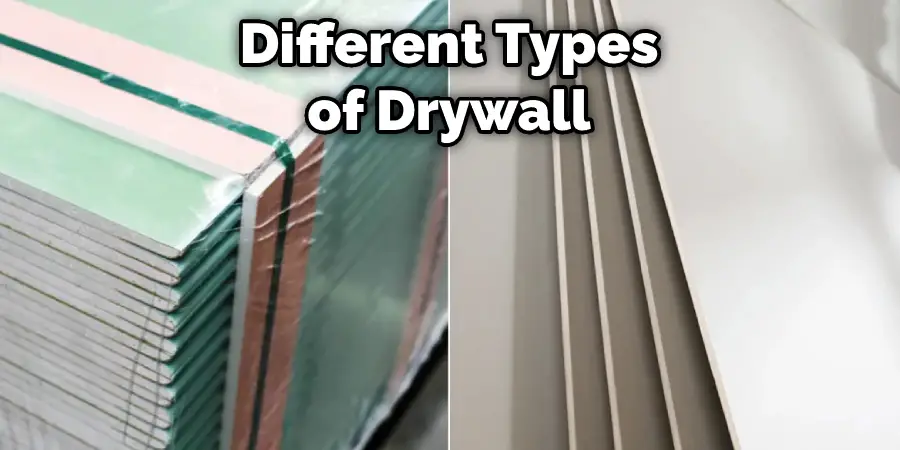
There are a few things to consider when drywalling an unfinished garage. The first is what type of drywall to use. Traditional drywall is made from Gypsum, paperboard, and plaster. However, there are also types of drywall that are made specifically for garages, such as Water-Resistant Drywall or Mold-Resistant Drywall.
These types of drywall are designed to withstand the higher humidity levels that are common in garages. Once you have chosen the right type of drywall, you will need to measure the area to be covered and cut the sheets to size. It is important to take your time and make straight cuts, as this will make it easier to attach the drywall to the studs later on.
Once all the pieces are cut, it’s time to start attaching them to the studs. To do this, you will need to use drywall screws or nails. Start at the top and work your way down, making sure that each piece is securely attached. Once all of the pieces are in place, you will need to apply joint compound to the seams and corners.
A joint compound helps to create a smooth surface and hide any imperfections in the drywall. Once the joint compound is dry, you can sand it down and paint the garage walls. Keep reading for more information about how to hang drywall in garage.
What’s the difference between sheetrock and drywall?
Most people believe that sheetrock and drywall are interchangeable terms for the same product. However, there is a significant difference between the two.
Sheetrock is a brand name for gypsum wallboard, while drywall is a generic term used to describe any plasterboard. Gypsum is a soft mineral that is easily damaged, so it must be covered with a paper or fiberglass surface before being used as a wallboard.
On the other hand, the drywall may be made from gypsum or other materials such as calcium sulfate. It also typically has a rougher surface than sheetrock, which makes it easier to paint or wallpaper.
Ultimately, the choice of sheetrock or drywall will come down to personal preference and the specific project requirements.
Frequently Asked Question
How Much Does It Cost to Drywall a Garage?
The cost to drywall a garage can vary depending on the size of the garage, the type of drywall used, and the complexity of the installation. However, it costs between $1 and $3 per square foot to install drywall in a garage.
What Drywall Is Best for Garages?
There are a few different types of drywall that can be used in garages, but the best option will depend on the specific application. For example, the moisture-resistant or green board is a good choice for areas that may be exposed to water or high levels of humidity, while standard sheetrock is a good option for most garages.
What Is the Cheapest Way to Finish a Garage Wall?
Drywall is probably your best bet if you’re looking for the cheapest way to finish a garage wall. Drywall is relatively inexpensive and easy to install, making it a popular choice for budget-conscious homeowners. Plus, drywall does a great job of hiding imperfections and creating a smooth, finished look once it’s installed.
Conclusion
So there you have it – how to hang drywall in a garage. It’s not as difficult as it may seem, but it is important to take your time and be precise with your measurements. If you follow these simple steps, you should end up with a sturdy and level wall that will help keep your garage organized and looking great. Thanks for reading our post about how to hang drywall in garage.
I am Rick. I grew up helping my dad with his handyman service. I learned a lot from him about how to fix things, and also about how to work hard and take care of business. These days, I’m still into fixing things- only now, I’m doing it for a living.
I’m always looking for new ways to help people grow and develop. That’s why I have created this blog to share all my experience and knowledge so
that I can help people who are interested in DIY repair.