
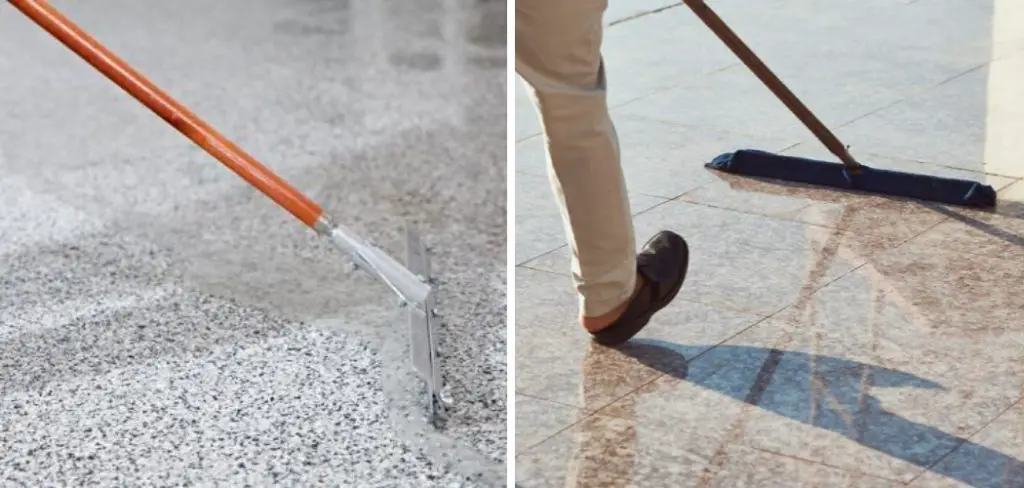
A sticky epoxy floor can be a frustrating issue for anyone who has invested time and effort into creating a smooth and glossy surface. Whether you’ve applied epoxy to your garage, workshop, or even a commercial space, dealing with a floor that remains tacky can be a significant concern. However, there’s no need to worry; it’s a problem that can be resolved. In this article, we will guide you through the process of how to fix sticky epoxy floor step by step.
We’ll cover the common causes of stickiness, the essential tools and materials you’ll need, and the precise techniques to follow for a successful remedy. With the right information and a bit of patience, you can transform your tacky epoxy floor into a durable, attractive, and functional surface that will serve you well for years to come. Let’s get started on reclaiming that pristine epoxy finish you envisioned.
The Issue of a Sticky Epoxy Floor
Experience a sticky epoxy floor? Don’t worry – it can be fixed! A sticky surface on your epoxy coating usually occurs when moisture is trapped between the epoxy and the substrate. This leads to the formation of a thin film of water which acts like glue, causing the floor to stick. Fortunately, you can fix this issue without having to remove the entire epoxy coating.
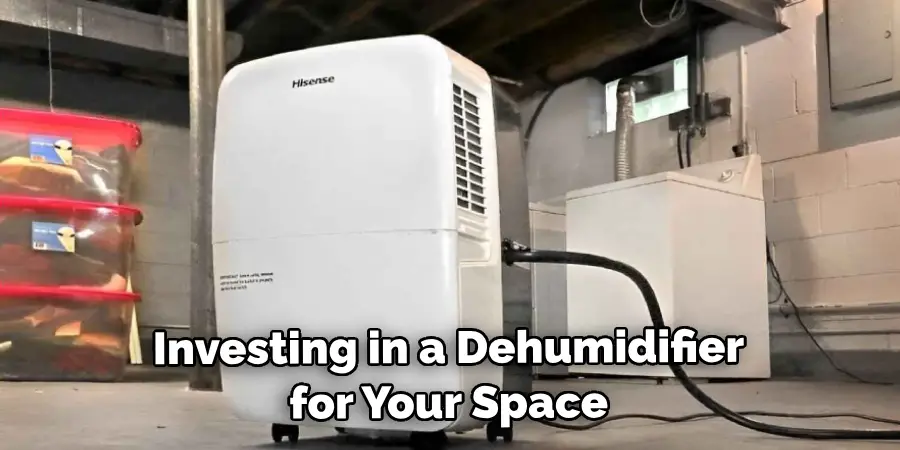
The first step in fixing a sticky epoxy floor is to identify the source of the moisture. This can be tricky, as it’s often hard to tell whether the moisture is coming from above or below the substrate. If you suspect that your problem is caused by condensation, consider investing in a dehumidifier for your space. If the moisture is coming from below, inspect your substrate and any applied coatings for signs of damage that could be allowing water to seep in.
Once you’ve identified the source of the moisture, it’s time to start fixing the sticky floor. Start by using a putty knife or scraper to remove any excess epoxy that may have bubbled up during the curing process. Make sure to take extra care not to scratch or gouge the substrate while you work.
Importance of Identifying the Root Cause before Attempting Any Fixes
When it comes to fixing sticky epoxy floors, the most important thing is to identify the root cause of the issue. In some cases, the problem may be due to environmental factors such as moisture buildup or high humidity levels in the space. It could also be caused by poor installation or defective materials used during application. Whatever the cause may be, it’s important to properly identify it before attempting any fixes.
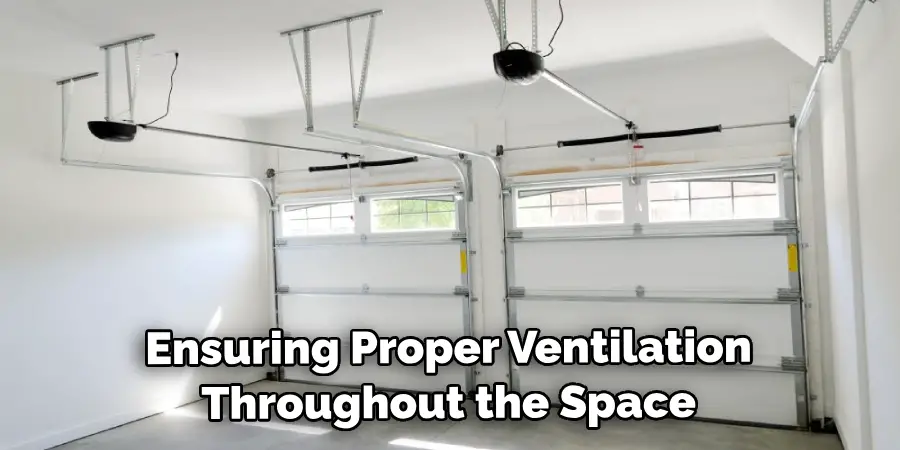
If the root cause of the problem is environmental, the best way to fix it is to create a more conducive environment for epoxy floors. This could involve using dehumidifiers or air conditioning units to reduce humidity levels in the space, sealing off any potential entry points for moisture buildup, and ensuring proper ventilation throughout the space.
10 Steps How to Fix Sticky Epoxy Floor
Step 1: Identify the Cause of Stickiness
The first step in resolving a sticky epoxy floor is to identify the underlying cause. Common reasons include improper mixing of epoxy components, application in high humidity or low-temperature conditions, or contamination of the epoxy surface. Carefully assess the conditions and factors surrounding your epoxy floor application to determine the cause of stickiness. This understanding is crucial for selecting the most appropriate solution.
Step 2: Safety Precautions
Before you begin any epoxy floor repair work, prioritize safety. Wear appropriate personal protective equipment (PPE) such as gloves, safety goggles, and a respirator mask if working in a poorly ventilated area. Ensure good ventilation in the workspace to mitigate exposure to epoxy fumes.
Step 3: Gather Tools and Materials
To fix a sticky epoxy floor, you’ll need the following tools and materials:
- Orbital sander or sandpaper (120-220 grit)
- Vacuum cleaner with a brush attachment
- Solvent or epoxy thinning agent
- Clean, lint-free rags
- A new batch of epoxy coating
- Mixing containers and stirring sticks
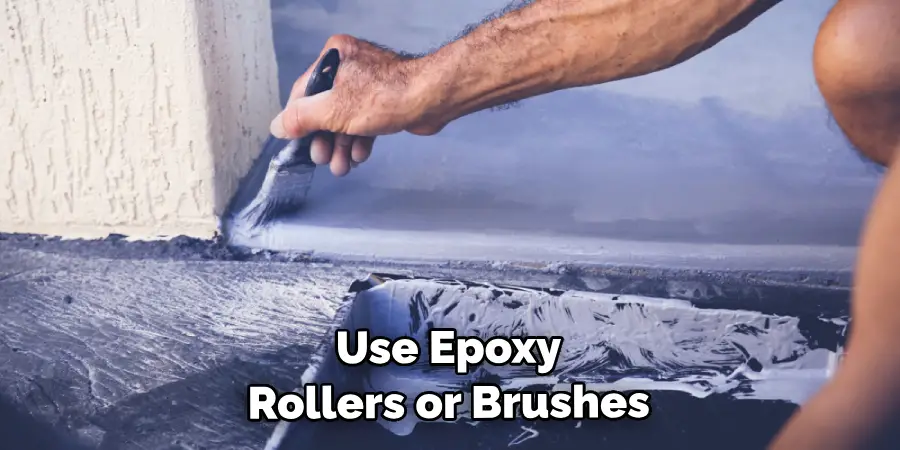
- Epoxy rollers or brushes
- Drop cloths or plastic sheets to protect surrounding areas
Ensure you have everything ready before you start the repair process.
Step 4: Surface Preparation
Proper surface preparation is crucial for a successful epoxy floor fix. Begin by cleaning the sticky epoxy surface thoroughly. Use a solvent or epoxy thinning agent to remove any contaminants or residues. Scrub the floor with a clean, lint-free rag and ensure it’s completely dry before proceeding.
Step 5: Sanding the Sticky Surface
Using an orbital sander with 120-220 grit sandpaper, gently sand the sticky epoxy surface. Sanding helps remove the tacky layer and provides a smooth, even surface for the new epoxy coat to adhere to. Be careful not to apply excessive pressure to avoid damaging the epoxy layer beneath.
Step 6: Vacuum and Clean
After sanding, use a vacuum cleaner with a brush attachment to thoroughly remove all dust and debris from the sanded surface. Ensuring a clean and dust-free environment is essential for a successful epoxy floor repair.
Step 7: Applying a New Epoxy Coat
Prepare a new batch of epoxy coating according to the manufacturer’s instructions. Ensure you mix it thoroughly to prevent any issues with curing. Use epoxy rollers or brushes to apply the new coat evenly on the sanded surface. Work in small sections, ensuring complete coverage without leaving any gaps or streaks.
Step 8: Addressing Bubbling and Blisters
During the application of the new epoxy coat, you may encounter issues like bubbling or blisters. To address these problems:
- Puncture bubbles or blisters with a sharp utility knife.
- Gently press down on the punctured area to release trapped air.
- Apply additional epoxy over the repaired spot, feathering the edges for a seamless finish.
Step 9: Curing and Drying
Allow the new epoxy coat to cure according to the manufacturer’s instructions. Typically, epoxy floors require at least 24 hours to cure fully. Ensure the environment remains dust-free and within the recommended temperature and humidity range during the curing process.
Step 10: Post-Repair Inspection and Preventative Measures
After the epoxy floor has fully cured, conduct a thorough inspection to ensure the repair was successful. Check for any remaining stickiness, bubbles, or imperfections. If necessary, address any remaining issues using the appropriate repair methods.
To prevent future sticky epoxy floor problems, consider the following preventative measures:
- Follow the manufacturer’s instructions for epoxy mixing and application.
- Ensure suitable environmental conditions (temperature and humidity) during application.
- Properly clean and prepare the surface before epoxy application.
- Use high-quality epoxy materials from reputable suppliers.
Things to Consider When Fixing Sticky Epoxy Floor
When fixing a sticky epoxy floor, there are several things to consider. It’s important to make sure the issue is addressed properly so that it doesn’t become a bigger problem down the line. The following steps can help you fix your sticky epoxy floor:
- Identify the source of the stickiness. Is it trapped dirt and dust? Moisture build-up? Or is it a result of the epoxy formulation itself?
- If trapped dirt and dust are the culprit, use a vacuum cleaner to remove them from the floor before proceeding.
- Check the humidity level in your space. High levels of moisture can cause epoxy to become sticky, so you may need to invest in a dehumidifier to reduce the humidity in your space.
- Test different cleaning solutions to find one that can remove the stickiness without damaging the epoxy floor. Start with mild soaps and move up to stronger detergents if needed.
- If all else fails, you may need to strip and re-coat your floor with an appropriate epoxy coating. Make sure you use a flooring-grade epoxy designed for your specific application.
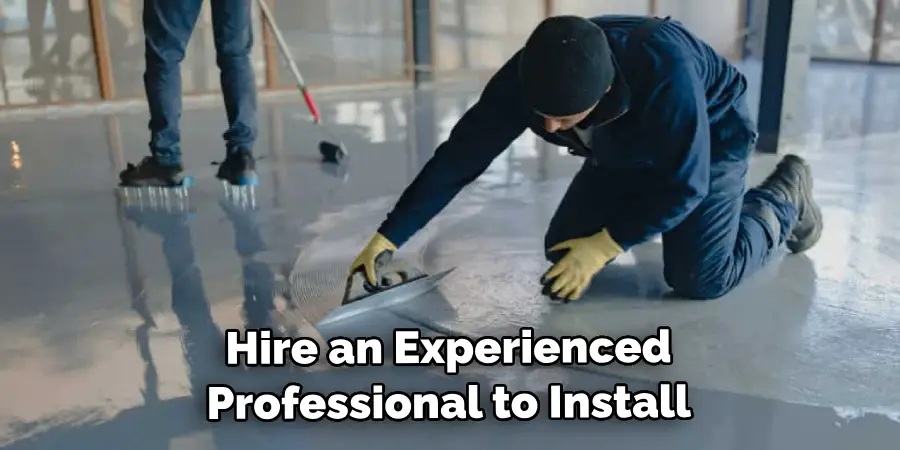
- For best results, hire an experienced professional to install the new coating and ensure it’s done correctly. The last thing you want is more sticky floors in the future!
Some Common Mistakes to Avoid When Fixing Sticky Epoxy Floor
There are some common mistakes that you should avoid when trying to repair a sticky epoxy floor. These include:
- Not properly preparing the surfaces before applying new epoxy. Any dirt, dust or oils left on the surface can prevent proper adhesion or cause problems later down the line. Take extra care to eliminate these potential issues before proceeding with repairs.
- Applying too much or not enough epoxy. If there is too little epoxy applied, it will not have a strong bond with the surface and may be prone to peeling or delamination. On the other hand, applying too much can lead to excess build up that can cause a sticky residue.
- Not allowing adequate drying time in between applications. Without the necessary time for each layer to properly cure and harden, the overall adhesion of the epoxy may be compromised.
By taking these tips into account when fixing a sticky epoxy floor, you can ensure that your repairs will last and your floors will look great for years to come.
Conclusion
Working with epoxy flooring can be a difficult task but it is not impossible. By using the tips mentioned in this blog post, you can successfully repair your sticky epoxy floor in no time at all. Always wear protective gear when dealing with any dangerous chemicals and make sure to always read the instructions on products before you use them.
With the right tools, understanding of the material, and hard work, you will be able to fix sticky epoxy flooring for good. Now you have all the tips and tricks for how to fix sticky epoxy floor – so go out there and get working!
I am Rick. I grew up helping my dad with his handyman service. I learned a lot from him about how to fix things, and also about how to work hard and take care of business. These days, I’m still into fixing things- only now, I’m doing it for a living.
I’m always looking for new ways to help people grow and develop. That’s why I have created this blog to share all my experience and knowledge so
that I can help people who are interested in DIY repair.