If you’re a homeowner, there’s a good chance you’ll have to do some drywall work at some point. Drywall is a common material used in home construction, and it can be installed in several different ways. Finishing drywall can seem like a daunting task, but it can be a breeze with the proper tools and techniques.
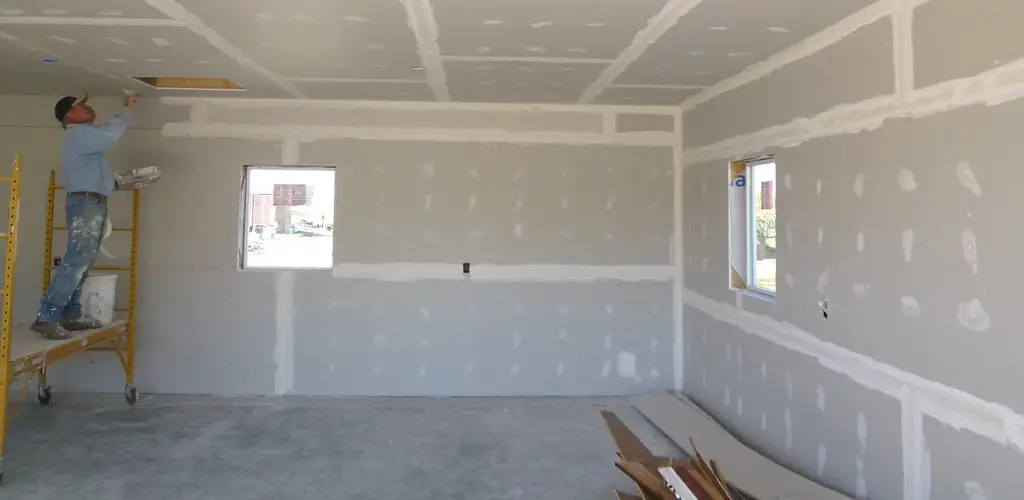
In this blog post, we will walk you through how to finish drywall in garage. We will also provide tips and advice on making the process as smooth as possible. So, whether you’re looking to finish your garage for storage or want to turn it into a living space, read on for all the information you need.
Summary: Finishing drywall in a garage can be a challenging task, but with the right tools and techniques, it can be done easily. The first step is to prepare the drywall by sanding it to remove any rough spots and filling any holes or gaps with the joint compound. Next, apply tape and joint compound to seal the edges of the drywall and create a smooth surface. Sand the surface again before applying a texture, if desired.
Why Should You Drywall in Garage?
Drywall is a versatile material that can be used in various applications. It is commonly used to finish interior walls and ceilings, but it can also be used to finish exterior walls, such as in a garage. There are several reasons why you might want to drywall your garage:
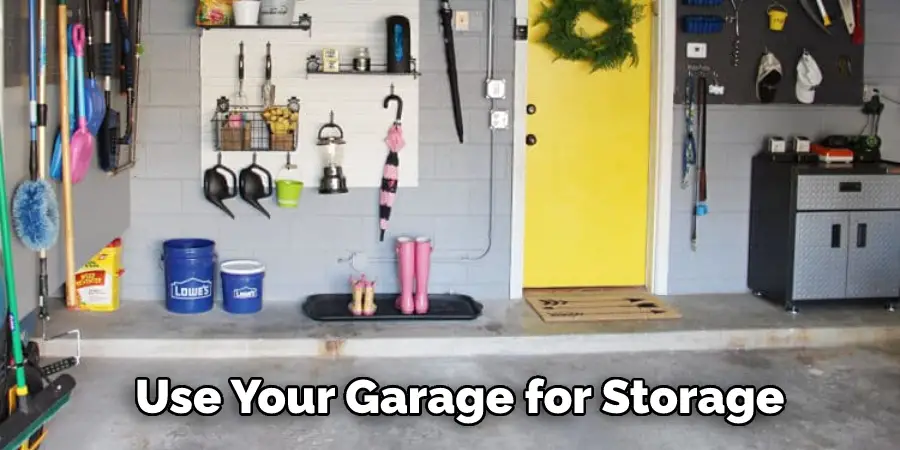
1. To Create More Storage Space:
If you have a lot of stuff in your garage, drywalling can create additional storage space. For example, you can build shelves or cabinets into the wall to keep things off the floor and out of the way.
2. To Improve Insulation:
Drywall can help improve the insulation of your garage, making it more energy-efficient. This is especially important if you live in a cold climate and use your garage for storage.
3. To Create a Workspace:
If you’re a hobbyist or work from home, drywalling your garage can create a dedicated workspace. This can be a great way to get away from the distractions of home and focus on your work.
4. To Increase the Value of Your Garage:
If you’re planning on selling your home, drywalling your garage can increase its value. This is because buyers will see a drywalled garage as more finished and habitable, making it more appealing.
5. To Reduce Noise:
A drywall can help reduce noise from outside or from the rest of the house. This is especially important if you have a workshop in your garage or if you live in a close-knit neighborhood.
Tools and Materials Needed
Before you start, there are a few things you’ll need to gather. First, you’ll need the tools. For this project, you’ll need:
- A measuring tape
- A level
- A drill
- A screw gun
- Drywall screws
- Drywall mud
Step by Step Process: How To Finish Drywall In Garage
Step 1: Measure and Cut Drywall Panels
Begin by measuring the dimensions of your garage walls, taking note of any openings for windows or doors. Cut the drywall panels to fit, using a utility knife to score the panel along a straight edge and snapping the panel along the scored line. Cut out openings for windows or doors as needed, using a drywall saw or keyhole saw.
Step 2: Attach Drywall Panels to Studs
Position the cut drywall panels against the wall studs, starting at one corner of the garage and working your way around the space. Attach the panels to the studs using drywall screws, spacing the screws approximately 16 inches apart along each stud. Be sure to sink the screw heads slightly below the surface of the drywall without tearing the paper facing.
Step 3: Install Drywall on Ceiling (Optional)
If you plan to finish the garage ceiling, repeat Steps 1 and 2 to measure, cut, and attach drywall panels to the ceiling joists. It is recommended to use a drywall lift or have a helper to assist in lifting and holding the panels in place during installation.
Step 4: Apply Joint Compound to Seams
Once all drywall panels are securely attached, apply a thin layer of joint compound along each seam using a 4- to 6-inch drywall knife. This layer should be thin enough to cover the seam but not so thick that it creates a noticeable ridge on the wall.
Step 5: Apply Paper or Fiberglass Drywall Tape
While the joint compound is still wet, apply paper or fiberglass drywall tape along each seam, pressing the tape firmly into the joint compound. Be sure to overlap the tape at corners for a seamless appearance. For inside corners, use a special corner trowel or fold the tape along its center crease and press it into the corner.
Step 6: Apply Additional Layers of Joint Compound
Allow the first layer of joint compound to dry, as recommended by the manufacturer. Once dry, apply a second, wider layer of joint compound using an 8- to 12-inch drywall knife, feathering the edges to blend the compound smoothly into the surrounding drywall. Allow this layer to dry, then apply a third, even wider layer of joint compound, again feathering the edges for a smooth finish.
Step 7: Cover Screw Holes
Using a 4- to 6-inch drywall knife, apply a thin layer of joint compound over each screw hole. Allow the compound to dry, then apply a second, slightly wider layer, feathering the edges to blend into the surrounding drywall.
Step 8: Sand the Drywall
Once all joint compound layers have dried, sand the seams and screw holes using a fine-grit sandpaper or a drywall sanding sponge. Be sure to sand evenly and avoid over-sanding, which can cause noticeable dips or depressions in the finished surface. Use a drywall sanding pole for hard-to-reach areas, such as the ceiling.
Step 9: Clean the Garage
After sanding, thoroughly clean the garage to remove dust and debris. Use a shop vacuum to remove dust from the walls, floor, and any exposed surfaces. This step is crucial to ensure proper adhesion of primer and paint in the following steps.
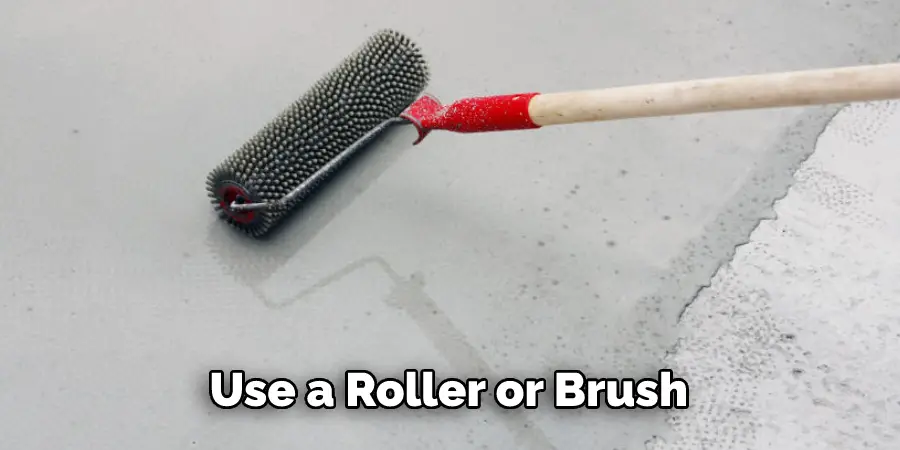
Step 10: Apply Drywall Primer
Before painting, apply a high-quality drywall primer to the entire surface of the garage walls and ceiling (if applicable). Use a paint roller to apply the primer, following the manufacturer’s recommendations for coverage and drying time. The primer will help seal the drywall and provide a uniform surface for the paint to adhere to.
Step 11: Paint the Garage Walls and Ceiling
Once the primer has dried, apply the desired paint color to the garage walls and ceiling (if applicable) using a paint roller and brush for detailed areas. Be sure to choose a paint that is specifically designed for use in garages or other high-traffic areas, as these paints are more durable and resistant to wear. Apply at least two coats of paint, allowing each coat to dry according to the manufacturer’s instructions.
Step 12: Install Trim and Baseboards (Optional)
For a finished appearance, install trim and baseboards along the edges of the walls, as well as around windows and doors. Measure and cut the trim pieces to fit, mitering the corners for a professional look. Attach the trim using finish nails, then fill any nail holes with wood filler and sand the surface smooth. Paint or stain the trim to match or complement the garage walls.
Step 13: Install Garage Storage and Organizational Features
With the drywall finished and the paint dry, you can now install any garage storage and organizational features, such as shelving, cabinets, hooks, or pegboards. Choose storage solutions that meet your specific needs and help keep your garage space tidy and functional.
Step 14: Address Lighting and Electrical Needs
If needed, update or install new lighting fixtures and electrical outlets to improve the functionality and safety of your garage. Be sure to follow local building codes and consult with a licensed electrician to ensure proper installation.
Step 15: Insulate the Garage (Optional)
If desired, insulate the garage to help regulate temperature and reduce energy costs. This can be done by adding insulation to the walls before installing drywall or by using insulated garage doors.
Step 16: Perform Final Touch-ups
After completing all other steps, inspect the garage for any areas that require touch-ups or additional attention. This may include repainting small areas, adding additional joint compound and sanding any imperfections, or reinstalling trim pieces that may have become loose or damaged during the finishing process.
By following these steps, you can transform your garage into a functional, attractive space with finished drywall. This project requires time, patience, and attention to detail but can greatly enhance the appearance and usability of your garage. With the proper tools and techniques, you can achieve professional results and create a garage that meets your specific needs and preferences.
Some Helpful Tips and Suggestions:
Here we have given tips on how to finish drywall in garage.
- When planning your project, be sure to take accurate measurements. This will help ensure that you purchase the correct amount of drywall.
- It’s important to use the right type of screws when attaching the drywall to the studs. Drywall screws are specifically designed for this purpose and are available at most hardware stores.
- When cutting drywall, use a sharp knife or scoring tool. A dull blade will cause the drywall to crumble, making for a messy and difficult cut.
- 4. When taping the joints, be sure to smooth out the tape to level with the rest of the drywall.
- Use fine-grit sandpaper to sand the joint until it’s smooth lightly. Once you’re finished sanding, wipe the area clean with a damp cloth.
- To apply a skim coat, spread the joint compound over the area with a putty knife or trowel.
- Once the joint compound is dry, sand it smooth and then apply a second coat if needed.
- To paint the drywall, apply a primer designed for use on drywall, followed by your chosen paint color.
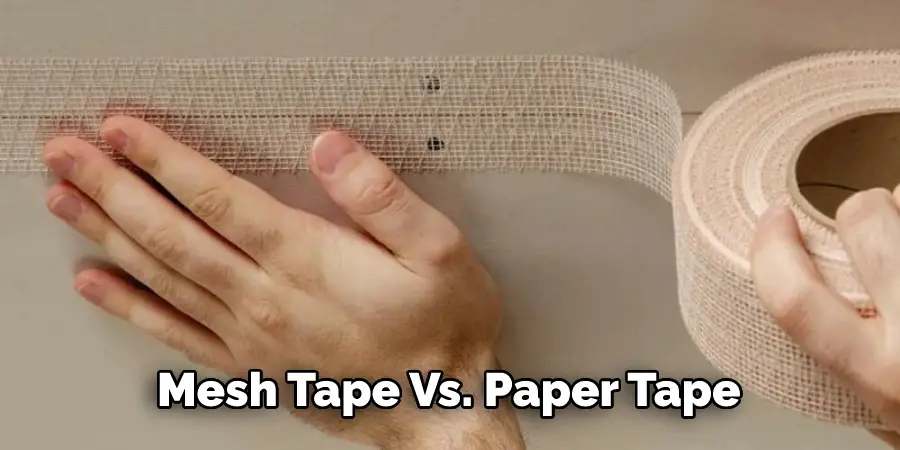
Mesh Tape Vs. Paper Tape: Which One To Use?
There is no right or wrong answer when choosing between mesh and paper tape. Joint tape comes in two varieties: mesh and paper. Each type has its advantages and disadvantages.
Mesh tape is made of a plastic or fiberglass material. It’s more durable than paper tape and is less likely to tear. Mesh tape is also easier to apply, as it can be simply pressed into place. However, a mesh tape is more expensive than paper tape. It is also more difficult to remove, as it doesn’t break down in the water as paper tape does.
On the other hand, the Paper tape is made of paper. Therefore, it’s less durable than mesh tape but is more affordable. Paper tape is also easier to remove than mesh tape, as it breaks down in the water. However, paper tape is more difficult to apply than mesh tape, as it needs to be applied with an adhesive.
So to conclude, It ultimately depends on your preferences and budget. If you’re looking for a durable, easy-to-apply joint tape, mesh tape is a good option. However, it is more expensive than paper tape. On the other hand, if you’re on a tight budget, the paper tape is a good alternative. It’s not as durable as mesh tape, but it’s still an effective joint tape.
How Long Does It Take To Finish Drywall in Garage?
The timeframe for finishing the drywall in the garage depends on the size of the garage and the amount of drywall that needs to be installed. Most garages are small, so it shouldn’t take more than a day or two to finish. However, if you have a large garage or a lot of drywall to install, it may take longer. Generally, it takes about two days for a professional to finish drywalling a small garage. But, if you’re doing it yourself, it may take longer.
Conclusion
In conclusion, if you are looking to finish drywall in your garage, there are a few things you will need to do. First, make sure the surface is clean and free of debris. Next, cut the drywall to size and attach it to the studs using screws or nails. Finally, use a joint compound and a trowel to smooth out bumps or seams.
By following these steps on how to finish drywall in garage, you can create a finished look that will improve the appearance of your garage and help keep it warm and insulated. Have you ever finished drywall in a garage? If so, what tips would you share with others? Let us know in the comments below!
I am Rick. I grew up helping my dad with his handyman service. I learned a lot from him about how to fix things, and also about how to work hard and take care of business. These days, I’m still into fixing things- only now, I’m doing it for a living.
I’m always looking for new ways to help people grow and develop. That’s why I have created this blog to share all my experience and knowledge so
that I can help people who are interested in DIY repair.