If you are finishing the bottom of drywall in your garage, it is important to use the correct tools and techniques. Finishing the bottom of drywall can be tricky, but it can be a breeze with the right tools and instructions. With a few basic tools and some simple techniques, you can have this project completed in no time.
This blog post will teach you how to finish bottom of drywall in garage correctly. We will also provide some tips and tricks to make the process go more smoothly. Follow these instructions carefully, and you will have a beautiful finished product! So read on for all the details!
Summary: To finish the bottom edge of drywall in your garage, start by measuring the length of the area you need to cover. Cut a strip of drywall to match the length and height of the gap. Apply joint compound along the edge of the existing drywall and press the strip in place. Smooth out any excess joint compound and let it dry completely.
Why It’s Important to Finish Bottom of Drywall In Your Garage?
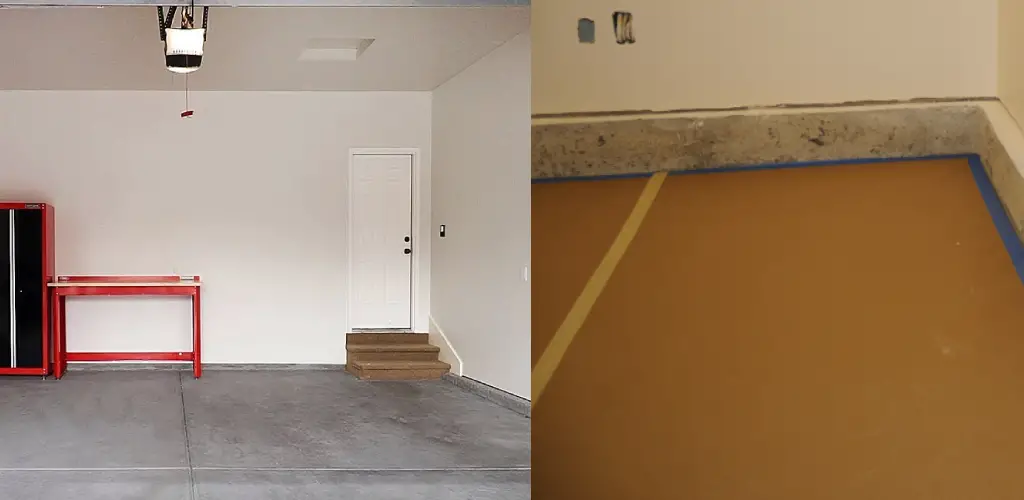
There are a few reasons why it is important to finish the bottom of your drywall in your garage. First, if you don’t finish the bottom of your drywall, it will be more susceptible to damage. Water and other liquids can easily penetrate unfinished drywall, causing it to swell and eventually fall apart.
In addition, unfinished drywall is also more likely to harbor mold and mildew. Finishing the bottom of your drywall will help protect it from damage and extend its lifespan. It will also make your garage look more finished and polished.
A Step by Step Guide on How to Finish Bottom of Drywall in Garage
Step 1: Gather Necessary Tools and Materials
Before you begin finishing the bottom of the drywall in your garage, gather the necessary tools and materials. You will need the following items:
- Drywall panels
- Joint compound (premixed or powder form)
- Drywall tape (paper or fiberglass mesh)
- Drywall screws
- Taping knife (4-inch and 10-inch or 12-inch)
- Drywall saw or utility knife
- Cordless drill with a drywall screw bit
- Sanding block or pole sander
- Sanding screen or sandpaper (120-grit and 220-grit)
- Drywall lift or support (optional)
- Safety glasses
- Dust mask
Step 2: Measure and Cut Drywall Panels
Measure the distance from the floor to the bottom edge of the existing drywall. Transfer this measurement to the drywall panels and cut them to size using a drywall saw or utility knife. Be sure to account for any outlets, switches, or other obstacles in the wall.
Step 3: Attach Drywall Panels
Position the cut drywall panels along the bottom of the garage wall, ensuring they are level and properly aligned with the existing drywall. It is helpful to use a drywall lift or support to hold the panels in place while you work.
Attach the panels to the wall studs using drywall screws spaced approximately 12 inches apart. Drive the screws until they are slightly recessed below the surface of the drywall, taking care not to tear the paper facing.
Step 4: Apply Joint Compound
Mix the joint compound according to the manufacturer’s instructions if using powder form. Using a 4-inch taping knife, apply a thin layer of joint compound along the seam between the new and existing drywall panels. Make sure to cover the entire seam with an even layer of compound.
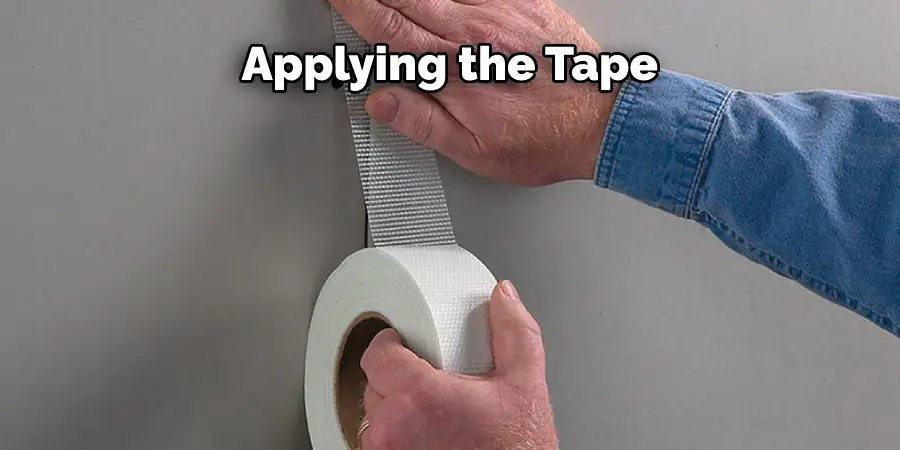
Step 5: Apply Drywall Tape
Place drywall tape over the seam, centering it along the length of the joint. If using paper tape, press it firmly into the joint compound. If using fiberglass mesh tape, press it onto the drywall surface so that it adheres evenly.
Step 6: Apply Additional Layers of Joint Compound
Using a 4-inch taping knife, apply a second thin layer of joint compound over the drywall tape, feathering the edges outward to blend with the surrounding drywall surface. Allow the joint compound to dry according to the manufacturer’s instructions.
Once the first layer is dry, switch to a 10-inch or 12-inch taping knife and apply a wider, thinner layer of joint compound, extending it further out from the seam. Allow this layer to dry before applying a third, even thinner layer. Each layer should extend farther from the seam, creating a gradual slope that blends seamlessly with the surrounding drywall.
Step 7: Sand the Joint
Once the final layer of joint compound is dry, use a sanding block or pole sander with 120-grit sanding screen or sandpaper to sand the joint smooth. Be sure to wear safety glasses and a dust mask to protect yourself from dust. Sand the joint until it is smooth and even with the surrounding drywall surface, being careful not to over-sand and expose the tape.
Step 8: Apply a Skim Coat (Optional)
For a smoother, more professional finish, apply a thin skim coat of joint compound over the entire bottom portion of the drywall using a 10-inch or 12-inch taping knife. This will help to eliminate any visible seams or imperfections. Allow the skim coat to dry before proceeding.
Step 9: Sand the Skim Coat
Once the skim coat is dry, use a sanding block or pole sander with 220-grit sanding screen or sandpaper to sand the entire bottom portion of the drywall. Sand the surface until it is smooth and even, taking care not to over-sand and create divots or gouges in the joint compound. Be sure to wear safety glasses and a dust mask to protect yourself from dust.
Step 10: Clean the Area
After sanding, use a damp cloth or sponge to wipe down the bottom portion of the drywall, removing any dust and debris. Allow the surface to dry completely before proceeding.
Step 11: Apply Primer
To prepare the drywall for painting, apply a high-quality primer to the entire bottom portion of the drywall. Use a roller or brush to apply the primer evenly, ensuring that all surfaces are covered. Allow the primer to dry according to the manufacturer’s instructions.
Step 12: Paint the Drywall
Select a high-quality paint suitable for use in garages, such as an acrylic or latex paint that offers resistance to moisture and mildew. Use a roller or brush to apply the paint to the bottom portion of the drywall, following the manufacturer’s instructions for coverage and drying times. Apply additional coats as needed to achieve the desired finish and color.
Step 13: Install Baseboards (Optional)
If desired, install baseboards along the bottom edge of the drywall to provide a finished look and protect the bottom of the drywall from damage. Measure and cut the baseboards to fit, then attach them to the wall using finish nails or adhesive.
Step 14: Clean Up
Dispose of any debris, such as leftover joint compound, sanding dust, or paint, in accordance with local regulations. Store any unused materials and tools for future use or return them to their proper locations.
By following these steps, you can successfully finish the bottom of drywall in your garage, creating a seamless transition between the existing and new drywall sections. This process not only enhances the appearance of your garage but also protects the drywall from potential moisture damage and wear. With the proper care and maintenance, your garage walls will remain in excellent condition for years to come.
Some Helpful Tips When Finishing Bottom of Drywall in Garage:
- Make sure to use a level when drawing your lines for the cut. This will ensure that your lines are perfectly straight.
- Use a sharp blade when cutting the drywall. A dull blade will make it difficult to get a clean cut.
- When using screws to attach the drywall, make sure to countersink them so that the heads are flush with the surface of the drywall.
- Use joint compound to fill in any gaps or joints between pieces of drywall.
- When sanding the drywall, use fine-grit sandpaper so that you don’t create too much dust.
- 6. If you are painting the drywall, use a primer before applying the paint. This will help to ensure that the paint adheres properly to the surface.
By following these tips, you can easily and efficiently finish the bottom of your garage’s drywall.
What Are the Advantages of Sealing Bottom of Drywall in Garage?
Sealing the bottom of your drywall in your garage has several advantages. First, it helps to protect the drywall from moisture and water damage. Second, it helps to prevent insects and other pests from getting into the drywall and causing damage. Third, it helps to insulate the drywall and keep it cooler in the summer months. Fourth, it helps to keep the drywall cleaner and free of dust and dirt.

Sealing the bottom of your drywall is a simple process that anyone can do. You will need to purchase a sealant from your local hardware store or home improvement center. Be sure to read the directions on the sealant before you begin. Once you have the sealant, simply apply it to the bottom of the drywall with a brush or roller. Again, be sure to follow the directions on the sealant. Allow the sealant to dry completely before painting or staining the drywall.
How Do You Seal a Gap Between a Garage Floor and Drywall?
If you’re wondering how to finish bottom of drywall in garage, the answer is simple: with a good sealant. By sealing the gap between your garage floor and drywall, you’ll be able to keep out unwanted pests, dust, and moisture. Plus, it’ll make it easier to clean your garage since there won’t be any nooks and crannies for dirt and grime to accumulate.
There are a few different sealants on the market that you can use to seal the gap between your garage floor and drywall. We recommend using a silicone-based sealant specifically designed to adhere to both concrete and drywall. Silicone-based sealants are also waterproof and mold-resistant, so you can rest assured that your garage will be protected from the elements.
To apply a silicone-based sealant, start by cleaning the area around the gap with a degreaser or all-purpose cleaner. This will help the sealant to adhere better. Next, apply the sealant to the gap using a caulking gun. Be sure to smooth out the sealant as you go to create a seamless barrier. Finally, let the adhesive dry for 24 hours before walking on it.
Conclusion
Garage drywall finishing is a process that can be completed by following a few simple steps mentioned in this blog post. We have provided an overview of the process on how to finish bottom of drywall in garage as well as some tips to help you finish bottom of garage drywall like a pro. When it comes to garage drywall finishing, there are two main options: tape and mud or screw and patch.
Tape and mud is the more common option, and it involves taping the seams between the panels with drywall tape before applying joint compound. Screw and patch is a less common option, but it is a good choice if you have damage to your drywall. This method involves screwing new panels over the damaged area and then sanding down the screws until they are flush with the surface.
Once you have chosen the method you want to use, follow this blog post’s instructions to finish the bottom of the drywall in your garage. If you have any questions or need help with your project, feel free to contact us, and we’ll be happy to assist you.
I am Rick. I grew up helping my dad with his handyman service. I learned a lot from him about how to fix things, and also about how to work hard and take care of business. These days, I’m still into fixing things- only now, I’m doing it for a living.
I’m always looking for new ways to help people grow and develop. That’s why I have created this blog to share all my experience and knowledge so
that I can help people who are interested in DIY repair.