Are you tired of your dingy-looking garage and the stained concrete floor that comes with it? Are you ready to upgrade your space and transform it into a fabulous showroom-worthy workspace?

If so, then cutting garage floor tiles is just what you need! With the right tools and materials, restructuring the interior of your garage can be easy and remarkably stylish. In this blog post, we’ll go over how to cut garage floor tiles in an effective manner as well as tips for laying them down in no time. So break away from those subpar aesthetics and learn how to masterfully shape up a productive new look!
Needed Materials
Below is a list of all the tools and materials that you’ll be requiring for this project:
- Garage Floor Tiles (Tile Size Depends on the Area of Your Garage)
- Measuring Tape
- Chalk or Pencil
- Straightedge Ruler
- Power Saw (Table or Circular Saw) or Manual Tile Cutter
- Safety Goggles
- Dust Mask
- Earplugs
- Work Gloves
- Knee Pads (Optional but Recommended)
10 Simple Step-by-step Guidelines on How to Cut Garage Floor Tiles
Step 1: Measure and Mark Your Tiles
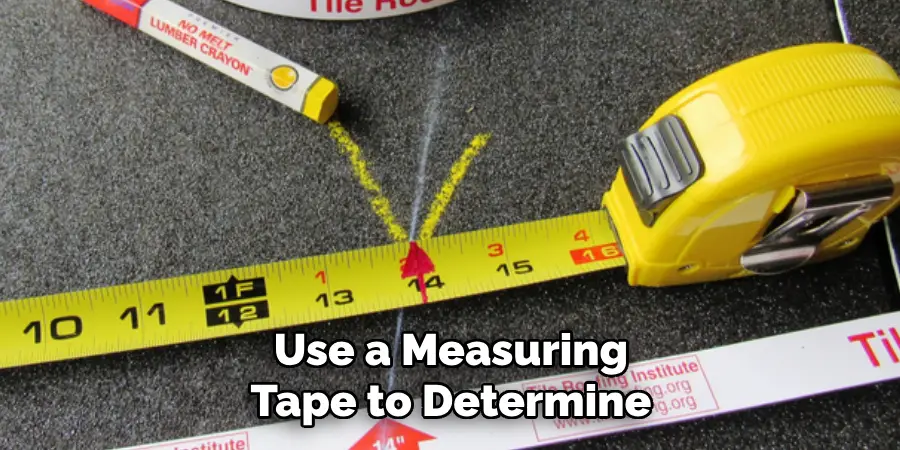
Before cutting your garage floor tiles, you need to have a clear understanding of the desired size and shape for each tile. Use a measuring tape to determine the necessary dimensions and mark them with a chalk or pencil. It’s essential to have precise measurements for a smooth and seamless installation. But don’t worry, if you do make a mistake, tiles can usually be cut to fit or replaced easily.
Step 2: Prepare Your Work Area
Make sure your work area is clean and free of any obstructions. Lay down a tarp or old sheet to protect the floor from scratches or cuts. It’s also recommended to wear safety gogglesand, dust mask, and earplugs to protect yourself from any debris or loud noise. It’s always better to be safe than sorry! You can also use knee pads for added comfort and support if you’ll be working on the floor for an extended period.
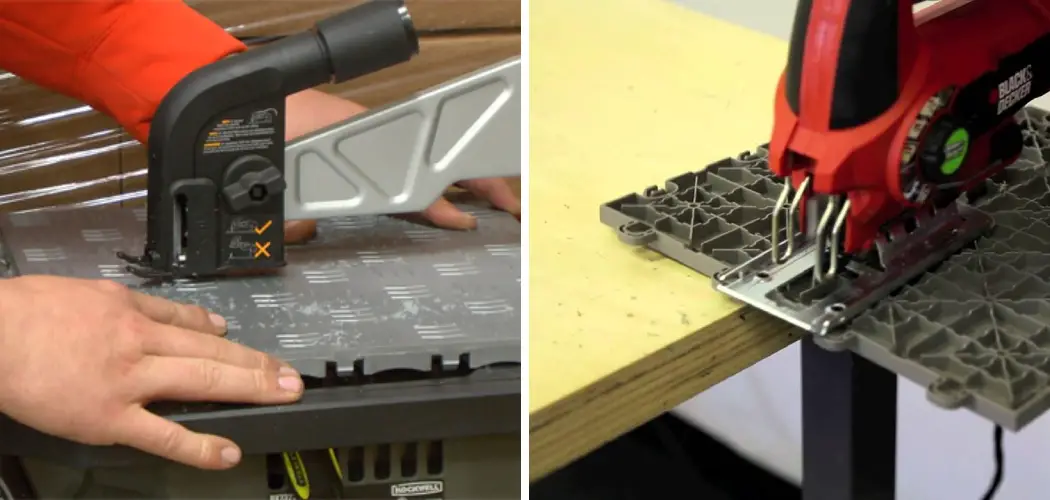
Step 3: Choose Your Preferred Cutting Tool
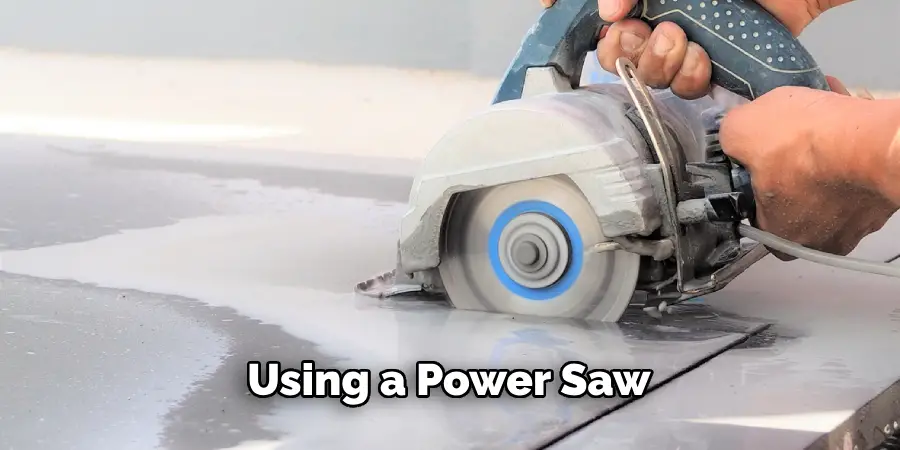
There are two main options when it comes to cutting garage floor tiles: a power saw or a manual tile cutter. A power saw, like a table or circular saw, can cut through tiles quickly but requires more extensive protective gear. On the other hand, a manual tile cutter is safer and quieter but has a slower cutting speed.
Step 4: Set Up Your Cutting Tool
If you’re using a power saw, make sure to adjust the blade to the desired depth. For manual tile cutters, follow the manufacturer’s instructions for proper setup. You can also practice on spare tiles to get the hang of it before moving on to your actual tiles. It’s better to make any mistakes on tiles that won’t be used! But don’t worry; cutting tiles is relatively straightforward and doesn’t require much precision.
Step 5: Start Cutting
Place your tile on the cutting surface, making sure to align it with your marks. If you’re using a power saw, push the tile through slowly and smoothly, taking care not to apply too much pressure. Too much force can cause the tiles to crack or break unevenly. For manual tile cutters, score along the marked line using even pressure and then snap the tile in two. Repeat this process for as many times as necessary.
Step 6: Cut Any Angles
If your garage has corners or obstacles, you’ll need to cut tiles at an angle. For this, a manual tile cutter is the better option. Measure and mark the desired angle and then score and snap the tile accordingly.
Be sure to double-check your measurements before cutting to avoid any mistakes! You may need to use a power saw for more intricate angles or curves. It’s always better to be safe and start with a smaller cut, as you can always trim it down further if needed.
Step 7: Cut Around Holes
If you have poles or other fixtures on your garage floor, you’ll need to cut tiles around the holes. Measure the diameter of the hole and mark it on your tile, making sure to leave enough space for grouting later. Use a power saw or manual tile cutter to make multiple cuts around the marked circle, breaking off any excess in between. Once you’ve cut through all sections, use a tile nipper to tidy up any rough edges.
Step 8: Check Your Cuts
Once you’ve finished cutting all of your tiles, take a moment to inspect them for any uneven cuts or rough edges. Use sandpaper to smooth out any bumpy or jagged areas and make sure all the tiles fit together snugly. It’s crucial to have a well-fitted base for your garage floor, so take the time to perfect each tile if needed. But don’t worry; this shouldn’t be too time-consuming!
Step 9: Prepare Your Tiles for Installation
Once you’re satisfied with your cuts, use a damp cloth to wipe away any dust or debris from the tiles. This will ensure proper adhesion when you lay them down. It’s also essential to let the tiles acclimate to the room temperature before installing them.
Leave them in the garage for 24 hours before proceeding with the installation. It’s a good idea to check the manufacturer’s instructions for any specific recommendations.
Step 10: Lay Down Your Tiles
Now that you’ve successfully cut your garage floor tiles, it’s time to install them! Follow the manufacturer’s instructions for proper adhesive application and tile placement. Use a rubber mallet or block of wood to tap each tile into place gently. Once all tiles are laid down, let them sit for 24 hours before grouting. And voila! You now have a brand-new, perfectly cut garage floor.
Following these simple steps on how to cut garage floor tiles will help you achieve a professional-looking garage floor that’s cut to perfection. Remember to prioritize safety, take your time with measurements and cuts, and have fun with this DIY project! With the right tools and techniques, cutting garage floor tiles doesn’t have to be a daunting task.
So go ahead and give it a try! You’ll be amazed at the difference a well-cut floor can make in your garage. Keep these guidelines in mind, and you’ll be on your way to a beautiful and functional garage floor in no time! Happy cutting!
Additional Tips and Tricks for Cutting Garage Floor Tiles

- Always Measure Twice and Cut Once to Avoid Any Mistakes.
- Change the Blade on Your Power Saw Regularly to Ensure Clean Cuts.
- Use a Straight Edge or Level to Ensure Your Cuts Are Straight.
- Don’t Apply Too Much Pressure When Cutting With a Power Saw as It Can Lead to Uneven Breaks.
- For Larger Projects, Consider Renting a Wet Tile Saw for More Precise and Efficient Cuts.
- Have Spare Tiles on Hand in Case of Any Mistakes or Miscalculations.
- Always Wear Protective Gear, Including Goggles and Earplugs, When Cutting Tiles.
- Use Caution When Handling Sharp Tile Edges to Avoid Injury.
- Practice on a Spare Tile Before Starting Your Project to Get Comfortable With the Cutting Tool. Keep These Tips in Mind, and You’ll Have a Smooth and Successful Experience Cutting Garage Floor Tiles.
Frequently Asked Questions
Q: Can I Cut Garage Floor Tiles With a Utility Knife?
A: While it is possible to score and snap tiles with a utility knife, it is not recommended for larger or thicker tiles. A power saw or manual tile cutter will provide cleaner and more precise cuts. It’s worth investing in the right tools for a professional-looking result.
Q: How Do I Cut Curved Tiles for My Garage Floor?
A: For small curves, you can use a manual tile cutter to make multiple cuts along the curve. For larger or more intricate curves, a power saw with a specialized curved cutting blade would be more suitable. Always remember to take extra care and go slowly when cutting curves to avoid any mistakes.
Q: Can I Cut Garage Floor Tiles While They’re Installed?
A: It’s not recommended to cut tiles while they are already installed on the floor. This can cause damage to surrounding tiles or even injury if not done correctly. It’s best to cut all your tiles beforehand, following the manufacturer’s instructions, and then proceed with the installation process.

Conclusion
Overall, cutting concrete garage floor tiles is an achievable task that can really elevate the look of your workspace. With a few simple tools and some patience, you can make sure that the tile fits perfectly into whatever space you are working with. Do not be afraid to take on this project today; when done correctly, it can yield great results!
If you have any additional questions or need more help during the process, be sure to seek out local professionals in your area for advice and assistance. Now that you know how to cut garage floor tiles, go out and give it a try! You never know what impact a few small changes can make until you dive right in. Good luck!
I am Rick. I grew up helping my dad with his handyman service. I learned a lot from him about how to fix things, and also about how to work hard and take care of business. These days, I’m still into fixing things- only now, I’m doing it for a living.
I’m always looking for new ways to help people grow and develop. That’s why I have created this blog to share all my experience and knowledge so
that I can help people who are interested in DIY repair.