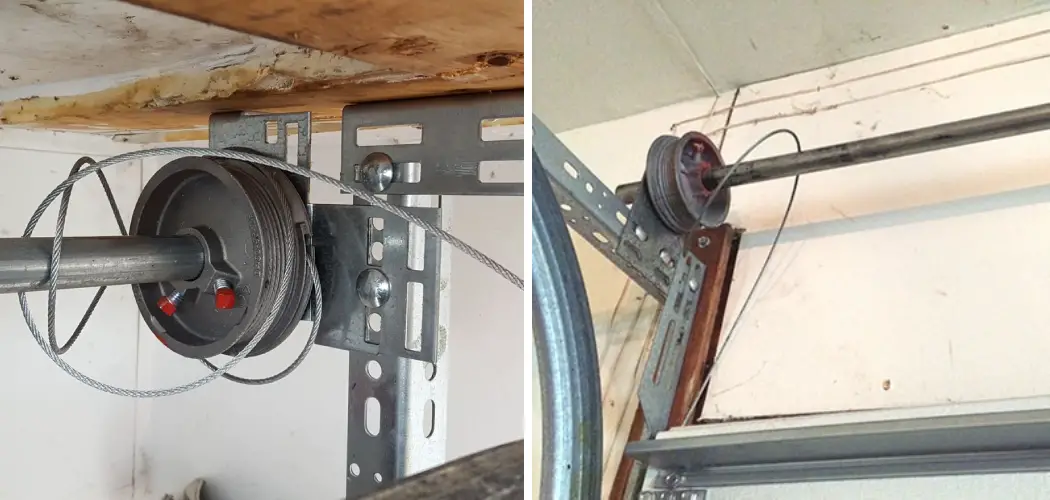
Do you feel like something’s been off with your garage door lately? If you notice unusual noises, jerky motions, or strange resistance when opening and closing it, then the issue may lie in the cables. Over time, friction caused by regular operation will cause your garage door’s cable to break down, which can lead to bigger problems if left unchecked.

To prevent further damage and inconvenience to both you and your vehicle, it is important that broken cables are repaired quickly.
But do not worry – changing Garage Door Cables isn’t as complicated as it seems! In this blog post, we’ll cover everything about how to change garage door cable safely and efficiently for a successful repair. So keep reading if you want to learn how to prolong your garage door’s lifespan!
Tools and Materials You Will Need for Changing Garage Door Cable
- Adjustable wrench
- Socket wrench set
- Hammer
- Ladder
- Screwdriver
- Garage door cable replacement kit
Step-by-Step Guidelines on How to Change Garage Door Cable
Step 1: Make Sure the Power is Off:
Before you begin any repairs, switch off the power to the garage door motor. This is essential for safety so that no one can accidentally trigger the door open or close while you are working on it. So it’s important to make sure the power is off before beginning. You can be in danger of electric shock if the power is on.
Step 2: Release the Tension of the Cable:
Disconnect the tension from the cable by loosening and removing a spring at each end of the track. Take note of how you loosen the spring so you can put it back the same way. You may need a pair of vise grips or an adjustable wrench to loosen and remove a spring. Use short, quick strokes to loosen the spring with an adjustable wrench.
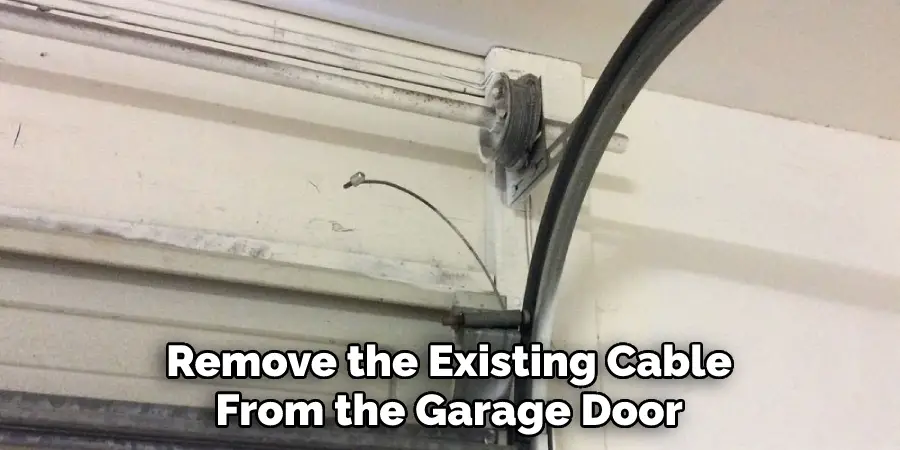
Step 3: Remove Old Cable:
Remove the old cable by taking out a pin or some other hardware that was holding it in place. Now, you can pull out any pieces of cable or pulley left in their place. While removing the old cable, avoid getting your hands caught in the pulley or cable. If you catch a pulley or cables, immediately release them to avoid any injuries.
Step 4: Measure and Cut New Cable:
Measure the distance between the two pulleys, then cut your new cable to that length plus an extra inch. Ensure you have a sharp pair of wire cutters for this step to ensure clean cuts. Measuring is important to ensure that the cable fits correctly when installed. Wrong measurements can cause tension issues with the garage door and may not work as intended.
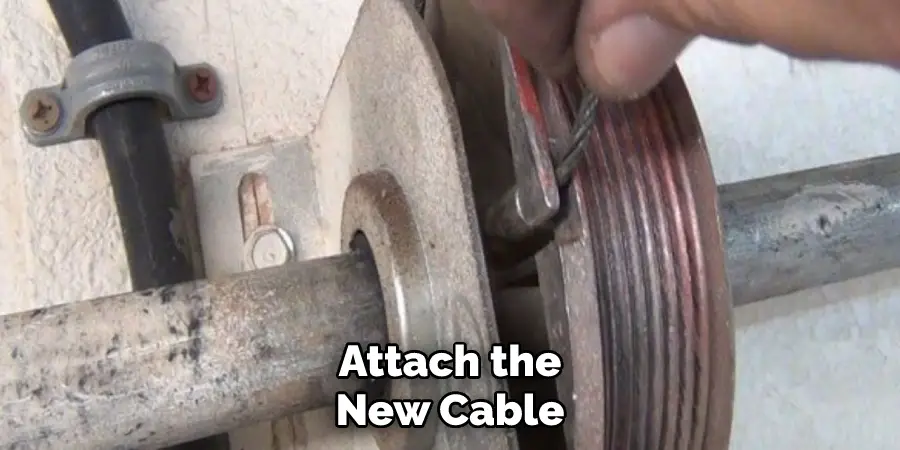
Step 5: Attach New Cable to Pulley:
Attach the new cable to one of the pulleys following the instructions included in your repair kit. Then, feed the free end of the cable into the track and loop it around the other pulley. Be careful not to twist or kink the cable while feeding it through the track.
Step 6: Secure Cable with Fasteners:
Securely fasten both ends of the cable using a pin or some other hardware included in the repair kit. If you are using a pin, make sure to insert it into the same hole as when you removed the old cable. Securing the cable with fasteners is important to prevent it from slipping or coming loose.
Step 7: Re-tension Spring:
Reattach the tension spring at each end of the track and make sure that it is tightened properly. This will help ensure that your garage door moves safely and smoothly. Once you re-tension the spring, test the door to ensure it moves without any issues.
Step 8: Test the Door:
Finally, test the door to make sure that it is working correctly. Open and close the door a few times to check for any signs of problems. If you are satisfied with your repair job, you can reconnect power to the motor and enjoy a fully functional garage door again!
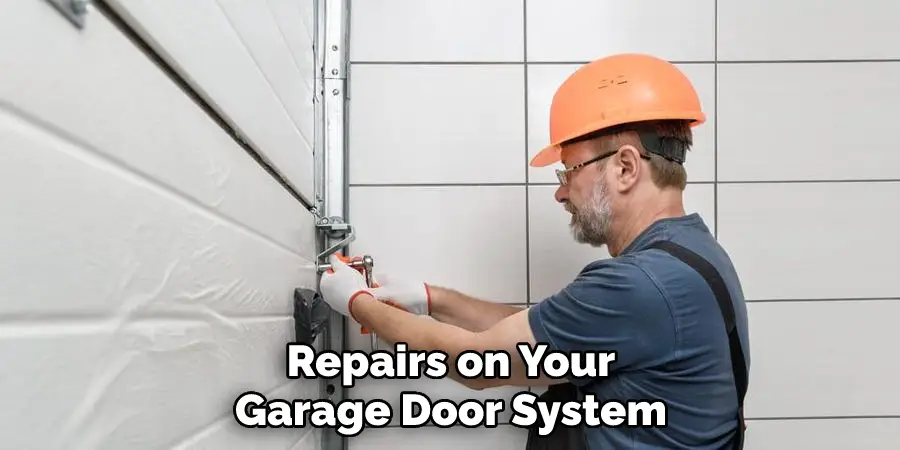
Congratulations! You have now learned how to change a garage door cable. While it can be a bit of a tricky job, it is something that anyone with basic DIY skills can do with some patience and the right tools. Just remember always to put safety first when carrying out any repairs on your garage door system. Good luck!
Things You Need to Consider in Changing Garage Door Cable
1. Know the Type of Garage Door Cable You Need:
It is important to know what type of cable you will need for your particular garage door model before you start the replacement process. Depending on the type of cable, it can be a single- or double-strand design, with different sizes and lengths available.
2. Prepare the Tools:
You will need a few specific tools to help you with the installation process, such as a socket wrench, pliers, and an adjustable wrench. Additionally, having lubricant on hand is also recommended for maintenance purposes once you have the new cable installed.
3. Take Safety Precautions:
Before you begin any work, ensure the garage door is disconnected from any power sources. This will keep you safe while working and ensure the door does not move unexpectedly. Additionally, always wear safety glasses when working with tools and cables.
4. Remove the Old Cable:
Once everything is ready, it’s time to remove the existing cable from the garage door. Unscrew the old cable from its mounting point and remove it from the pulley. Also, remove any clips or fasteners that may be attached to the cable itself.
5. Place and Secure the New Cable:
Now you can place and secure your new cable in its proper location on your garage door. Start by attaching it to the pulley and then threading it through its designated channel. Secure the new cable with any clips or fasteners you removed from the old cable.
6. Test the New Cable:
The last step is to test your new garage door cable for safety and proper installation. Open and close the door a few times to ensure the cable works correctly. If everything looks and functions as it should, then you can be confident that your new garage door cable has been installed properly.
Follow these considerations when changing your garage door cable for guaranteed safety and success. Be sure to use the proper tools, wear protective gear, and take all necessary. With the right preparation and attention to detail, you can quickly and easily replace your garage door cable.
Some Precautions in Changing Garage Door Cable
- Ensure that you take all necessary safety precautions before changing the garage door cable. This includes turning off all power sources and wearing protective gear like goggles and gloves.
- Ensure you have the right tools for the job, including a ladder, measuring tape, socket wrench, locking pliers, and a new garage door cable.
- Check the size of your garage door before purchasing a new cable; it is important that you get the right size for a proper fit.
- When beginning, disconnect the power to your opener and thoroughly inspect all existing cables, springs, pulleys, and other components to ensure they are in good working order.
- Carefully measure the distance from the drum to the end of the cable using a measuring tape, then cut your new cable accordingly.
- Install the new cable on the door, making sure to secure all ends properly and ensuring that it is installed at exactly the same height as before.
- Make sure to check the tension of the cable and adjust it if necessary.
- Finally, reconnect the power source to your garage door opener and test it out to make sure everything is working properly. If something does not seem right, consult a professional for help.
Conclusion
Overall, changing a garage door cable is a relatively simple process to do yourself as long as you have the right knowledge and tools. It’s much better to try to fix the cable yourself if you’re comfortable doing it than hiring an expensive repair person or company.
If you take your time and practice working safely, your relaxed home life will thank you! Of course, if you don’t feel equipped to replace a garage door cable, call in some professional help – safety should always come first.
Doing your own maintenance on your garage door can save you lots of time and money, but most importantly, it can keep your family safe from malfunctions or possible dangerous accidents associated with faulty hardware.
With the tips outlined in this blog post about how to change garage door cable, I hope that you’ll confidently take on the challenge of changing the cables yourself next time you’re dealing with a dysfunctional garage door system.
I am Rick. I grew up helping my dad with his handyman service. I learned a lot from him about how to fix things, and also about how to work hard and take care of business. These days, I’m still into fixing things- only now, I’m doing it for a living.
I’m always looking for new ways to help people grow and develop. That’s why I have created this blog to share all my experience and knowledge so
that I can help people who are interested in DIY repair.