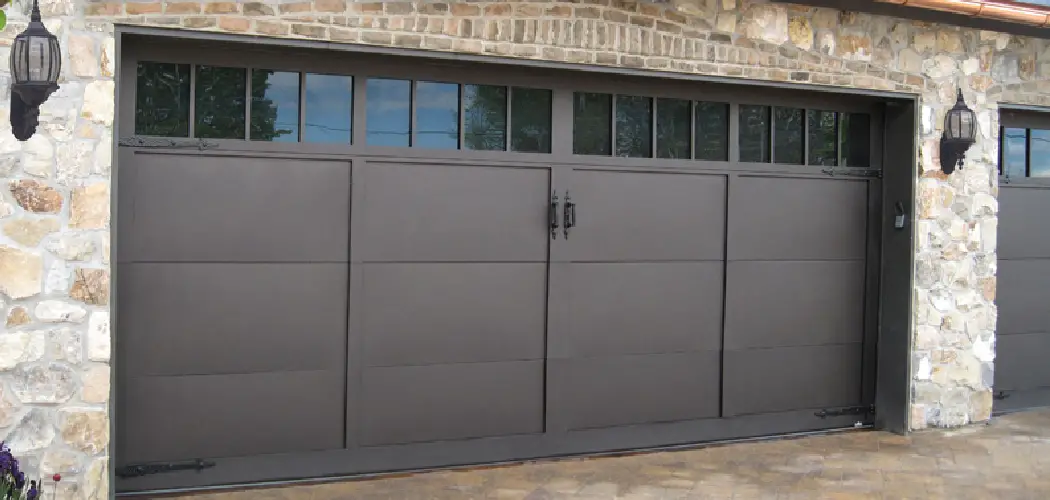
Do you want to give your garage a modern, sophisticated look that is sure to wow visitors? Swing-out garage doors offer many benefits over traditional up-and-down style doors, and adding a stylish swinging door to your home can make it look great and add extra security.
But how do you go about building swing-out garage doors? In this blog post, we’ll explore the materials and supplies needed and give some tips on how to build swing out garage doors. So read on if you’d like to learn more about making beautiful swing-out style garage doors for yourself!
Summary: Building swing-out garage doors can be a great way to add convenience and security to your home. Swing-out garage doors, also known as hinged carriage doors, provide an easy and secure way to open and close the garage. These types of garage doors typically open outward, so you can open the door with a simple push of a button.
Can You Build Swing Out Garage Doors?
Building your own swing out garage doors can be an intimidating prospect for the average homeowner; however, with a bit of patience and some basic tools, you can construct your very own custom garage door. Start by gathering high-quality materials such as strong lumber, galvanized steel hinges, and heavy-duty hardware.
You’ll then need to measure the opening dimensions of your garage to ensure that the parts you’ve gathered are suitable for your project. Once you’ve acquired all the necessary components, it’s simply a matter of constructing each part as detailed in the plans before installing them on-site.
With enough effort and attention to detail, you should be able to build durable swing out garage doors that will last for years!
Why Should You Build Swing out Garage Doors?
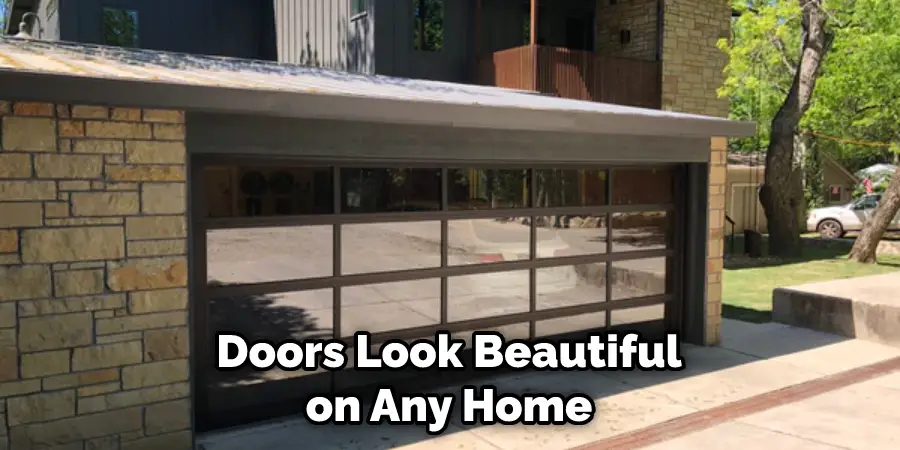
Building a swing out garage door is a great way to upgrade your home. Not only does it make entering and exiting your garage easier, but it also adds an extra layer of safety and security. A swing out design allows you to open the door without worrying about making room for the door as it swings outward.
This allows you more flexibility when planning your driveway or courtyard area. Additionally, swing out doors look beautiful on any home, and with their various designs, you’re sure to find something that fits your style. Building a swing out garage door will give you the convenience and security that you need, all while providing an extra touch of beauty for your home.
20 Steps to Follow on How to Build Swing out Garage Doors
Step 1: Measure and Plan
Begin by taking accurate measurements of the garage door opening, including the width, height, and depth. This will help determine the size of the swing-out garage doors and the materials needed. Sketch out your design on paper or use design software to create a visual representation of the doors. Consider factors such as the style, materials, and hardware when planning your design.
Step 2: Gather Materials and Tools
Based on your design and measurements, gather all necessary materials, such as wood or metal for the door panels, hinges, handles, and any decorative elements. Ensure you have all the required tools, including a saw, drill, screwdriver, level, tape measure, and clamps.
Step 3: Cut Door Panels
Using your measurements and design, cut the door panels to the appropriate size. If using wood, select a suitable type, such as plywood or solid wood, depending on your desired look and budget. If using metal, ensure the panels are the correct gauge for your project.
Step 4: Create Door Frames
Construct the door frames for each swing-out door. This typically involves creating a rectangular frame using horizontal and vertical pieces of wood or metal. The frame should be sturdy and square, with joints secured using screws, nails, or brackets.
Step 5: Attach Door Panels to Frames
Attach the door panels to the frames using screws or nails, ensuring they are securely fastened and flush with the frame edges. If necessary, use wood glue or metal adhesive for added strength.
Step 6: Install Decorative Elements
If your design includes decorative elements, such as trim, molding, or windows, install them at this stage. Attach trim or molding using nails or screws, and secure windows in place with appropriate hardware.
Step 7: Sand and Finish
If using wooden doors, sand the surfaces and edges to create a smooth, even finish. Apply a coat of primer, followed by the desired paint or stain color, and finish with a clear sealer to protect the wood. If using metal doors, clean the surface and apply a coat of rust-inhibiting primer, followed by the desired paint color.
Step 8: Install Hinges
Select heavy-duty hinges appropriate for the weight and size of your swing-out garage doors. Measure and mark the hinge locations on both the door frames and the garage door opening, ensuring they are evenly spaced and level. Attach the hinges to the door frames and the garage door opening using screws or bolts.
Step 9: Hang Doors
With the help of an assistant, carefully lift each door into place and align the hinges. Secure the hinges with the provided pins or bolts, ensuring the doors are level and swing freely.
Step 10: Install Door Handles
Attach handles or other hardware to each door, according to your design preferences and the manufacturer’s instructions. Ensure the handles are securely fastened and functional.
Step 11: Add Weatherstripping
To create a seal and prevent drafts, install weatherstripping along the edges of the doors where they meet the garage opening. Choose a suitable type of weatherstripping, such as adhesive-backed foam tape or a rubber gasket, and follow the manufacturer’s instructions for installation.
Step 12: Install Doorstops
Attach doorstops to the garage floor or walls to prevent the swing-out doors from opening too far and causing damage. Doorstops can be made from a variety of materials, such as rubber or metal, and should be securely fastened to the floor or wall using screws or adhesive.
Step 13: Install a Locking Mechanism
If desired, install a locking mechanism to secure your swing-out garage doors. This can be a simple slide bolt or a more advanced key lock, depending on your preferences and security needs. Follow the manufacturer’s instructions for proper installation and placement of the locking mechanism.
Step 14: Adjust Door Swing
Check the swing of the doors to ensure they open and close smoothly and without obstruction. Make any necessary adjustments to the hinges or doorstops as needed to achieve the desired door swing.
Step 15: Install a Hold-Open Device
Consider installing a hold-open device, such as a door catch or magnetic holder, to keep the doors open when desired. This can be particularly helpful during loading and unloading or when working in the garage with the doors open. Follow the manufacturer’s instructions for proper installation and placement of the hold-open device.
Step 16: Seal Door Edges
To further weatherproof your swing-out garage doors, apply a bead of exterior-grade caulk along the edges where the doors meet the garage opening. This can help prevent water and drafts from entering the garage and prolong the life of your doors.
Step 17: Paint or Stain
If necessary, apply additional coats of paint or stain to the doors for a polished, finished appearance. Be sure to follow the paint or stain manufacturer’s instructions for proper application and drying times.
Step 18: Inspect and Maintain
Regularly inspect your swing-out garage doors for any signs of wear, damage, or misalignment. Perform routine maintenance, such as tightening screws, lubricating hinges, and touching up paint or stain, as needed to keep your doors functioning smoothly and looking their best.
Step 19: Add Insulation (Optional)
If you live in an area with extreme temperatures, consider adding insulation to your swing-out garage doors. This can help improve energy efficiency and maintain a more comfortable temperature inside the garage. Insulation can be added in the form of rigid foam panels, spray foam, or fiberglass batts, depending on the door material and your preferences.
Step 20: Install Safety Features (Optional)
For added safety, consider installing safety features, such as an automatic door closer or motion sensors that trigger the doors to stop opening or closing if an obstruction is detected. These features can help prevent accidents and damage to your swing-out garage doors.
By following these steps, you can successfully build and install swing-out garage doors that are functional, attractive, and secure. With regular maintenance and attention to detail, your new doors will serve you well for years to come.
Things You Need to Know Before Building Swing out Garage Doors
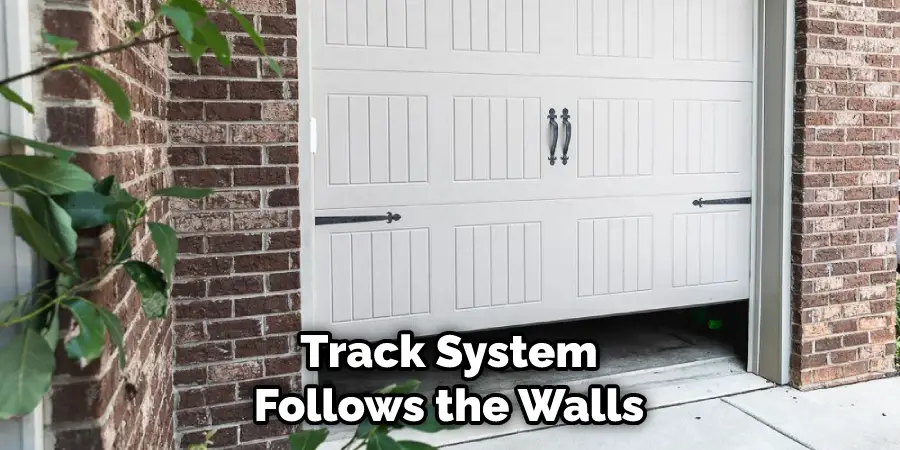
When it comes to building swing out garage doors, there are a few important things to consider. First, if you plan to use an existing opening, then it is important that the size of the door be at least two inches narrower on each side than the opening.
Next, make sure that your doors can open within the given space. Be sure your track system follows the walls and ceiling of the area for smooth operation. Additionally, consider the proper placing of hardware – swing out handles should align with two vertical door panels so that resistance from one panel does not affect another.
Finally, use hinges designed specifically for swinging gates and add heavy-duty straps and levers when necessary. With these considerations in mind, you can enjoy your new garage door!
Benefits of Building Swing out Garage Doors
Swing out garage doors are the perfect solution for any modern homeowner who wants to experience convenience and security without sacrificing style.
These doors use only the best technology in their construction, with robust steel frames designed to withstand various weather conditions and provide optimal protection from external damage.
Not only do swing out garage doors offer peace of mind in terms of protection, but they also allow for more interior space for storage and more space than would be available with sliding doors.
In addition, you can customize these types of door hinges, locks, and springs to meet your specific preferences regarding opening and closing mechanisms. All in all, building swing out garage doors allows homeowners to create an effortless entryway while adding a layer of elevated style.
Common Mistakes People Make When Trying to Build Swing out Garage Doors
One mistake people often make when building a swing out garage door is not double-checking the dimensions. When making sure that the door opens correctly, two critical measurements should be taken: the measurement from the ground to the underside of the header and then from the inside of where one side will close to the other.
Without confirming these measurements, there is a great risk that both sides of the door frame would not line up correctly and create potential problems with its overall functionality.
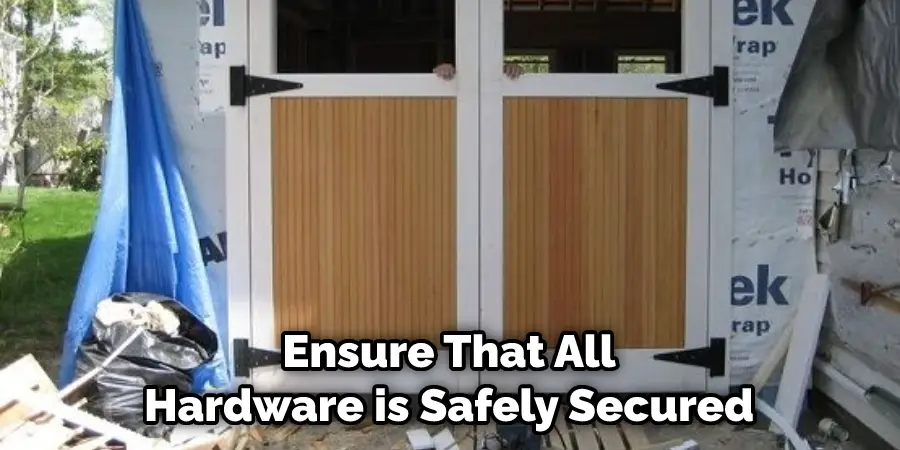
Moreover, it’s important to ensure that all hardware is safely secured so as to avoid any damage or obstacles created when opening and closing your swing out the garage door.
By taking these precautions before installation and ensuring everything is where it needs to be, you can avoid common mistakes and build a successful build.
Conclusion
Building swing out garage doors is an easy DIY project that adds charm and style to any home – plus, it’s pretty fun too! All it takes is some careful measuring and cutting of wood panels followed by secure attachment of hinges in order to create functioning swing out garage doors from scratch.
With these simple steps today, you can have your own personal set of doors that provide ultimate convenience and security. A great addition to any home, the swing out garage door can create an effortless entryway that will impress! Thanks for reading our post about how to build swing out garage doors.
I am Rick. I grew up helping my dad with his handyman service. I learned a lot from him about how to fix things, and also about how to work hard and take care of business. These days, I’m still into fixing things- only now, I’m doing it for a living.
I’m always looking for new ways to help people grow and develop. That’s why I have created this blog to share all my experience and knowledge so
that I can help people who are interested in DIY repair.