Are you considering adding a loft to your garage but don’t know where to start? Building a loft in your garage is an exciting DIY project and can add much-needed storage space or extra room for hobbies. In this post, we’ll show you how to build a loft in a garage.

We’ll provide all the details needed, including safety considerations, materials required, layout ideas, and other tips that can help make sure your next weekend project runs as smoothly as possible. So if you’re ready to transform your garage into something special – let’s do it!
Summary: Building a loft in a garage can be a great way to add more usable space and storage to the area. To ensure that the project is successful, it is important to properly plan the construction and ensure all necessary materials are on hand. This includes making sure there is enough room for the loft, calculating the amount of lumber needed for construction, and hiding garage door wires.
Can You Build a Loft in A Garage?
Absolutely! Building a loft in a garage is a fantastic way to maximize the space available and can easily be used for any kind of storage solution. In addition, it’s possible to build a sturdy and long-lasting loft while still being easy to take apart should you need some more open space.
Depending on the garage’s layout, building a loft with stairs leading up to it might even be possible, making it much easier for routine access. Best of all, building a loft yourself can be done relatively cheaply with basic tools and skills.
If you are looking for extra storage or an opportunity to get creative with your space, consider building a garage loft today – you won’t regret it!
Why Should You Build a Loft in A Garage?
Building a loft in a garage is an excellent way to maximize usable space. It can be used for much more than just storing cars and garden tools. A loft can be turned into an office, living space, storage area, or even a workshop. With careful construction and attention to detail, even taller individuals can comfortably access the loft for whatever purpose it’s intended for.

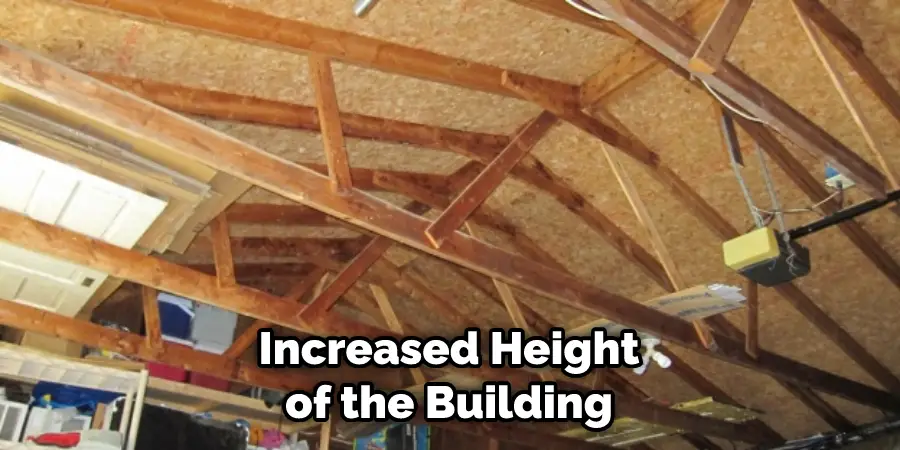
The increased height of the building also increases the security of your items stored there, making it the perfect place to keep valuables away from prying eyes and sticky fingers. So if you’re looking for an inexpensive but useful home remodel project, consider building a loft in your garage – you won’t regret it!
7 Steps to Follow on How to Build a Loft In A Garage
Step 1: Choose Your Materials
Before you start building, you must determine what materials you will use. The most important material is lumber, which should be treated to prevent water damage. You will also need nails, screws, brackets, drill bits, and paint.
If desired, you can add trim pieces like crown molding or decorative molding around the edges of the loft. It is best to get all of your materials before beginning construction so that everything is on hand and ready to go when needed.
Step 2: Measure Everything Out
Measure out the dimensions of the loft using a tape measure or laser-level tool. Make sure that there is enough clearance between the ceiling and the top of the loft so that people can stand up without hitting their heads when they climb up into it.
Also, ensure that there is ample space for any furniture or items you plan to store in the loft. Be sure to double-check all measurements before cutting any lumber for accuracy.
Step 3: Cut and Assemble Your Lumber
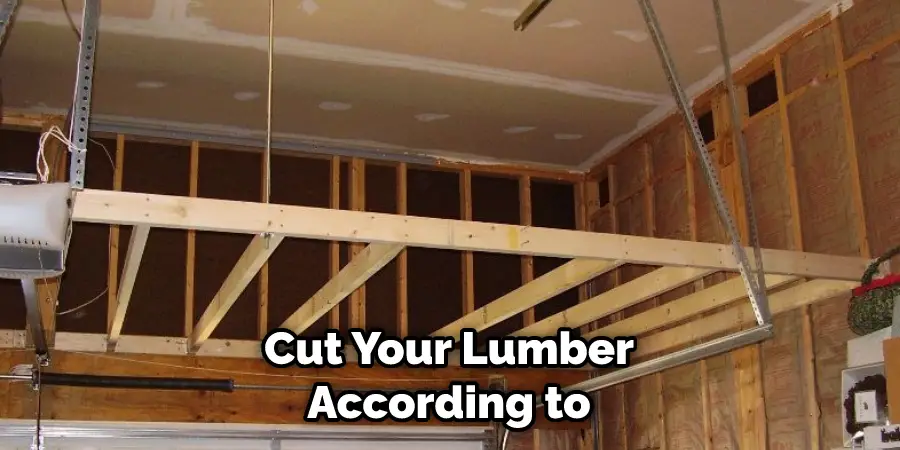
Cut your lumber according to your measurements and assemble it with nails or screws depending on your chosen support system (e.g., studs versus joists). Once assembled, secure the frame with brackets in order to ensure stability over time.

If desired, add trim pieces for extra support and cosmetic appeal. Be sure to wear safety goggles while using tools such as saws or drills in case of flying wood chips or debris during assembly.
Step 4: Attach the Loft to the Walls
If you are attaching your loft directly to the walls of your garage, use screws and brackets to secure it in place. Ensure that the screws are long enough to go through the wall studs and the frame of your loft in order to ensure stability. If desired, you can add additional support by attaching the loft to the ceiling joists as well.
Step 5: Add Insulation and Sheetrock
Adding insulation and sheetrock will help create a finished look and provide extra soundproofing benefits. Start by cutting pieces of insulation that are slightly larger than your frame, then tuck them in between the joists and frame.
Secure with screws or nails, then cover the insulation with sheetrock and secure it in place. Finally, use caulk around the edges to seal any gaps between the sheetrock and frame for a more polished look.
Step 6: Paint & Finish
Once the loft is completely secured to your walls, ceiling, and floor, you can paint it how you see fit. You may opt for traditional white paint or go wild with a custom color scheme — either way will work!
Once dry, you can add any additional trim pieces or decorative molding that you had planned to include when constructing your loft.
Step 7: Move In!
Finally, once all of your building is complete, you can start moving furniture and items into your new loft. Depending on your space, you may want to purchase some shelves or storage bins to maximize the area’s efficiency. Enjoy your new loft, and be sure to keep it clean and organized for optimal enjoyment!
That’s it! You’ve now learned how to build a loft in a garage. With these seven simple steps, you can create a functional and stylish space that offers plenty of storage and extra room for whatever activities you need it for.
Don’t forget to check with local building codes before beginning construction — safety first!
Things You Need to Know Before Building a Loft In A Garage
Building a loft in your garage can be incredibly useful, space-saving, and cost-effective. Before you start, however, there are some important considerations to make. First, ask yourself what the loft will be used for; this will help you decide how extensive of a build your project should be.

Second, determine if your garage has enough height to support the additional weight of the loft and its contents. Thirdly, ensure that door clearances will not be an issue when building upwards; otherwise, you may run into problems with opening and closing the door.
Finally, consider the plumbing and electrical regulations that might come up during or after construction; any mistakes could lead to major repair costs down the line. With these ideas in mind, building a loft in your garage should go smoothly and be money well spent!
Benefits of Building a Loft In A Garage
Building a loft in a garage can be an excellent way to maximize space and gain extra storage. It is an attractive way to store items such as tools, bicycles, or skis, and it also provides an additional workspace that would otherwise take up valuable floor area.
Carpenters often use the skills needed to construct a loft as a stepping stone in building other projects. A garage loft project requires careful planning and precision to ensure that all sides are even and square as well as for safety so no one will get hurt when using it.
Adding a third story in your garage is not only practical but can also increase the value of your property due to the additional space being provided.
4 Common Mistakes People Make When Trying to Building a Loft In A Garage
1. Not Consulting With A Professional
One of the most common mistakes people make when trying to build a loft in their garage is not consulting with a professional. While it may be tempting to try to do it yourself, there are a number of potential risks that come with doing so. Without the help of a professional, you could end up damaging your garage or even injuring yourself.
2. Not Getting the Proper Permits
Another common mistake people make is not getting the proper permits before beginning construction. Depending on where you live, you may need to get a permit from your city or county to build a garage loft. Failure to do so could result in fines or even having to tear down your work.
3. Not Considering the Weight
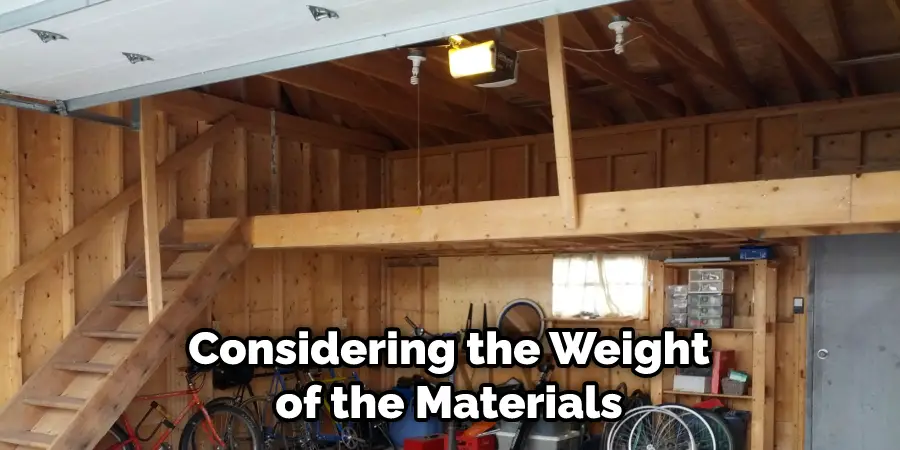
Another mistake people often make is not considering the weight of the materials they use when building their loft. If the materials you use are too heavy, it could cause the loft to collapse.

This could lead to serious injuries or even death. Make sure to consult a professional and use materials appropriate for the size and weight of your loft.
4. Not Following Instructions
Finally, another mistake people make when trying to build a loft in their garage is not following instructions. If you’re using a kit or plans from a book or website, it’s important that you follow the instructions carefully. Otherwise, you could make mistakes that will cause your loft to be unstable or even collapse.
Conclusion
Once your frame is complete and secured into place, it’s time to paint! Choose a color that complements your existing decor and use a primer first before applying two coats of paint for optimal coverage and protection against moisture damage over time.
Finally, take this opportunity to add personal touches like shelves or hooks on either side of the stairwell leading up into the loft—or even hang twinkle lights along the edge of your newly built loft structure!
With these simple steps, you can quickly transform an unused garage into something much more functional and inviting! Thanks for reading our post about how to build a loft in a garage.
I am Rick. I grew up helping my dad with his handyman service. I learned a lot from him about how to fix things, and also about how to work hard and take care of business. These days, I’m still into fixing things- only now, I’m doing it for a living.
I’m always looking for new ways to help people grow and develop. That’s why I have created this blog to share all my experience and knowledge so
that I can help people who are interested in DIY repair.

