
A lot of people take the remote for their garage for granted. They assume that because it’s always there in their pocket, it must be working. However, if you haven’t used your garage remote in a while, you may find that it doesn’t work when you need it.

In this blog post, we will show you how to activate garage remote. This is a very simple process and should only take a few minutes. Once you have activated your garage remote, you can open it.
Summary: To activate your garage remote, first, you need to locate the “learn” button on your garage door opener. This button may be on the back of the opener or the wall-mounted control panel. Once you’ve located it, press and release the “learn” button. This will activate the opener’s learn mode. The opener will emit a beep or flash its lights to indicate that it has learned the code from the remote.
What Is a Garage Remote?
If you have ever lost your car keys, you know how frustrating it can be. Thankfully, there is a solution: garage door remotes. Garage door remotes are small, handheld devices that allow you to open your garage door without using a key. In addition to being more convenient than keys, they also offer several other benefits. For instance, they can help to deter criminals by making it more difficult for them to break into your home.
They can also provide peace of mind in case of an emergency, as you will be able to open the garage door even if the power is out. So, whether you are looking for a more convenient way to get into your garage or you want to increase your home security, a garage door remote is a great option.
Why Might You Need to Activate Garage Remote?
Depending on the model of your garage remote, you may need to activate it before using it for the first time. This is usually a simple process requiring you to press a button or two. However, if you don’t activate your remote, it probably won’t work when you try to use it. There are a few different reasons why you might need to activate your garage remote. One reason is that it helps to ensure that only authorized people can use the remote to open the garage door.
Another reason is that it helps to preserve battery life. By activating the remote, you’re essentially putting it into “sleep mode” when you’re not using it. This helps to prevent accidental button presses and extends the life of the batteries. So if you’re unsure how to activate garage remote, check the instructions that came with it. Chances are, it’s a quick and easy process.
13 Steps to Follow on How to Activate Garage Remote
Step 1: Gather Required Information and Materials
Before you begin the process of activating your garage remote, gather the necessary information and materials. This includes the garage remote, the garage door opener, and the garage door opener’s instruction manual. The manual will provide specific instructions for your particular model, which will be crucial during the activation process.
Step 2: Identify the Learn Button
Locate the learn button on your garage door opener. This button is typically found on the motor unit, which is mounted on the ceiling or wall near the garage door. The learn button may be a small round button, square button, or a toggle switch, depending on the model of your garage door opener. Consult your instruction manual if you have difficulty locating the learn button.
Step 3: Access the Learn Mode
Press and release the learn button on your garage door opener. This will activate the learn mode, which allows your garage door opener to receive and store the signal from your garage remote. You should notice an LED light near the learn button, which will either turn on or start blinking, indicating that the garage door opener is in learn mode.
Step 4: Program the Garage Remote
Within 30 seconds of activating the learn mode on your garage door opener, press and hold the button on your garage remote that you want to use to operate the garage door. Hold the button until the LED light on the garage door opener turns off or stops blinking, which indicates that the garage door opener has successfully learned the remote’s signal. This may take a few seconds.
Step 5: Test the Garage Remote
Press the programmed button on your garage remote to test its functionality. The garage door should respond by either opening or closing, depending on its current position. If the garage door does not respond, repeat steps 3 and 4 to reprogram the remote. If the issue persists, consult your garage door opener’s instruction manual for troubleshooting tips or contact the manufacturer for assistance.
Step 6: Program Additional Remotes or Buttons
If you have multiple garage remotes or want to program additional buttons on a single remote, repeat steps 3 through 5 for each remote or button. Make sure to use a different button for each garage door opener if you have multiple openers in your home. Keep in mind that most garage door openers have a limit on the number of remotes they can be programmed to, which is typically between four and eight.
Step 7: Clear the Garage Door Opener’s Memory (Optional)
If you need to clear the garage door opener’s memory to remove all programmed remotes or start fresh, press and hold the learn button on the opener for about 10 seconds until the LED light turns off or stops blinking. This will erase all programmed remotes from the opener’s memory. To reprogram your remotes, follow steps 3 through 5.
Step 8: Replace the Remote Battery (Optional)
If your garage remote is not functioning correctly or has a weak signal, it may be time to replace the battery. Locate the battery compartment on the back of the remote and remove the cover. Replace the old battery with a new one, ensuring that it is the correct size and type for your remote. Replace the battery cover and test the remote’s functionality.
Step 9: Mount the Garage Remote (Optional)
If desired, mount your garage remote to a convenient location inside your vehicle or on a nearby wall. Use a remote holder or clip designed for your specific remote model or a universal holder that accommodates various remote sizes. Ensure that the remote is securely fastened and easily accessible for convenient operation.
Step 10: Maintain the Garage Door Opener and Remote
Perform regular maintenance on your garage door opener and remote to ensure their continued functionality and longevity. This includes cleaning the sensors, lubricating moving parts, and inspecting for signs of wear or damage. Replace batteries in the remote as needed and perform a range test periodically to ensure the remote signal remains strong.
Step 11: Secure Your Garage Door Opener
To enhance the security of your garage door opener, consider enabling a rolling code feature if your garage door opener is compatible. Rolling code technology changes the remote’s code each time it is used, making it more difficult for potential intruders to duplicate the signal. Consult your garage door opener’s instruction manual to determine if your model supports rolling code technology and for instructions on how to enable it.
Step 12: Pair the Remote with a Home Automation System (Optional)
If you have a home automation system, you may be able to pair your garage remote with the system for added convenience and control. This will allow you to operate your garage door using a smartphone app or through voice commands with a smart home assistant. Consult your home automation system’s documentation for instructions on how to pair your garage remote and any additional steps required.
Step 13: Troubleshoot Remote Issues
If your garage remote is not working correctly or is experiencing intermittent issues, perform some basic troubleshooting to identify and resolve the problem. Common troubleshooting steps include:
- Replacing the remote battery.
- Cleaning the remote’s contacts with a soft cloth or contact cleaner.
- Checking the garage door opener’s sensors for dirt, debris, or misalignment.
- Confirming that the garage door opener’s antenna is properly positioned and not damaged.
- Resetting the garage door opener and reprogramming the remote.
Consult your garage door opener’s instruction manual for additional troubleshooting tips specific to your model.
By following these steps, you can successfully activate your garage remote and ensure its proper operation. Regular maintenance, troubleshooting, and security measures will help maintain the performance and longevity of both your garage remote and garage door opener. Additionally, integrating your garage remote with a home automation system can provide added convenience and control over your garage door’s operation. Remember to consult your garage door opener’s instruction manual for specific instructions and guidance related to your particular model.
Why Your Garage Remote Might Not Be Working
If you’re like most people, your garage is one of the most important rooms in your house. It’s where you store your car, tools, and all the extra things that don’t fit inside your house. So when your remote garage stops working, it can be a real pain. There are a few reasons why your garage remote might not work. One possibility is that the batteries are dead.
Another possibility is that the transmitter in the remote has failed. If you suspect that this is the case, you can try replacing the batteries or the transmitter. If neither of these solutions works, it’s possible that the receiver in your garage opener has failed. In this case, you’ll need to replace the entire garage opener unit. Whatever the cause of your garage remote problems, there are a few potential solutions that you can try.
With a little bit of troubleshooting, you should be able to get your garage door working again in no time.
How to Change the Batteries in Your Garage Remote
Most garage door openers come with a remote for opening and closing the door from outside the garage. The remote usually has two small batteries that power it. When the batteries start to die, they will need to be replaced to keep the remote working properly. Luckily, changing the batteries in a garage remote is a relatively easy process. All you need is a small screwdriver and some fresh batteries.
First, locate the battery cover on the back of the remote. This is usually held in place by one or two screws. Once the screws are removed, the cover should come off easily. Next, take out the old batteries and insert the new ones, carefully respecting the positive and negative terminals. Once the new batteries are in place, replace the battery cover and screw it back into place.
That’s all there is to it! With fresh batteries in your garage remote, you should be able to open and close your garage door with ease.
How to Troubleshoot Problems with Your Garage Remote
If you have a garage door opener with a remote, it’s important to know how to troubleshoot possible problems. In most cases, the problem is simply a matter of making sure the batteries are fresh or replacing them altogether. However, there are a few other things you can check if your garage remote isn’t working properly. First, ensure the security code on your garage door opener is set correctly. If it’s not, reset it and try again.
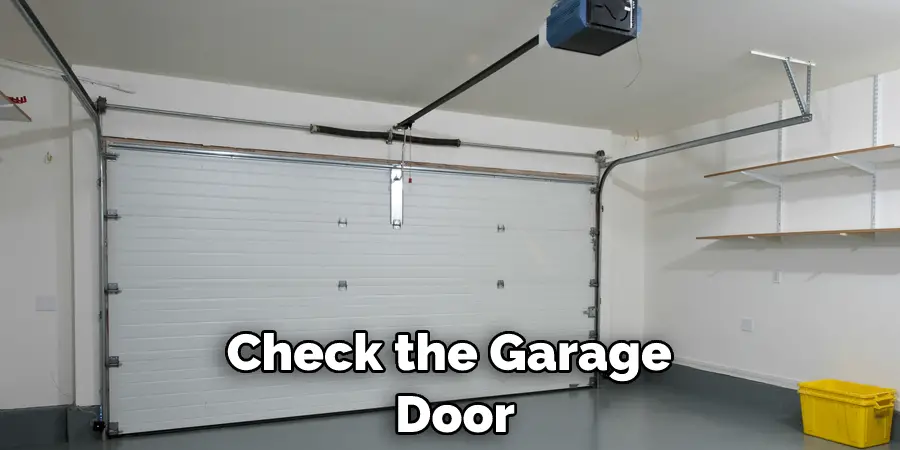
Additionally, check to see if anything is blocking the signal between the remote and the garage door opener. If there is, move the obstruction and try again. Finally, consult your garage door opener’s manual if all else fails for further instructions. By following these simple steps, you should be able to get your garage door opener up and running in no time.
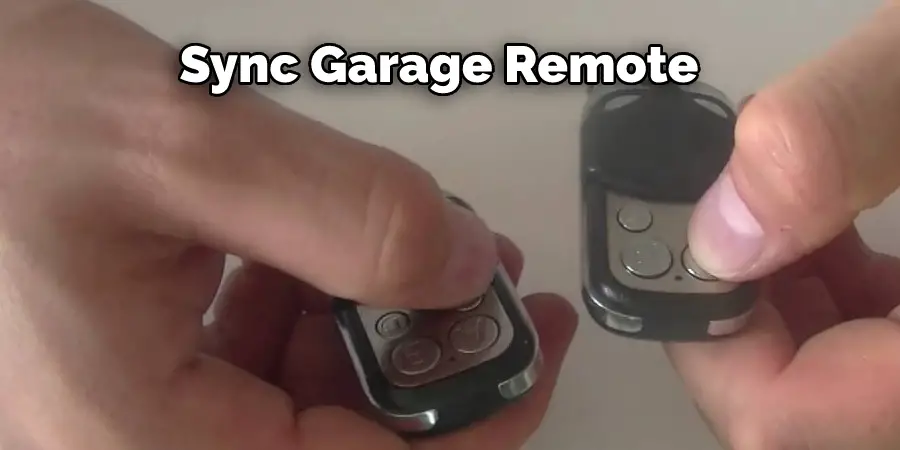
How to Sync Garage Remote
Syncing your garage remote is a simple process that only takes a few minutes. First, locate the learn button on your garage door opener. It is usually located near the bottom of the unit. Then, press and hold the learn button until the light on the unit starts blinking. Next, take your remote and press and hold the button that you want to use to open the door. The light on the garage door opener should blink again, indicating that the remote is now synced.
Finally, test the remote by pressing the button to see if the door opens and closes as expected. If not, repeat the process until it does. With a little patience, you can easily sync your garage remote and enjoy the convenience of being able to open your door with the push of a button.
Conclusion
Garage door opener remotes are one of those devices that can be very frustrating when they don’t work. However, if you have a remote that isn’t syncing, there are a few things you can do to try and fix the problem. We hope our tips help you get your garage door opener remote working again in no time! Thanks for reading our post about how to activate garage remote.
I am Rick. I grew up helping my dad with his handyman service. I learned a lot from him about how to fix things, and also about how to work hard and take care of business. These days, I’m still into fixing things- only now, I’m doing it for a living.
I’m always looking for new ways to help people grow and develop. That’s why I have created this blog to share all my experience and knowledge so
that I can help people who are interested in DIY repair.