
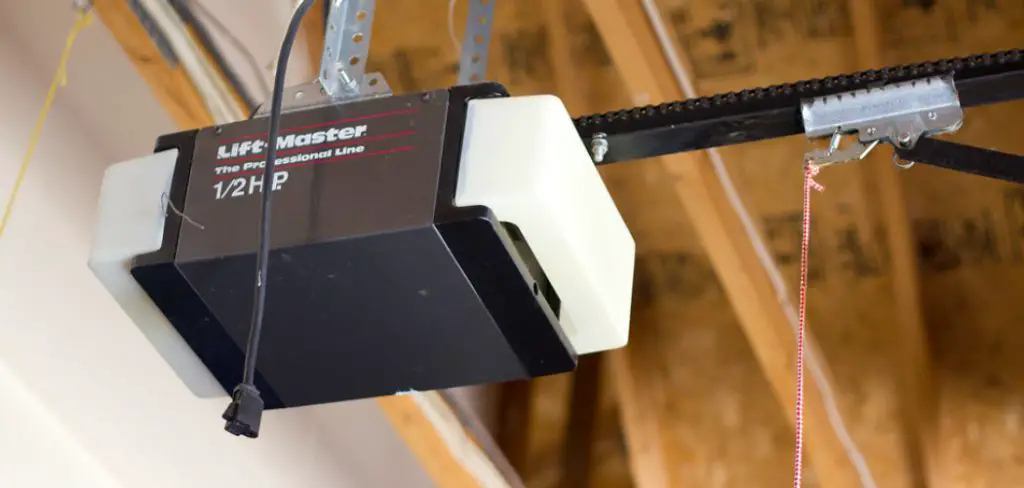
Are you tired of manually opening and closing your garage door? A Liftmaster garage door opener can make your life much easier. This guide will walk you through the steps to wire a Liftmaster garage door opener.
How to wire a liftmaster garage door opener is an essential step in the installation process, enabling seamless operation and enhanced security for your garage. Understanding how to connect the opener to your garage door system properly ensures that it functions effectively and allows easy access. This guide will walk you through the steps, tools, and safety precautions to wire your LiftMaster opener correctly.
Whether you’re a DIY enthusiast or a first-time installer, following these instructions will help you achieve a successful installation and enjoy the convenience of an automated garage door.
What Will You Need?
Before you begin, make sure you have the necessary tools and materials ready for the job. Here’s a list of items you’ll need:
- Liftmaster garage door opener
- Garage door opener rail assembly
- Trolley assembly
- Safety sensors
- Power drill with screwdriver bits
- Tape measure
- Pliers
- Wire stripper/cutter tool
- Electrical tape
It’s important to ensure that all these components are present and in good working condition before starting the wiring process.
10 Easy Steps on How to Wire a Liftmaster Garage Door Opener
Step 1: Prepare Your Work Area
To begin the installation, preparing your work area for a smooth and efficient process is essential. Start by clearing any clutter around the garage door area to provide ample space to work safely. Ensure that you have good lighting, either from natural sources or portable work lights, to avoid any mishaps. Next, check that all the tools and materials listed in the previous section are within easy reach.
Lastly, reading through the Liftmaster garage door opener manual is a wise idea to familiarize yourself with the specific components and wiring details associated with your model. Preparing your work area promotes safety and helps streamline the entire installation process, allowing you to focus on each step without unnecessary interruptions.
Step 2: Mount the Garage Door Opener
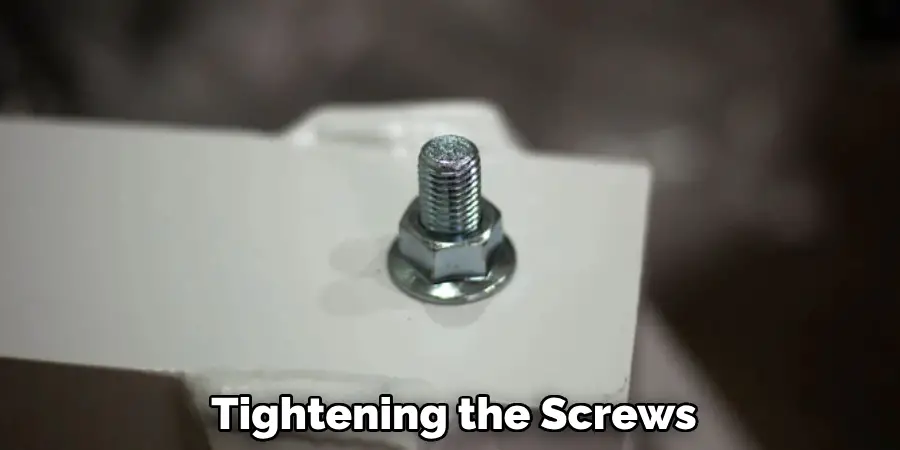
Now that your work area is set up, the next step is to mount the Liftmaster garage door opener. Begin by choosing an appropriate location on the ceiling of your garage, typically centered above the garage door. Secure the opener’s mounting bracket to the ceiling joists using the power drill, ensuring it is aligned with the door’s track.
It is crucial to check that the opener is level before tightening the screws, as this will affect the door’s operation. Once the bracket is securely fastened, hang the garage door opener unit from the bracket according to the manufacturer’s instructions. This foundational step is vital for your garage door opener’s overall stability and functionality.
Step 3: Install the Rail Assembly
With the garage door opener mounted securely, it’s time to install the rail assembly. First, take the garage door opener rail and extend it along the ceiling towards the garage door. Ensure that it is correctly aligned with the door’s track for smooth operation. Use the provided hardware to secure the rail to the mounting bracket, ensuring it is firmly attached and level.
Next, connect the trolley assembly to the rail, ensuring it can move freely. This step is critical, as the smooth movement of the trolley is essential for the garage door’s functionality. After everything is aligned and secured, proceed to the next step in the wiring process.
Step 4: Connect the Safety Sensors
Safety sensors are crucial for adequately functioning your Liftmaster garage door opener, as they prevent the door from closing on objects or people. Locate the safety sensor brackets and attach them to both sides of the garage door opening, ensuring they are mounted no more than six inches above the floor.
Next, run the wires from each sensor along the wall to the garage door opener, keeping them clear of moving parts. Strip the ends of the cables and connect them to the corresponding terminals on the garage door opener unit, which are typically labeled for easy identification. After securing the connections, double-check that the sensors are aligned facing each other; a misalignment can lead to the door malfunctioning.
Step 5: Wire the Garage Door Opener
With the safety sensors connected, it’s time to wire the Liftmaster garage door opener. Begin by identifying the power source; you should have access to an electrical outlet near the opener’s location. Using the wire stripper/cutter tool, prepare the wiring by stripping the insulation off the ends of the power wires.
Connect the corresponding wires from the power source to the terminals on the garage door opener—typically, the black (live) wire goes to the “L” terminal, the white (neutral) wire to the “N” terminal, and any ground wire to the ground terminal, often denoted with a symbol. Once all connections are secure, use electrical tape to cover the terminal connections for safety. Ensure there are no exposed wires, as this could pose a hazard. After completing the wiring, verifying that all connections are tight and secure before proceeding to the next step is essential.
Step 6: Test the Garage Door Opener
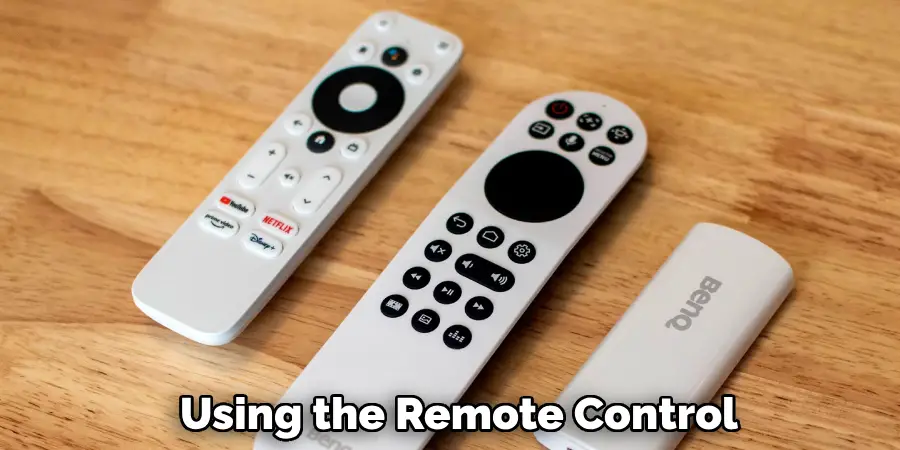
Now that the wiring is complete, it’s time to test the garage door opener to ensure everything functions as intended. Begin by connecting the power supply to the opener and switching it on. Carefully observe the opener’s operation using the remote control or wall switch to open and close the garage door.
Pay close attention to the door’s movement; it should move smoothly without unusual noises or jerking motions. Additionally, check the safety sensors by placing an object in the door’s path while closing to verify that the door reverses as expected. If any issues arise during testing, double-check all connections and alignments before troubleshooting. Properly testing the operation ensures your safety and confirms that the installation process was successful.
Step 7: Final Adjustments and Maintenance
Once you have confirmed that the garage door opener is functioning correctly, making any final adjustments to enhance performance is essential. Check the force settings on the opener, which control how much power the motor uses to open and close the door. Adjust these settings according to the manufacturer’s recommendations to ensure the door operates smoothly without straining the engine.
Additionally, lubricate the moving parts like the door’s rollers and hinges to keep them in good condition and reduce wear over time. Regular maintenance is essential; inspect the opener periodically for any signs of wear or malfunction, and clean the safety sensors to ensure they remain free of dust and debris.
Step 8: Program the Remote Control and Keypad
Now that the garage door opener is fully installed and tested, the next step involves programming the remote control and keypad for convenient access. Start by locating the “Learn” button on the garage door opener unit, usually found on the back panel. Press and hold this button until the indicator light turns on, indicating that the opener is in programming mode.
Next, take your remote control and press the button you wish to program; you should see the indicator light blink and then turn off, confirming that the remote has been successfully programmed. If you have a keypad, follow the manufacturer’s instructions to enter your chosen PIN, which will also need to be confirmed by pressing the “Enter” button. Once programming is complete, test both the remote and keypad to ensure they operate the garage door as intended.
Step 9: Set Up Additional Features
With the remote control and keypad programmed, you may explore additional features that enhance the functionality of your Liftmaster garage door opener. Many models come with advanced features such as intelligent technology integration, allowing you to control the door via a smartphone app. To set this up, refer to the user manual for instructions on connecting the opener to your home Wi-Fi network.

Once connected, download the designated app and follow the prompts to link your device. Additionally, consider programming any optional features, such as vacation mode or timer-to-close settings, which can provide extra security and convenience. Ensuring these features are set up will promote a seamless and modern user experience with your garage door system.
Step 10: Safety Checks and Final Review
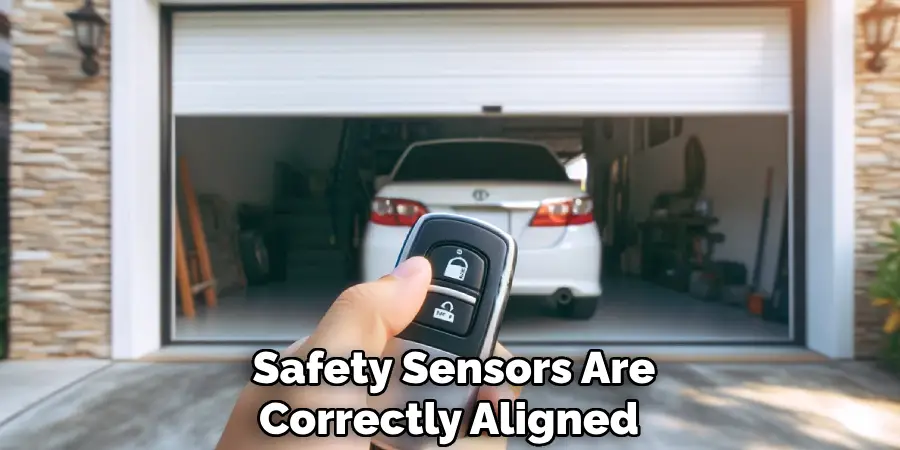
Before concluding the installation process, conducting thorough safety checks is crucial to ensure all components function correctly and securely. Start by examining the garage door’s balance; disconnect the opener and manually lift it halfway; it should remain in place without further assistance. If it doesn’t, the door may be out of balance, requiring professional adjustment.
Next, verify that the safety sensors are correctly aligned and responsive by placing an object in the path of the closing door—this should trigger the reversing mechanism. Review all connections and settings to ensure they align with the manufacturer’s specifications. Finally, confirm that any additional features programmed earlier are operational.
By following these ten steps, you can successfully install a Liftmaster garage door opener and enjoy its convenience and security.
Conclusion
How to wire a liftmaster garage door opener involves a series of straightforward yet critical steps, ensuring safety and functionality throughout the process. Beginning with correctly identifying wires and their respective terminals lays the foundation for effective installation.
Testing the system and making necessary adjustments further enhance the opener’s performance. Programming the remote and keypad provides convenience and enables the use of additional features that modern openers often possess. Finally, conducting thorough safety checks guarantees the door operates correctly, preventing potential hazards.
By adhering to these guidelines, you can achieve a secure and reliable garage door system that adds value and peace of mind to your home.
I am Rick. I grew up helping my dad with his handyman service. I learned a lot from him about how to fix things, and also about how to work hard and take care of business. These days, I’m still into fixing things- only now, I’m doing it for a living.
I’m always looking for new ways to help people grow and develop. That’s why I have created this blog to share all my experience and knowledge so
that I can help people who are interested in DIY repair.