Wiring a garage door opener without sensors can be a practical solution for specific situations, such as when the sensors are damaged or deemed unnecessary. However, it’s important to approach this task carefully to ensure safety and proper functionality. This guide will walk you through the steps of how to wire a garage door opener without sensors effectively while highlighting key precautions to take during installation.
Understanding Garage Door Sensor Systems
Garage door sensor systems are designed as a safety feature to prevent accidents and injuries. These sensors, typically installed on either side of the garage door near the ground, use infrared beams to detect obstructions in the door’s path. If the beam is interrupted—such as by a person, pet, or object—the system halts the door’s operation, either stopping it from closing or reversing its motion.
This mechanism is particularly vital in households with children or pets, as it significantly reduces the risk of accidents. While sensors play an essential role in modern garage door systems, there are circumstances where bypassing them might be considered. However, it is crucial to have a thorough understanding of their function and purpose before proceeding with alternative wiring methods.
Legal and Safety Considerations
Modifying or bypassing garage door sensors can have significant legal and safety implications. Many regions have strict regulations regarding the functionality of garage door safety systems, as they are designed to protect users from harm. Disabling or tampering with sensors may violate local building codes or safety standards, potentially resulting in fines or liabilities in the event of an accident.
Furthermore, altering safety mechanisms increases the risk of injury or property damage, as the sensors are a critical safeguard. It is essential to consult the garage door manufacturer’s guidelines, as well as local laws and regulations, before making any adjustments. Prioritizing safety and compliance can prevent dangerous outcomes and ensure the system operates responsibly.
Tools and Materials Needed
To safely and effectively work on a garage door system, you will need the following tools and materials:
- Screwdriver set – Includes both flathead and Phillips head screwdrivers for removing or securing screws.
- Wrench set – Useful for loosening or tightening bolts and nuts of various sizes.
- Level – Ensures the door and sensors are properly aligned.
- Measuring tape – Helps with accurate placement and adjustments.
- Replacement parts – Such as sensors, brackets, or wiring, if any components need to be replaced.
- Safety gloves and goggles – Protects your hands and eyes during the repair or adjustment process.
- Step ladder – Provides safe access to overhead components of the garage door system.
- Circuit tester – Verifies that the power is off before working with electrical components.
Gathering these tools and materials beforehand ensures you are prepared for a smooth and efficient process while prioritizing safety.
10 Methods How to Wire a Garage Door Opener without Sensors
1. Understand the Legal and Safety Implications First
Before proceeding with wiring a garage door opener without sensors, it is imperative to understand that most garage door openers manufactured after 1993 are required by law to include safety sensors. These sensors prevent the door from closing when an object, pet, or person is detected underneath. Disabling or bypassing them may violate local building codes and manufacturer policies.
In many regions, modifying a garage door system to operate without safety sensors could void warranties or lead to liability issues. Therefore, this method should only be attempted in private, controlled environments where the risks are well understood—such as non-standard applications like workshop doors or detached storage garages without foot traffic.
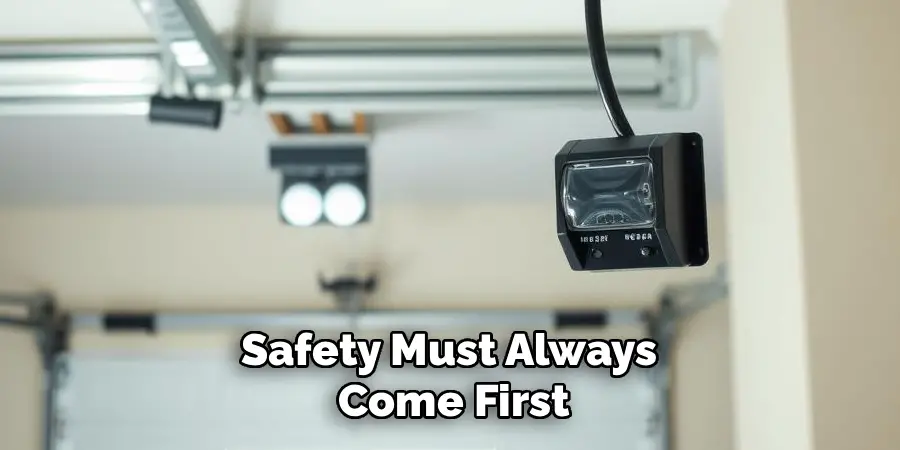
2. Disconnect the Power to the Opener
Safety must always come first when working with electrical components. Begin by disconnecting the power supply to your garage door opener unit. This can usually be done by unplugging it from the outlet on the ceiling or turning off the circuit breaker that powers the opener. Double-check that there is no power flowing to the unit before starting work to avoid electric shock or damage to internal circuitry.
With the unit powered down, you can proceed safely to access the wiring terminals and make changes without the risk of electrocution or accidental operation of the motor.
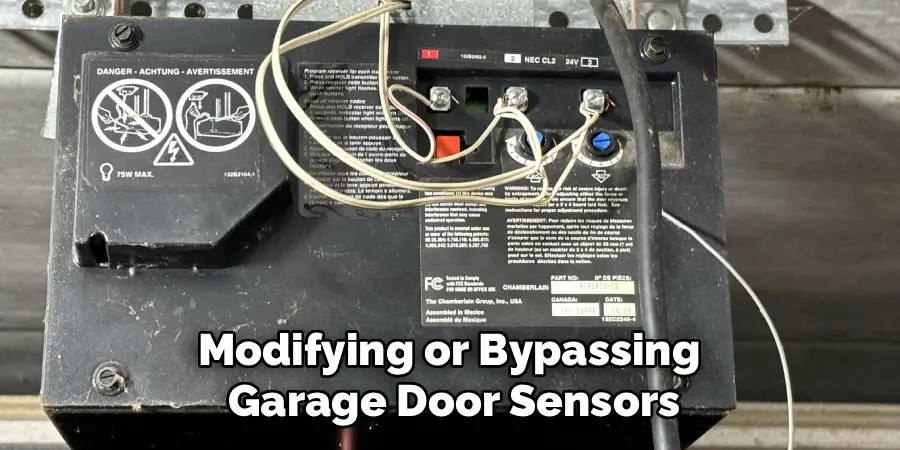
3. Identify the Sensor Terminals on the Opener Unit
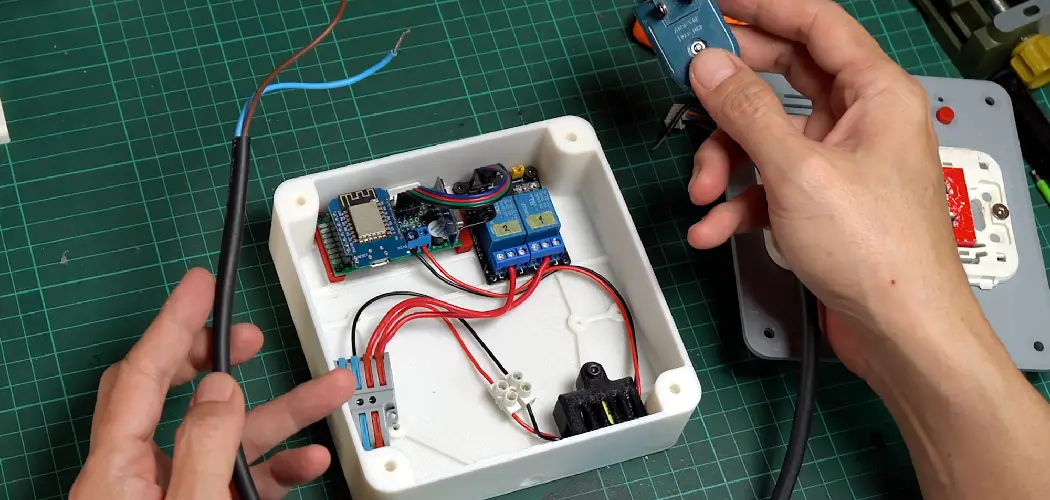
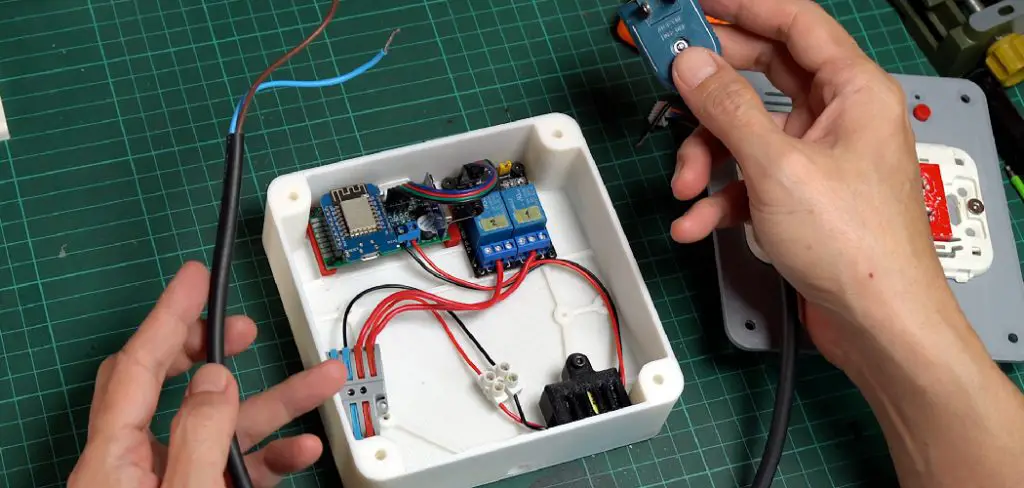
Garage door openers usually have a terminal block with screw or clip connectors for wiring the various system components. Typically, the terminals are marked: one for the wall control button and two for the safety sensors—often labeled “Sensor,” “Safety,” or “Photo Eye.” The wires leading to these terminals are usually low-voltage (22–24 AWG) and color-coded. You’ll need to isolate which terminals correspond to the sensors and prepare to either jumper or bypass them depending on the model of the opener.
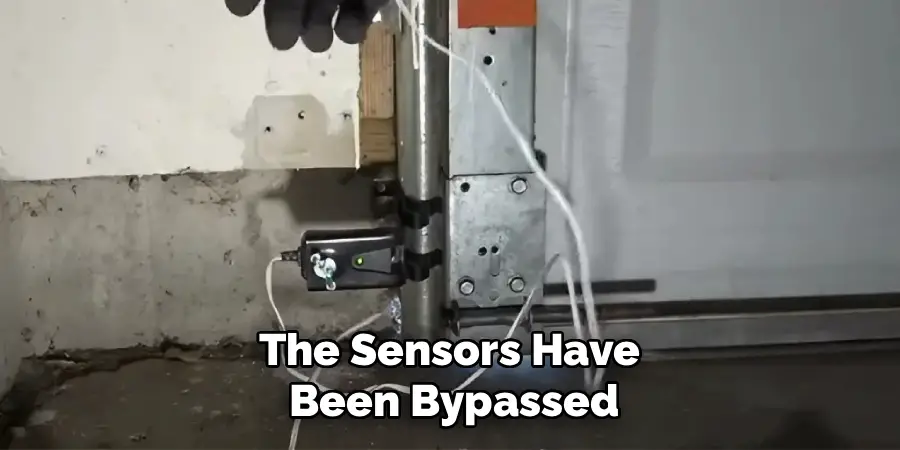
4. Use a Jumper Wire to Bypass the Sensor Circuit
One of the most common methods of wiring a garage door opener without sensors is to create a jumper wire across the sensor terminals. To do this, cut a short length of similar gauge wire (approximately 2–3 inches) and strip the insulation from both ends. Insert each end into the sensor terminals and tighten the screws. This tricks the opener into thinking the sensors are still connected and aligned. However, not all openers respond to this method; some require resistance in the circuit or constant signal verification. Check your model’s wiring diagram to determine if this jumper-only method is sufficient.
5. Install a Fixed Resistor for Advanced Bypass (Optional)
If a jumper wire does not bypass the sensor recognition, your opener may use signal verification logic, which checks for continuity or resistance. In this case, you may need to install a resistor between the sensor terminals. A 10k ohm, 1/4-watt resistor is often sufficient to simulate the signal of connected photo eyes.
Strip both leads of the resistor, insert them into the sensor terminals, and tighten the screws. This tricks the system into thinking it has a legitimate sensor input. However, resistor values may vary depending on your opener’s brand and circuit design, so it’s best to refer to service manuals or forums dedicated to your specific opener.
6. Wire the Wall Control Button as Usual
Once the sensors have been bypassed, you can wire the wall-mounted control button (also called a doorbell switch) as normal. These are usually connected to a separate pair of terminals on the opener labeled “Wall Button” or “Control.” Use low-voltage wire to connect from the wall switch to the corresponding terminals on the opener.
This allows you to manually open and close the door, even in the absence of safety sensors. Ensure the wall control button remains accessible and secure to prevent accidental operation or interference.
7. Test the Opener for Functional Operation
After completing the bypass and wiring, restore power to the garage door opener. Press the wall control button to test whether the door opens and closes smoothly. If the motor runs and the door operates without beeping or error codes, then the sensor bypass was successful.
If the door only opens and not closes—or vice versa—the bypass may not be properly accepted by the logic board, and further adjustment or reconfiguration of the wiring may be necessary. Observe any blinking lights or sounds from the motor unit, as they can indicate an error code related to the sensor circuit.
8. Modify Remote Control Settings for Compatibility
If your remote control does not function after bypassing the sensors, the garage door opener may have safety logic that blocks wireless commands when sensors are disabled. To address this, reprogram your remote or consult the opener’s manual to change the safety settings—if supported.
Some older models allow remote operation without sensor feedback, while newer ones may restrict remote access entirely until the sensor system is restored. In some models, this may also involve disabling a “Lock” or “Vacation” mode that limits access through wireless remotes.
9. Add Manual Safety Measures in Place of Sensors
Even if you bypass the electronic safety sensors, it’s critical to replace them with manual safety precautions. Place warning signs near the wall switch to remind users to visually check the area before closing the door. Consider installing a convex mirror or surveillance camera inside the garage to monitor the space around the door.
In environments where pets or children are present, bypassing the sensors is not recommended. Instead, use your judgment carefully and ensure that only responsible adults operate the system.
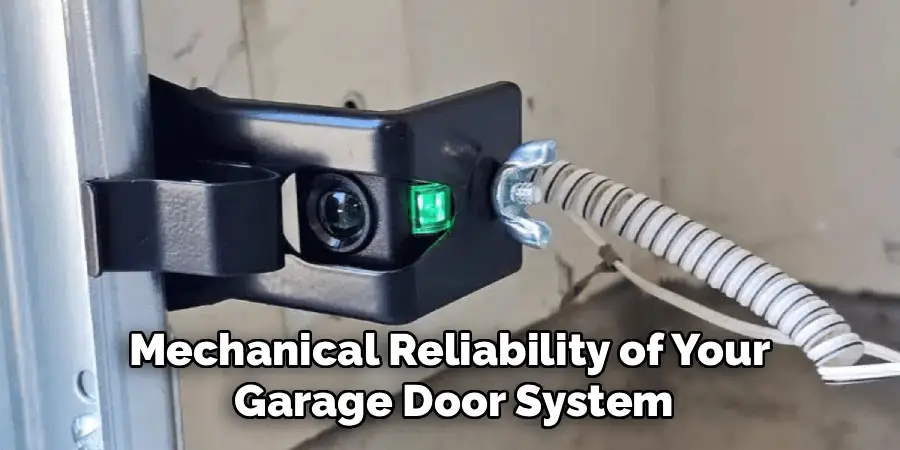
10. Regularly Inspect and Maintain the Opener
Without active safety sensors, the mechanical reliability of your garage door system becomes even more important. Schedule regular maintenance checks to ensure that the springs, cables, and rollers are functioning properly. Test the auto-reverse feature by placing a block of wood under the door during closing.
If the door does not reverse upon contact, adjust the downforce sensitivity on the opener. Lubricate moving parts periodically and make sure the track is free of debris. Regular maintenance not only improves safety but extends the life of your garage door opener.
Conclusion
In conclusion, regular maintenance and proper care of your garage door opener are essential for ensuring its safety, reliability, and longevity. By taking the time to inspect and service the various components, you can prevent potential accidents and costly repairs. Now that you know how to wire a garage door opener without sensors, try it yourself today and feel good about completing such a big DIY job!
I am Rick. I grew up helping my dad with his handyman service. I learned a lot from him about how to fix things, and also about how to work hard and take care of business. These days, I’m still into fixing things- only now, I’m doing it for a living.
I’m always looking for new ways to help people grow and develop. That’s why I have created this blog to share all my experience and knowledge so
that I can help people who are interested in DIY repair.