
Garages are often used to store tools, lawn equipment, and other items. Unfortunately, this can lead to drainage problems when the garage is used as a workshop or spilled vehicle oils and other liquids. If your garage has a drain, it’s important to learn how to unclog garage drain so that the water can flow freely. Here are four tips for unclogging a garage drain.
What is a Garage Drain?
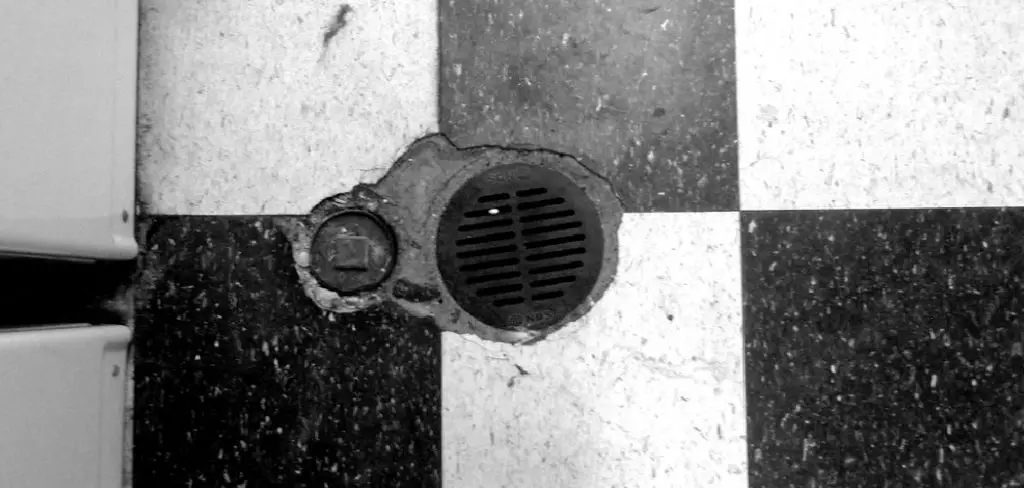
A garage drain is a drainage system that helps direct water away from the garage and prevents water damage. The drain typically consists of a grate or grating installed on the garage floor near the entrance. The grate collects water and directs it into a drainage pipe that leads away from the garage.
Garage drains are an important part of any garage, as they help keep the area dry and prevent water damage. In addition, garage drains can also help reduce the risk of slips and falls, as they help keep the floor drier.
Why It’s Important to Unclog Garage Drain?
A garage drain is an important part of any home with a garage. It helps remove water and other liquids from the garage floor, keeping the area clean and safe. Unfortunately, garage drains can become clogged over time, causing water to build up and potentially leading to flooding.
That’s why it’s important to unclog a garage drain regularly. The best way to do this is to use a plunger or a drain snake. First, insert the plunger into the drain and push and pull until the clog is removed. For tougher clogs, insert the drain snake into the drain and turn it clockwise until the clog is dislodged.
With a little effort, you can keep your garage drain clear and avoid any major problems.
What Kind of Drain Do You Have?
1. Standard Floor Drain
Most garages have a standard floor drain, simply a hole in the concrete with a metal or plastic grate on top. Unfortunately, these can be easily clogged with debris, including leaves, dirt, and grease.
2. Interceptor Drain
Some newer garages have what’s called an interceptor drain. This type of drain has a pit below the floor level that collects water and debris before it enters the drain. These drains can also be clogged with leaves, dirt, and grease.
3. French Drain
Another type of drain that is becoming more common in garages is the French drain. This type of drain has a perforated pipe that is surrounded by gravel. The gravel helps to catch and collect debris before it enters the drain. French drains can also be clogged with leaves, dirt, and grease.
4. Trench Drain
The trench drain is the most common type of drain used in garages. It is a long, narrow channel installed along the perimeter of the garage. The trench drain can be clogged with leaves, dirt, and grease.
18 Steps to Follow on How to Unclog Garage Drain
Step 1: Gather Necessary Tools and Materials
Before attempting to unclog your garage drain, gather the necessary tools and materials. This may include a plunger, drain snake, bucket, gloves, protective eyewear, old towels or rags, and a flashlight. Having these items on hand will help make the process smoother and more efficient.
Step 2: Prepare the Work Area
Clear the area around the clogged drain, removing any items that may obstruct your workspace or get damaged during the unclogging process. Lay down old towels or rags to help contain any water or debris that may be dislodged from the drain.
Step 3: Assess the Severity of the Clog
Use a flashlight to inspect the drain and determine the severity of the clog. If you can see the source of the blockage, you may be able to remove it manually. If not, you’ll need to use other methods to unclog the drain.
Step 4: Attempt Manual Removal
If you can see the cause of the clog, such as leaves, debris, or other objects, try to remove them manually using gloves or a long tool, like a screwdriver or pliers. Be careful not to push the clog further down the drain, as this may make it more challenging to remove.
Step 5: Use a Plunger
If manual removal is unsuccessful, try using a plunger to dislodge the clog. Place the plunger over the drain opening and push down firmly, then quickly pull it up. Repeat this process several times to create suction that can help break up and remove the clog.
Step 6: Employ a Drain Snake
If the plunger fails to unclog the drain, use a drain snake or auger. Insert the snake into the drain until you feel resistance, then turn the handle clockwise to break up the clog. Continue pushing the snake through the obstruction and turning the handle until the clog has been cleared.
Step 7: Utilize a Wet/Dry Vacuum
If the clog persists, a wet/dry vacuum can be an effective tool for unclogging garage drains. Remove the vacuum’s filter and attach a hose to the vacuum’s inlet. Place the hose over the drain opening and create a tight seal with your hand or a towel. Turn on the vacuum and let it suck the clog out of the drain. Be prepared to empty the vacuum’s canister if it fills with water or debris during this process.
Step 8: Clean the Drain
Once the clog has been removed, clean the drain to prevent future blockages. Use a drain brush or an old toothbrush to scrub away any remaining debris, soap scum, or buildup inside the drain. Pour a mixture of hot water and mild detergent down the drain to flush away any residual grime.
Step 9: Test the Drain
After cleaning the drain, test its functionality by running water down it. If the water drains away smoothly, the clog has been successfully removed. If the water still drains slowly or backs up, you may need to repeat the unclogging process or consult a professional for assistance.
Step 10: Perform Regular Maintenance
Prevent future clogs by performing regular maintenance on your garage drain. Periodically inspect the drain for debris and remove any buildup before it becomes a problem. Additionally, consider installing a drain cover or strainer to catch debris before it enters the drain and causes a blockage.
Step 11: Know When to Call a Professional
If you’ve tried multiple methods to unclog your garage drain without success, it may be time to call a professional plumber. They have the experience, tools, and knowledge to handle stubborn clogs and can identify any underlying issues that may be causing the blockage. Attempting to fix a persistent clog without professional help can potentially cause further damage to your plumbing system.
Step 12: Understand the Causes of Clogs
Understanding the common causes of garage drain clogs can help you take preventive measures to avoid future issues. Common culprits include dirt, leaves, debris, grease, oil, paint, and other materials that accumulate in the drain over time. Avoid washing these materials down the drain and dispose of them appropriately.
Step 13: Install a Backwater Valve
In some cases, clogs can be caused by water or sewage backing up from the main sewer line. To prevent this issue, consider installing a backwater valve on your garage drain. This one-way valve allows water to flow out of your garage but prevents any backflow from entering.
Step 14: Use Safe and Effective Drain Cleaners
If you choose to use a drain cleaner to help maintain your garage drain, opt for a safe and environmentally friendly product. Chemical drain cleaners can be harsh on your plumbing system and harmful to the environment. Instead, use a natural enzyme-based drain cleaner that can break down organic materials without damaging your pipes or causing harm to the ecosystem.
Step 15: Inspect Your Drainage System
Periodically inspect your home’s drainage system, including gutters, downspouts, and other connections that may affect your garage drain. Ensure these components are clean and functioning correctly to prevent water from pooling around your garage or causing additional strain on your drainage system.
Step 16: Properly Dispose of Hazardous Materials
Properly dispose of hazardous materials, such as chemicals, paint, and automotive fluids, that can contribute to clogs and damage your plumbing system. Never pour these substances down your garage drain or any other household drain. Instead, dispose of them at designated hazardous waste collection sites or recycling facilities.
Step 17: Educate Family Members
Educate your family members about the importance of maintaining a clear garage drain and the steps they can take to prevent clogs. Encourage them to keep the garage floor clean, avoid washing hazardous materials down the drain, and report any signs of a slow-draining or clogged drain.
Step 18: Keep an Emergency Plumber Contact
In case of a severe or recurring clog, it is essential to have the contact information of a reliable emergency plumber. Save their number in your phone and have it readily available in case you need professional assistance quickly.
By following these steps, you can effectively unclog and maintain your garage drain, preventing future issues and ensuring a functional and efficient drainage system. Regular maintenance, safe disposal of hazardous materials, and timely professional intervention when needed can help you keep your garage drain in top condition.
Some Common Causes of Clogged Garage Floor Drains
Lack of Maintenance:
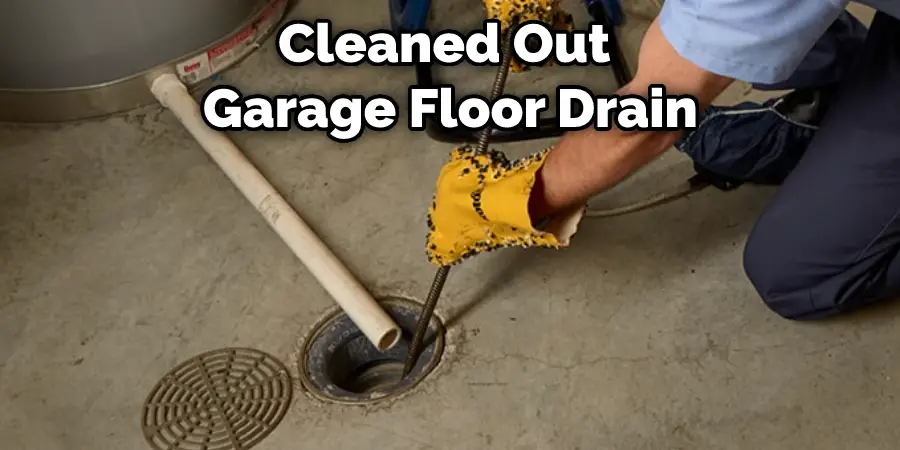
One of the most common causes of clogged garage floor drains a lack of maintenance. When was the last time you cleaned out your garage floor drain? If it’s been a while, it’s probably full of dirt, grime, and other debris.
Build up Of Leaves and Twigs:
Over time, leaves and twigs can build up in your garage floor drain, causing a blockage. This is especially common in the fall when there are a lot of leaves falling from the trees.
Melting Snow and Ice:
In the winter, melting snow and ice can also cause your garage floor drain to become clogged. As the snow and ice melt, they can leave behind a lot of debris that can block your drain.
Grease:
If you have a lot of grease in your garage, it can also cause your floor drain to become clogged. Grease can build up over time and eventually harden, forming a blockage in your drain.
Prevent Garage Drain Clogs in the Future
One of the most common and frustrating household problems is a clogged garage drain. As a result, water backs up, making it difficult to park your car or clean the floor. Fortunately, there are a few simple steps you can take to prevent this problem from occurring in the future.
The first step is to clean your drain regularly. Debris can quickly build up, causing a blockage. Once a week, pour hot water down the drain and use a plunger to remove any buildup.
You should also avoid pouring oil or grease down the drain, as these can solidify and cause an obstruction. If you do spill oil or grease, wipe it up with a paper towel before it has a chance to reach the drain.
Finally, be sure to have your drain professionally cleaned every few years to remove any stubborn debris. By following these simple tips, you can keep your garage drain clear and avoid costly repairs in the future. Keep reading for more information about how to unclog garage drain.
Frequently Asked Question
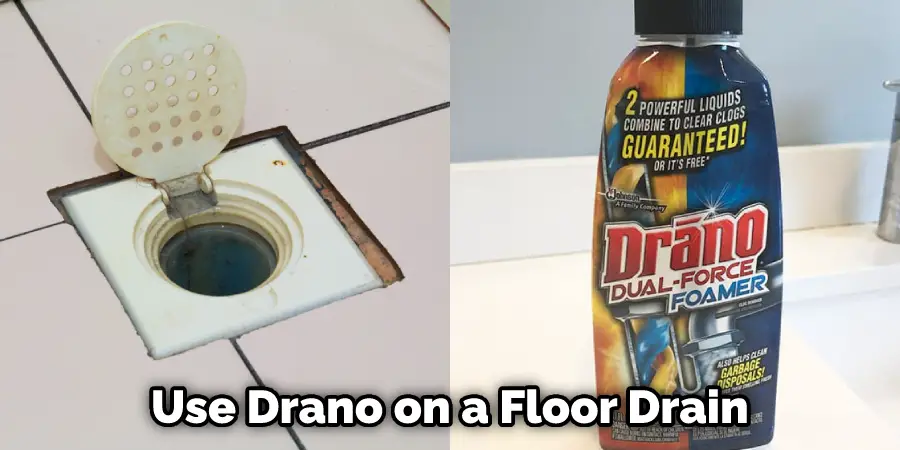
Can You Use Drano on A Floor Drain?
Yes, you can use Drano on a floor drain. First, pour the entire bottle of Drano down the drain and let it sit for 30 minutes. After 30 minutes, run hot water down the drain for several minutes to flush it out.
Why Does My Floor Drain Keep Backing Up?
One potential reason for a backed-up floor drain is a clog in the garage drain. If your garage is connected to your home’s sewer line, then a clog in the garage drain can cause sewage to back up into your home.
Conclusion
If you are having trouble unclogging your garage drain, don’t worry. There are a few things that you can do to try and clear the clog. First, try using a plunger. Then, if that doesn’t work, you can try using a snake or a dishwasher detergent tablet. Finally, if all else fails, you can call a professional to help clear the clog. Thanks for reading our post about how to unclog garage drain.
I am Rick. I grew up helping my dad with his handyman service. I learned a lot from him about how to fix things, and also about how to work hard and take care of business. These days, I’m still into fixing things- only now, I’m doing it for a living.
I’m always looking for new ways to help people grow and develop. That’s why I have created this blog to share all my experience and knowledge so
that I can help people who are interested in DIY repair.