Are you tired of struggling with your garage door opener every time you come home? Do you find yourself frequently stuck outside, fumbling with a faulty remote or a door that won’t budge? Well, fear not! In this comprehensive blog post, we will guide you through the art of troubleshooting a garage door opener.
Whether you are a seasoned DIY enthusiast or a complete novice, our step-by-step instructions on how to troubleshoot garage door opener and expert tips will empower you to tackle any obstacle that may come your way.
So, grab your toolbox, roll up your sleeves, and get ready to finally enjoy the convenience and peace of mind that a smoothly functioning garage door opener can provide. Say goodbye to unnecessary stress and hello to hassle-free access to your garage – it’s time to take control of your garage door opener situation!
Why Does Your Garage Door Opener Malfunction?
Before we dive into the troubleshooting process, let’s first understand why your garage door opener may be acting up. There are several potential reasons for a malfunctioning opener, including faulty wiring, dead batteries in the remote or keypad, misaligned sensors, or simple wear and tear over time. Understanding these common causes will help you narrow down the issue and determine the best course of action.
It’s also worth noting that different types of garage door openers (chain drive, belt drive, screw drive) may have unique troubleshooting steps, so be sure to consult your owner’s manual for specific instructions.
11 Step-by-step Guidelines on How to Troubleshoot Garage Door Opener
Step 1: Identify the Problem
The first step in troubleshooting your garage door opener is to identify and diagnose the problem. Start by observing any unusual behavior or sounds from the opener or door. Is the door not closing or opening fully? Does it make grinding noises?
These observations will help you determine which part of the opener system is malfunctioning.
Step 2: Check Power Supply
One of the most common issues with a garage door opener is a power outage. Before jumping to any conclusions, make sure that your opener is receiving power.
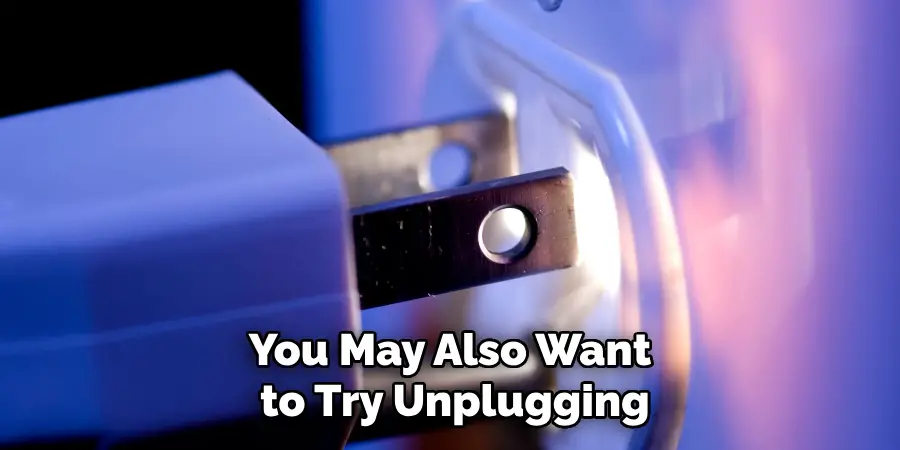
Check the outlet, extension cord (if applicable), and the circuit breaker to ensure that everything is connected and functioning correctly. You may also want to try unplugging and plugging back in the opener to reset it. But remember to disconnect the opener from the power source before attempting any repair work.
Step 3: Inspect Batteries
If your remote or keypad is not working, the batteries may be dead. Replace them with fresh ones and see if that solves the problem. Also, check for any debris or corrosion on the battery connectors, as this can disrupt the connection. It’s a good idea to keep spare batteries on hand for such situations. But if the batteries are not the issue, move on to the next step.
Step 4: Align Sensors
Misaligned sensors can prevent your garage door from closing. Check to see if the sensors on either side of the door are lined up correctly and free from any obstruction. If not, adjust them until the LED lights on both sensors are solid. You may also want to clean the sensors’ lenses with a soft cloth, as dirt or debris can block the signal.
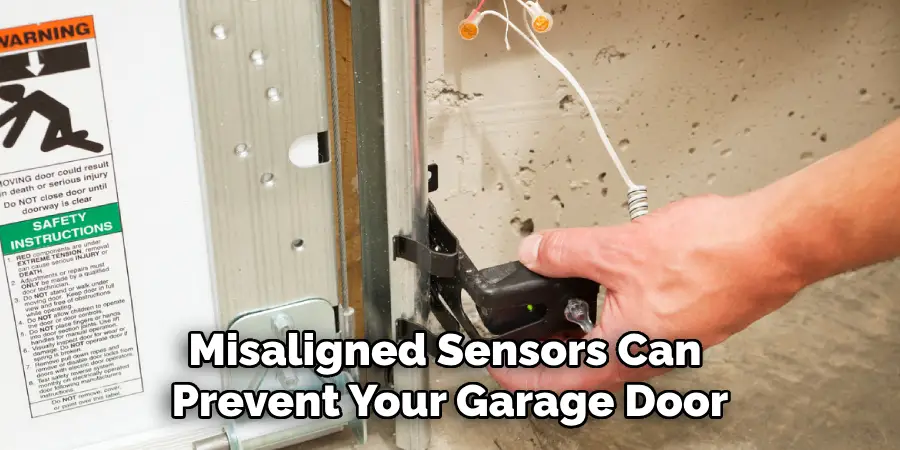
Although some sensors have indicator lights to alert you of any issues, other models may not. So it’s best to check the alignment and cleanliness regularly.
Step 5: Test Manual Operation
If your opener has a manual release feature, try operating the door manually to see if it moves smoothly. If not, there may be an issue with the spring or track that needs professional attention.
It’s essential to use caution when manually operating the door, as it can be heavy and pose a safety risk. But if the door moves freely, the problem may lie with the opener or remote.
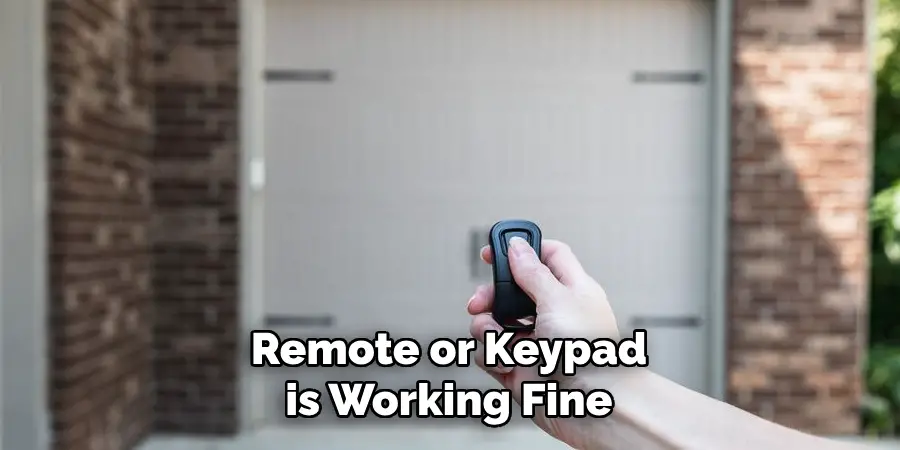
Step 6: Check the Remote and Keypad
If your remote or keypad is not functioning properly, try reprogramming it. Follow the instructions in your owner’s manual to reset the code and pair it with the opener. If that doesn’t work, you may need to replace the remote or keypad entirely. However, if the remote or keypad is working fine, the issue may be with the opener’s receiver.
Step 7: Inspect Opener Parts
Check for any visible damage to the opener’s parts, including the motor, drive belt or chain, trolley, and gears. If you notice any wear and tear or broken pieces, it’s best to call a professional for repair or replacement. Attempting to fix these components yourself can be dangerous and cause more damage.
If everything looks okay, move on to the next step. It’s also a good idea to lubricate the opener’s moving parts regularly as part of your maintenance routine.
Step 8: Lubricate Moving Parts
Lubrication is crucial for the smooth operation of your garage door opener. Check the owner’s manual for specific recommendations, but in general, you should lubricate the chain or drive screw, bearings, and springs with a silicone-based spray or oil regularly.
But be careful not to over-lubricate, as excess oil or grease can attract dirt and cause more harm than good. However, if lubrication doesn’t solve the problem, move on to the next step.
Step 9: Check Wiring Connections
Loose or damaged wiring connections can cause your opener to malfunction. Inspect all wires and connectors for any signs of wear or disconnection. If you find any issues, tighten loose connections or replace damaged wiring. However, it’s best to leave any extensive wiring repairs to a professional. You should also switch off the power supply before handling any electrical components.
Step 10: Reset Opener
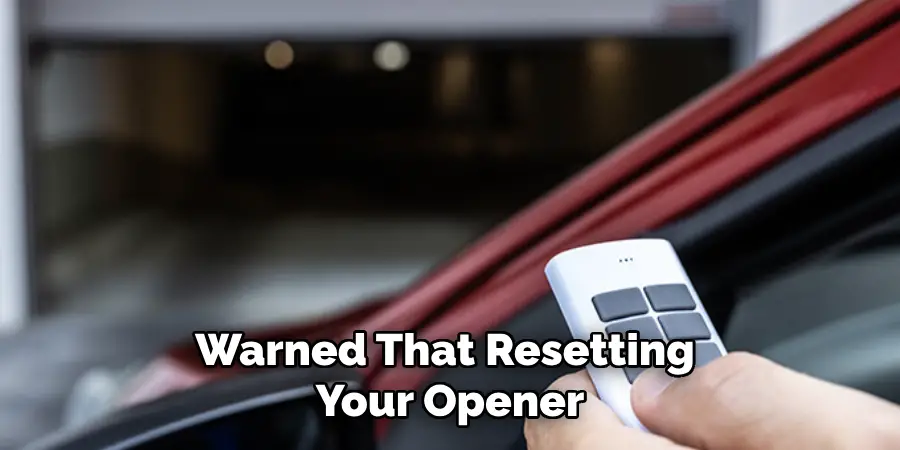
If none of the above steps solve the problem, you may need to reset your opener entirely. Consult your owner’s manual for instructions on how to do this, as different models have varying reset procedures.
But be warned that resetting your opener will erase all codes and settings, so you’ll need to reprogram your remotes and keypads afterward. It’s also a good idea to test the opener’s functionality after resetting it to ensure that it’s working correctly.
Step 11: Call a Professional
If after all these troubleshooting steps your garage door opener still isn’t working, it’s time to call in the experts. A professional can assess and diagnose the issue accurately and make any necessary repairs or replacements safely. They can also identify any underlying problems that may have caused the malfunction and prevent future issues.
Additionally, most opener systems come with a warranty, and attempting to fix it yourself may void this coverage. So when in doubt, always seek professional help.
Following these steps on how to troubleshoot garage door opener can help you troubleshoot and resolve many common issues with your garage door opener. But remember to prioritize safety when handling any repair work, and don’t hesitate to call a professional if you’re unsure or uncomfortable with the process. Regular maintenance can also go a long way in preventing future problems, so make sure to keep your opener clean and well-lubricated.
Frequently Asked Questions
Q1. Why is My Garage Door Opener Not Working?
A: There could be several reasons why your garage door opener is not functioning correctly, such as power issues, misaligned sensors, damaged parts, or programming errors. Follow the steps outlined in this guide to troubleshoot and identify the issue.
Q2: Can I Fix My Garage Door Opener Myself?
A: It’s generally not recommended to attempt any repairs on your garage door opener yourself unless you have experience and knowledge in handling such tasks. Not only is it dangerous, but it can also cause further damage. It’s best to call a professional for any significant repairs or replacements.
Q3: How Often Should I Perform Maintenance on My Garage Door Opener?
A: It’s recommended to perform maintenance tasks, such as lubrication and visual inspections, every six months. However, if you notice any issues with your opener in between these scheduled maintenance checks, it’s best to address them immediately. Regular maintenance can help prevent future problems and prolong the lifespan of your opener.
Conclusion
Troubleshooting your garage door opener yourself can be an intimidating task, but it doesn’t have to be. With detailed, yet simple instructions, checking power sources, identifying potential problems and performing safety tests during the troubleshooting process can ensure that you are able to find the culprit of any issues with your opener quickly and easily.
If you find yourself stumped or feel like the problem is too much for you to handle on your own, it may be best to call a professional for assistance.
No matter the issue you face, remember to exercise extreme caution when using electricity or tinkering with any machinery—safety first! So take a deep breath, arm yourself with knowledge and get ready to troubleshoot. What are you waiting for? Get out there and start solving today! Thanks for reading this article on how to troubleshoot garage door opener.
I am Rick. I grew up helping my dad with his handyman service. I learned a lot from him about how to fix things, and also about how to work hard and take care of business. These days, I’m still into fixing things- only now, I’m doing it for a living.
I’m always looking for new ways to help people grow and develop. That’s why I have created this blog to share all my experience and knowledge so
that I can help people who are interested in DIY repair.