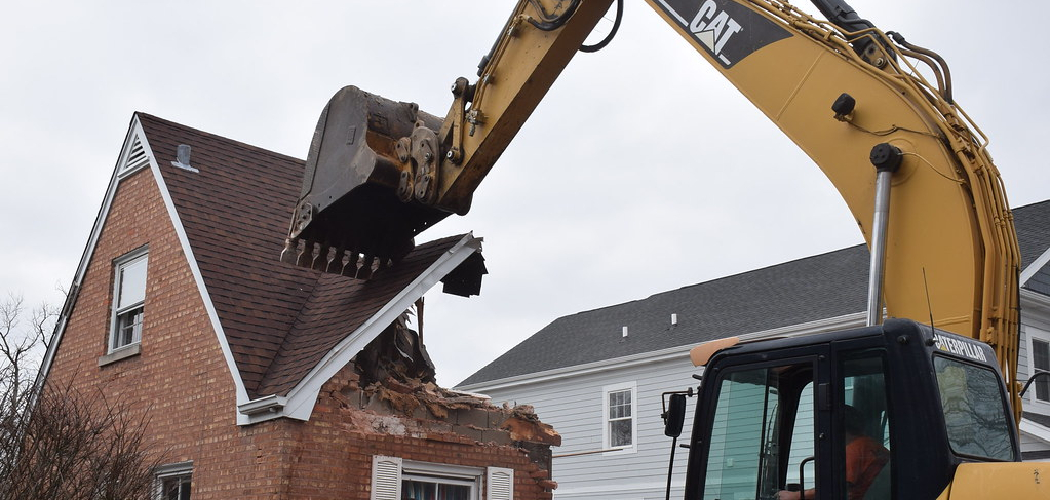
Demolition is not as simple as it seems. You must take several key steps to ensure the job is done correctly and safely. First, you need to disconnect any utilities that are attached to the garage. This includes electricity, gas, water, and sewer.
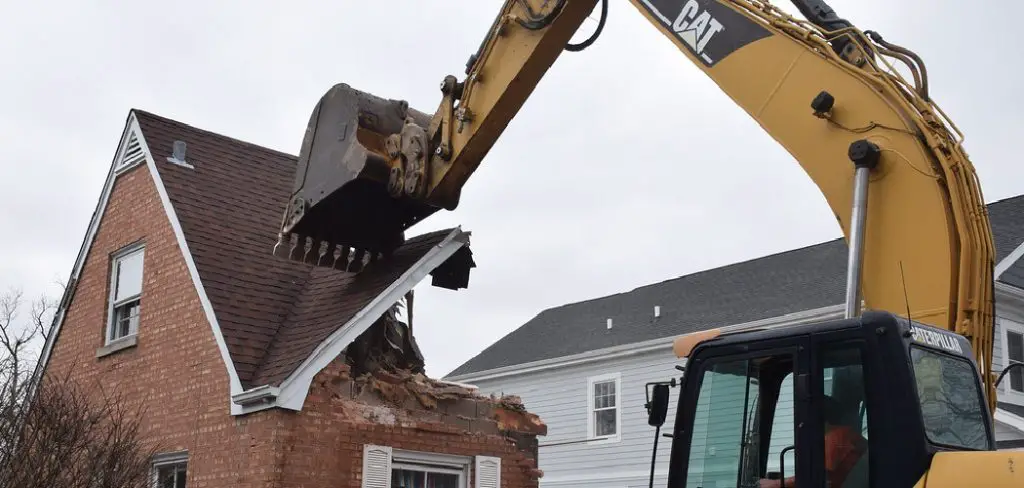
Once all the utilities are disconnected, you can start dismantling the structure. Be sure to use the proper tools and safety equipment when doing so. You will also need to dispose of the debris properly. In this blog post, you will learn in detail how to tear down a garage.
Summary: The process of tearing down a garage can be complex and time-consuming. It typically involves properly removing and disposing of the existing structure according to local building regulations. The process also includes disconnecting all electrical, plumbing, and gas lines and disposing of any insulation or other materials found in the structure. Depending on the complexity of the project, it could take up to a few days to completely remove the structure.
Step-by-Step Processes for How to Tear Down a Garage
Step 1: Obtain Necessary Permits
Before beginning the demolition process, check with your local municipality to determine if any permits are required for tearing down a garage. Comply with all local regulations and obtain the necessary permits to ensure a smooth and legal demolition process.
Step 2: Disconnect Utilities
Before starting the teardown, ensure that all utilities connected to the garage, such as electricity and gas, are disconnected. Contact your utility providers to disconnect any services and remove meters if necessary. If you’re unsure about how to safely disconnect utilities, consult a licensed professional for assistance.
Step 3: Clear Out the Garage
Remove all items from the garage, including tools, equipment, and stored belongings. Ensure the area is clear of any obstacles that may pose a hazard during the demolition process. Dispose of any hazardous materials, such as chemicals or paint, according to your local regulations.
Step 4: Remove Garage Door and Windows
Begin the teardown process by removing the garage door. This typically involves disconnecting the door from its tracks and any springs or openers. Use caution when handling garage door springs, as they can be under high tension and may cause injury if not properly handled. Remove windows by carefully prying them from their frames, taking care not to break the glass.
Step 5: Assemble the Necessary Tools and Equipment
Gather the necessary tools and equipment for the teardown process. This may include:
- Sledgehammer
- Pry bars
- Crowbars
- Hammer and nails
- Ladders
- Saw
- Drill and drill bits
- Safety goggles
- Work gloves
- Steel-toed boots
Step 6: Remove the Roof
Begin the demolition process by removing the roof. Start at one end of the garage and work your way across, removing shingles and sheathing as you go. If the garage has a truss roof, remove the trusses one at a time. Take care when working at heights, and always use proper safety equipment.
Step 7: Remove Exterior Walls
Once the roof is removed, begin dismantling the exterior walls. Remove siding and trim first, then use a sledgehammer or pry bars to remove the wall studs and sheathing. Work in a systematic manner, starting at one end of the garage and moving to the other. Be cautious of any nails or sharp edges while dismantling the walls.
Step 8: Remove Interior Walls and Ceiling
If your garage has interior walls or a ceiling, remove these structures next. Use a sledgehammer, pry bars, and crowbars to dismantle the walls and ceiling, taking care not to damage any adjacent structures. Dispose of debris in a dumpster or other appropriate waste receptacle.
Step 9: Remove the Floor
Once the walls and ceiling are removed, proceed to dismantle the garage floor. If the floor is made of concrete, use a sledgehammer or jackhammer to break up the concrete into manageable pieces. If the floor is made of wood, remove any floorboards and underlying joists using a pry bar and crowbar. Dispose of flooring materials in a dumpster or other appropriate waste receptacle.
Step 10: Remove the Foundation (If Applicable)
If your garage has a foundation, consult a professional to determine if it should be removed or if it can be reused for a future structure. If removal is necessary, use heavy machinery, such as a backhoe or excavator, to dig around the foundation and remove it from the ground. Always exercise caution when operating heavy machinery, and consult a professional if you are unsure of how to safely perform this task.
Step 11: Sort and Dispose of Debris
As you dismantle the garage, separate materials into piles for recycling, reuse, and disposal. Dispose of waste materials in a dumpster or other appropriate waste receptacle and recycle or repurpose materials when possible. Many materials, such as wood, metal, and concrete, can be recycled or reused in other projects. Check with your local recycling center for guidelines on recycling construction materials.
Step 12: Clean Up the Site
After the garage has been completely dismantled, clean up the site to ensure it is safe and free of debris. Remove any remaining nails, screws, or sharp objects from the ground. Fill in any holes or depressions left by the garage’s foundation or floor with dirt or gravel, leveling the site as needed.
Step 13: Inspect Surrounding Structures
Once the garage teardown is complete, inspect any adjacent structures for damage that may have occurred during the demolition process. Repair any damages to neighboring buildings, fences, or landscaping, and take care to ensure the safety of the area.
Step 14: Plan for Future Use of the Site
Now that the garage has been removed, consider the future use of the space. You may choose to landscape the area, install a patio or deck, or build a new structure. If you plan to construct a new building, consult with your local municipality to ensure you comply with zoning regulations and obtain the necessary permits.
Step 15: Follow Local Disposal Regulations
As you dispose of the debris from the garage teardown, be sure to follow local regulations and guidelines for waste disposal. Some municipalities may have specific requirements for the disposal of construction materials, such as recycling or special waste disposal sites. Check with your local waste management authority for guidance on proper disposal practices.
By following these steps, you can safely and effectively tear down a garage, creating new possibilities for the use of the space. The demolition process requires careful planning, the use of appropriate tools and equipment, and adherence to safety guidelines. With the garage removed, you can move forward with your plans for the site, whether that involves landscaping, installing a new outdoor feature, or constructing a new building.
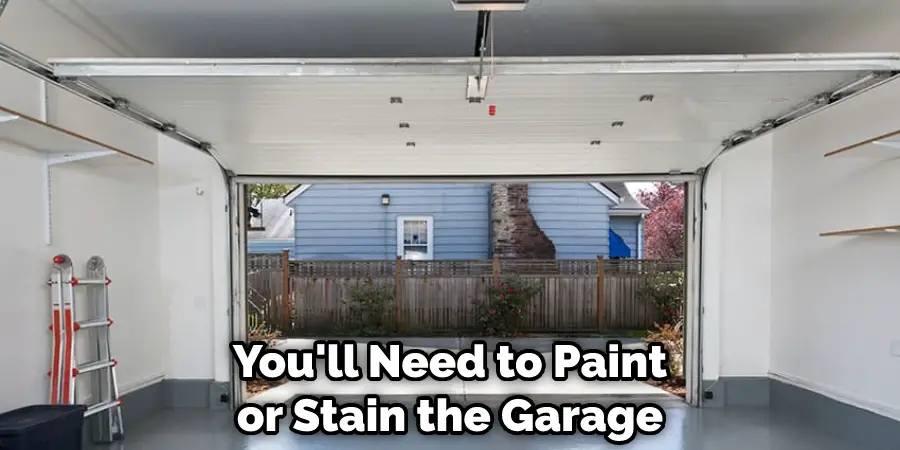
Tips for How to Tear Down a Garage
- Carefully plan the teardown process before beginning any work. This will help ensure a safe and successful project. Ensure all utilities (electricity, gas, water, sewer) are disconnected and/or turned off before beginning any demo work.
- Always wear proper safety gear when working on a demolition project. This includes eye protection, gloves, a dust mask, and ear protection. Use caution when removing any load-bearing walls. These support the garage structure and must be removed carefully to avoid collapsing the entire building.
- When using power tools, always follow the manufacturer’s safety instructions. Be aware of your surroundings at all times and know where other workers are to avoid accidents.
- Never work alone on a demolition project. Having at least one other person present will help ensure everyone’s safety in case of an accident. Keep children and pets away from the work area to avoid injuries.
- Be cautious of asbestos and lead paint when working on an older garage. These materials can be harmful if disturbed. Always dispose of demolition debris properly. Do not simply dump it in the nearest landfill.
- Ensure all power tools and equipment are turned off and unplugged when not in use. Keep your work area well-lit to avoid accidents.
- Take frequent breaks to stay hydrated and avoid fatigue. Be sure to clean up any spilled liquids or debris immediately to avoid slip-and-fall accidents.
- When in doubt, always consult with a professional contractor before beginning any demolition work. They can properly assess the situation and advise on the best way to proceed.
You Can Check It Out to Convert Garage Into Game Room
How Long Does It Take to Tear Down a Garage?
The average garage is between 150 and 200 square feet. Assuming that you have all the necessary permits and equipment, it should take a day or two to tear down your garage completely. Of course, the size and complexity of your garage can impact this timeline.
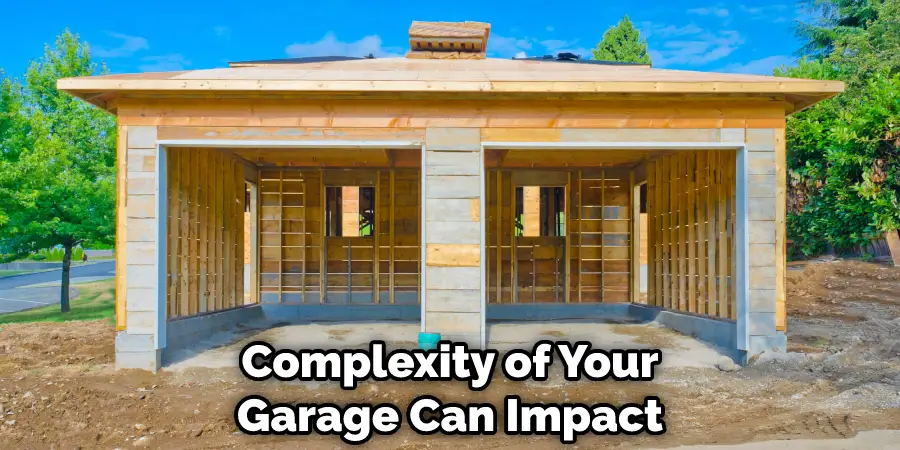
If you’re planning on demolishing your garage yourself, taking the necessary safety precautions is important. Make sure to wear protective gear, including gloves, goggles, and a mask, and be aware of your surroundings at all times. It’s also a good idea to have someone else on hand to help you with the heavy lifting.
If you’re not comfortable taking on such a large project yourself, you can always hire a professional demolition company to do the job for you. They will have the experience and equipment needed to safely and efficiently tear down your garage.
No matter how you choose to go about it, tearing down a garage can be a big job. But with, careful planning and execution can be completed relatively quickly and smoothly.
How Do You Estimate the Costs of Tearing Down Your Garage?
The cost to tear down a garage varies depending on the structure’s size, condition, location, and whether or not debris is disposed of properly. Generally, it costs between $3 and $10 per square foot to demolish a garage.
To get an accurate estimate of how much it will cost to tear down your garage, it’s best to consult with a professional contractor. If you’re planning on demolishing the garage yourself, there are a few things you need to keep in mind.
First, ensure you have the proper permits from your city or town. Second, rent or borrow any necessary equipment, such as a sledgehammer, crowbar, saws, and wrecking balls. Finally, clear the area around the garage of any objects that could get damaged during the demolition process.
Once everything is in place, remove any non-structural elements from the garage, such as doors, windows, trim, and siding. Next, remove the roofing material, starting from the edges and working toward the center. Finally, begin demolishing the walls, starting from the top and working your way down.
Once the garage is completely demolished, you’ll need to dispose of the debris. You can either rent a dumpster or haul it away yourself.
Be sure to check with your local municipality to determine their regulations for disposing of construction debris. Tearing down a garage is a big job, but with proper planning and preparation, it can be done relatively easily. Just be sure to take your time and work safely.

Conclusion
Tearing down a garage may seem daunting, but with the right tools and knowledge, it can be a relatively easy process. The first step is to remove any items that are stored in the garage, including any shelving or cabinets.
Next, the ceilings and walls will need to be removed, along with the garage door. Once all of the major components have been removed, the floor can be demolished.
Finally, the foundation will need to be broken up and removed. Tearing down a garage can be time-consuming, but it is definitely doable with some planning and elbow grease. I hope this article has been beneficial for learning how to tear down a garage.
You Can Check It Out to Turn Your Garage Into a Greenhouse
I am Rick. I grew up helping my dad with his handyman service. I learned a lot from him about how to fix things, and also about how to work hard and take care of business. These days, I’m still into fixing things- only now, I’m doing it for a living.
I’m always looking for new ways to help people grow and develop. That’s why I have created this blog to share all my experience and knowledge so
that I can help people who are interested in DIY repair.

