Have you ever experienced the frustration of having to manually open and close your garage door every time you come and go? Or perhaps you are tired of the inconveniences that come with a malfunctioning automatic garage door? If so, then you are in the right place.
In this blog post, we are going to dive into the world of garage door automation and explore the step-by-step process of switching your garage door back to automatic mode.
Whether you’re a homeowner looking to simplify your life or a seasoned DIY enthusiast who loves tackling home improvement projects, this guide on how to switch garage door back to automatic will provide you with the knowledge and tools you need to regain control over your garage door. So, grab your toolkit and get ready to experience the ultimate convenience of an automated garage door.
Needed Materials
To switch your garage door back to automatic mode, you will need the following materials:
- Screwdriver
- Step Ladder (if Needed)
- Replacement Batteries (if Applicable)
It is important to have these materials on hand before starting the process to avoid any delays or interruptions.
11 Step-by-step Guides on How to Switch Garage Door Back to Automatic
Step 1: Locate the Manual Release Cord
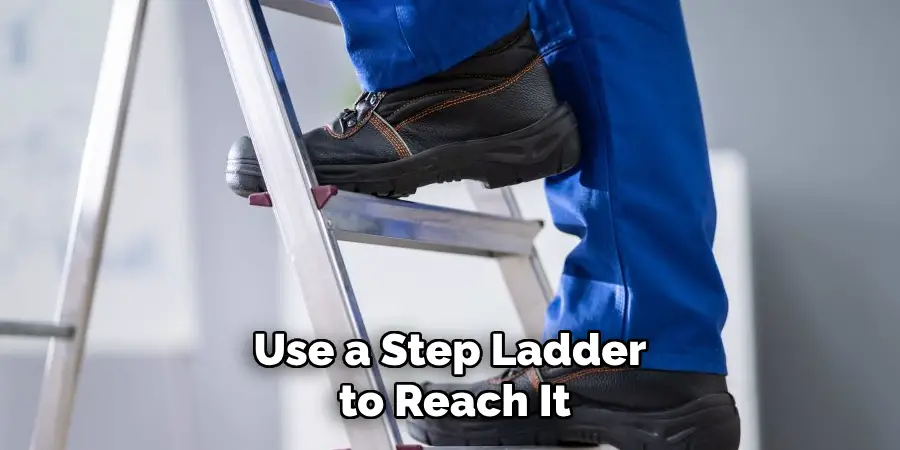
The first step in switching your garage door back to automatic is to locate the manual release cord. This is typically a red cord hanging from the garage door opener mechanism. You may need to use a step ladder to reach it. You can also refer to your garage door opener manual for assistance in locating the cord. But don’t worry, it’s usually pretty easy to find.
Step 2: Pull Down on the Manual Release Cord
Once you have located the manual release cord, pull down on it to disengage the garage door from the opener. This will allow you to manually open and close the garage door without any resistance from the opener.
It is important to note that the door may be heavy, so use caution and have someone assist you if needed. This step is necessary to switch the door back to automatic mode. You can also refer to the manual release cord as an emergency release or disconnect cord.
Step 3: Check for Any Obstructions
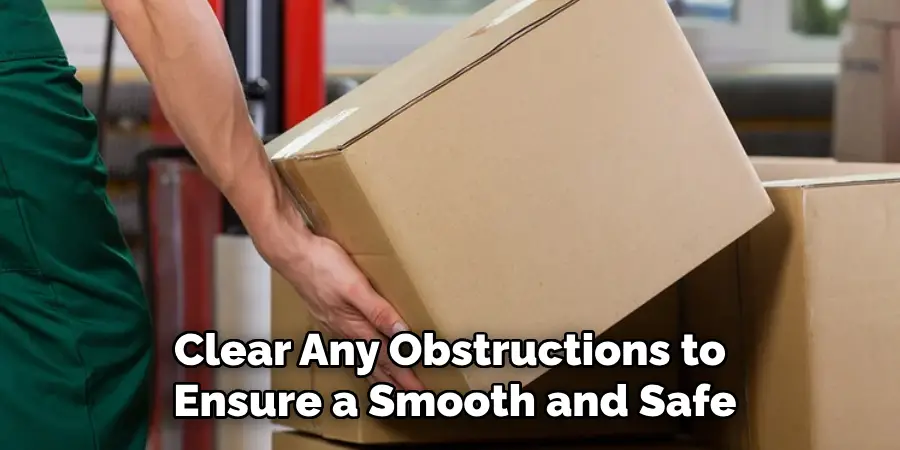
Before switching your garage door back to automatic mode, it’s crucial to check for any obstructions in the tracks or near the door. This is especially important if you have manually opened the garage door before switching back to automatic mode.
Clear any obstructions to ensure a smooth and safe operation of the door. You should also check the safety sensors to make sure they are clean and aligned properly.
Step 4: Re-engage the Garage Door Opener
Once you have checked for obstructions, it’s time to re-engage the garage door opener. Simply pull up on the manual release cord until you hear a click or see that it is back in its original position. This indicates that the garage door is now re-engaged with the opener and ready for automatic operation. But before you test it out, there are a few more steps to follow.
Step 5: Check the Batteries
If your garage door opener runs on batteries, now is a good time to check and replace them if needed. Dead or low batteries can cause issues with the automatic operation of the door, so it’s important to have fresh ones installed. It’s always a good idea to keep spare batteries on hand for situations like this. But if you don’t have any on hand, make a note to purchase them soon. It’s better to be prepared for future situations.
Step 6: Test the Automatic Operation
Once you have re-engaged the garage door opener and checked/replaced the batteries, it’s time to test the automatic operation. Use your garage door remote or keypad to open and close the door. If everything is working properly, congratulations! You have successfully switched your garage door back to automatic mode. If not, continue with the following steps.
Step 7: Check the Power Source
If the automatic operation is still not working, check the power source for any issues. Make sure that the outlet where your garage door opener is plugged in is functioning properly. If it’s not, try plugging it into a different outlet or contact an electrician for assistance.
It’s also important to check the power cord for any damages or loose connections. You may need to replace the cord if there are any issues.
Step 8: Reset the Garage Door Opener
If the power source is not the issue, try resetting your garage door opener. This can usually be done by pressing and holding the “learn” button on the opener for 10-15 seconds until the light blinks. Consult your garage door opener manual for specific instructions on how to reset it.
But keep in mind that this will erase all existing codes and remotes, so you will need to reprogram them.
Step 9: Lubricate Moving Parts
If the automatic operation is still not working after resetting the opener, it may be due to a lack of lubrication. In this case, use a garage door lubricant or silicone spray to lubricate the moving parts of the garage door and opener. This will help reduce friction and ensure smooth operation.
Although this step may not be necessary in all cases, it’s a good maintenance practice to regularly lubricate your garage door.
Step 10: Contact a Professional
If none of the above steps have resolved the issue, then it’s time to contact a professional. Garage door systems can be complex and dangerous if not handled properly, so it’s best to leave any major repairs or adjustments to the experts.
They will have the knowledge and tools needed to diagnose and fix any issues with your garage door opener. You can also schedule regular maintenance appointments with a professional to prevent future problems.
Step 11: Regular Maintenance
Once you have successfully switched your garage door back to automatic mode, it’s important to maintain it regularly. This includes lubricating moving parts, checking for any damages or wear and tear, and testing the safety features of the opener.
By doing so, you can ensure that your garage door will continue to operate smoothly and efficiently for years to come. It’s also a good idea to schedule annual professional maintenance for your garage door system to catch any potential issues early on.
Following these steps on how to switch garage door back to automatic will not only help you switch your garage door back to automatic mode but also keep it functioning properly for a long time. Remember to always use caution when working with any parts of your garage door system and seek professional assistance if needed. Happy garage door operating!
Frequently Asked Questions
Q: Why Do I Need to Switch My Garage Door Back to Automatic Mode?
A: Switching your garage door back to automatic mode allows you to use the convenience of a remote or keypad for opening and closing the door, rather than manually doing it. It also ensures that all safety features are functioning properly for added security.
Q: What If My Garage Door Doesn’t Have a Manual Release Cord?
A: Some newer garage door openers may not have a manual release cord. In this case, consult your opener’s manual for instructions on how to switch it back to automatic mode. If you are still unsure, contact the manufacturer or a professional for assistance.
Q: Why Isn’t My Garage Door Automatically Closing?
A: This could be due to a variety of reasons such as obstructions in the tracks, faulty sensors, or an issue with the power source. Follow the steps outlined in this guide to troubleshoot and resolve the issue.
If it persists, contact a professional for assistance. Overall, regularly maintaining your garage door and opener can help prevent issues like this from occurring. So don’t forget to schedule annual professional maintenance for your garage door system!
Q: Can I Switch My Garage Door Back to Automatic Mode Without a Remote or Keypad?
A: In most cases, you will need a remote or keypad to operate your garage door in automatic mode. However, some newer openers may have a manual switch or button that you can use to toggle between automatic and manual mode. Refer to your opener’s manual for specific instructions.
If you do not have a remote or keypad, consider purchasing one for added convenience and security.
Conclusion
In summary, switching your garage door back to automatic mode is a great solution if you find yourself having difficulties using the manual override option. It’s easy to do if you know how!
By taking your time and following these steps, you can have your garage door back to automatic in no time. Remember that garage doors need regular maintenance and check-ups for optimal safety and functioning, so if this is not something you are comfortable doing, contact a professional technician as soon as possible.
Additionally, it never hurts to take an extra box of safety precautions – keep everyone away from the garage door when fixing it so that nobody gets injured! Automated or not, safety is always the top priority. So don’t wait any longer – get on with it and switch your garage door back to automatic today! Thanks for reading this article on how to switch garage door back to automatic.
I am Rick. I grew up helping my dad with his handyman service. I learned a lot from him about how to fix things, and also about how to work hard and take care of business. These days, I’m still into fixing things- only now, I’m doing it for a living.
I’m always looking for new ways to help people grow and develop. That’s why I have created this blog to share all my experience and knowledge so
that I can help people who are interested in DIY repair.