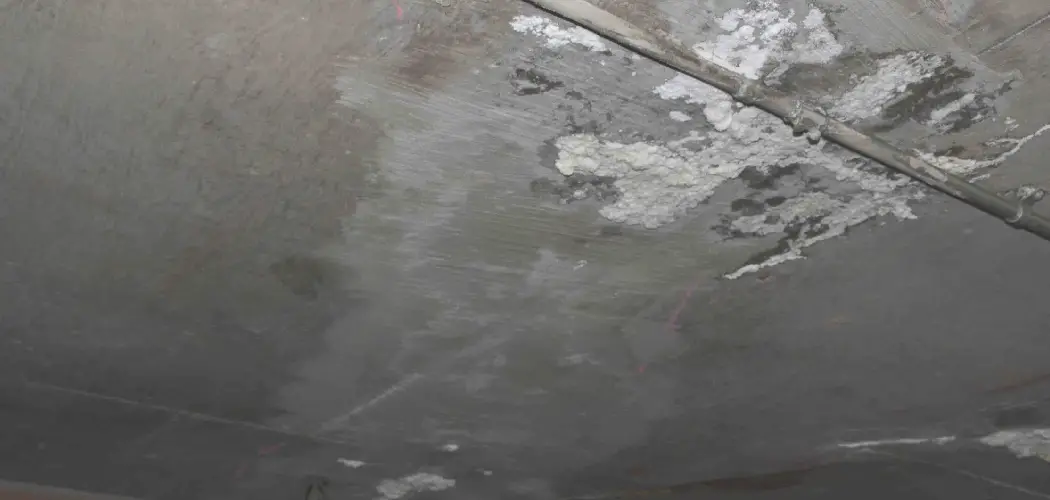
Efflorescence is a common issue that occurs when water seeps through concrete and evaporates, leaving behind a white, powdery residue of salts on the surface.

It can not only detract from the appearance of your garage floor but also signal underlying moisture problems that may lead to more serious structural concerns if left unaddressed. Fortunately, addressing efflorescence involves identifying its root causes and taking practical steps to prevent its recurrence.
This guide on how to stop efflorescence on garage floor will walk you through understanding, managing, and stopping efflorescence on your garage floor effectively.
What Causes Efflorescence?
Efflorescence occurs when water-soluble salts within concrete, brick, or other porous materials are brought to the surface by moisture. This process begins when water infiltrates the material, either through groundwater, rain, or condensation. As the water moves through the pores, it dissolves salts present within the material. Once the water reaches the surface and evaporates, it leaves behind the salts, creating the white residue characteristic of efflorescence.
Common causes include excessive moisture exposure due to poor drainage, high humidity, or leaks, as well as the use of materials with a high salt content during construction. Understanding these causes is essential to developing an effective strategy to prevent or eliminate efflorescence.
Identifying Efflorescence vs Other Stains
Efflorescence is often mistaken for other types of stains on masonry surfaces, but it has distinct characteristics that set it apart. Efflorescence typically appears as a white, powdery deposit on the surface of bricks, concrete, or stone. It is water-soluble, meaning it can often be removed by lightly rubbing it with water or a brush. On the other hand, stains caused by mold, mildew, or algae usually have a darker color, such as green, brown, or black, and tend to feel slimy or textured when touched. Unlike efflorescence, these biological stains thrive in damp, shaded areas and require specific cleaning solutions to fully eliminate.
Additionally, rust stains caused by metal components or mineral deposits from hard water can be confused with efflorescence. Rust stains have a reddish-brown hue and are typically localized near metal fixtures or cracks in the surface. Identifying the exact type of stain is critical, as the cleaning methods and preventative measures vary widely depending on the cause. Proper identification ensures effective treatment without causing further damage to the material.
Needed Materials
To effectively remove efflorescence and prevent future occurrences, you will need the following materials:
- A Stiff Brush or Scrub Pad
- White Vinegar or a Commercial Stone Cleaner
- Warm Water
- Protective Gear (Gloves, Goggles)
- Soft Cloths or Rags
- Boiling Water (if Using White Vinegar)
- Sealant (Optional)
6 Simple Step-by-Step Guidelines on How to Stop Efflorescence on Garage Floor
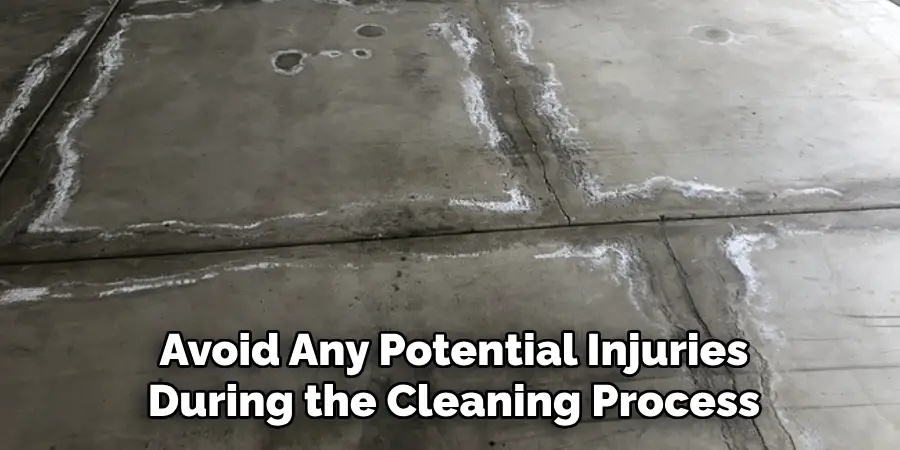
Step 1: Put on Protective Gear
Before you begin the process, ensure you are wearing appropriate protective gear. Gloves will protect your hands from cleaning solutions and abrasive materials, while goggles will shield your eyes from splashes.
Safety should always come first to avoid any potential injuries during the cleaning process.
Step 2: Sweep the Garage Floor
Start by thoroughly sweeping the entire garage floor to remove loose dirt, dust, and debris. Use a stiff-bristled broom for effective cleaning, ensuring you reach corners and crevices where particles might collect.
This step is crucial to prepare the surface for further treatment and to ensure that no debris interferes with the cleaning process.
Step 3: Wet the Floor
Once the floor has been thoroughly swept, it’s time to wet it down to loosen any remaining grime or stains. Use a garden hose with a spray nozzle to evenly dampen the surface, starting from the farthest corners and working your way toward the garage door.
Be sure to avoid oversaturating the floor, as excessive water may complicate the cleaning process. This step helps to break up tough residue and prepares the floor for scrubbing or washing with cleaning solutions.
Step 4: Mix Cleaning Solution
With the floor dampened, prepare your cleaning solution. Select a cleaner appropriate for the garage floor material, such as a degreaser for concrete or a mild detergent for sealed surfaces.
Follow the manufacturer’s instructions to mix the solution, diluting it with water in a large bucket if required. Be sure to wear gloves and take proper safety precautions when handling chemicals. Once the solution is ready, you are prepared to apply it to the floor for deep cleaning.
Step 5: Scrub the Floor
Using a stiff-bristled brush or a long-handled scrub mop, thoroughly scrub the garage floor to loosen dirt, stains, and grime. Focus on heavily soiled areas, applying extra pressure if needed.
For stubborn spots, you may need to use a smaller brush for precision scrubbing. Work in sections, ensuring that the cleaning solution spreads evenly and penetrates the surface. Periodically rinse the brush or mop in clean water to remove buildup and maintain effectiveness throughout the process.
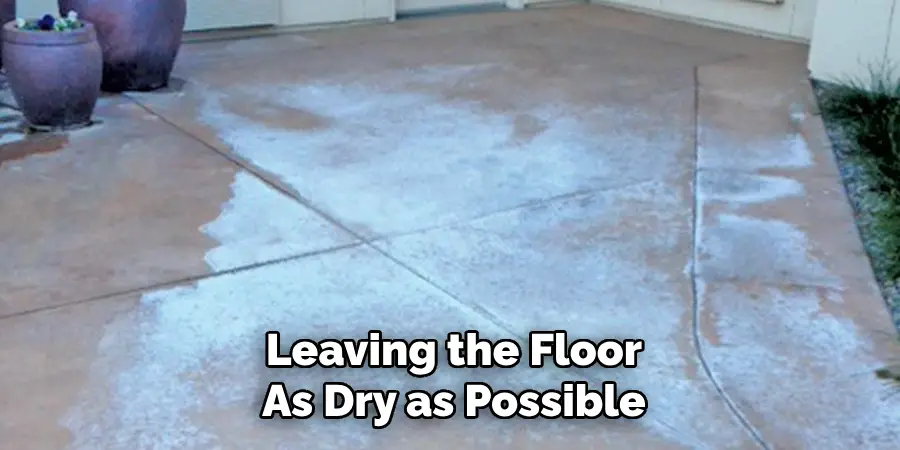
Step 6: Rinse Thoroughly
Once the scrubbing is complete, use a hose or a bucket of clean water to thoroughly rinse the garage floor. Start at the back of the garage and work your way towards the entrance to ensure all dirt and cleaning solution is washed away. Be sure to remove any residue, as leftover cleaner can leave streaks or slippery areas. For best results, use a mop or squeegee to guide excess water towards the drain or out of the garage, leaving the floor as dry as possible.
Following these steps on how to stop efflorescence on garage floor can help keep your garage floor looking clean and well-maintained. However, regular maintenance is key to preventing efflorescence from returning.
Additional Tips for Cleaning Garage Floors
- Consider using a sealant on your garage floor to prevent water and moisture from seeping through the concrete.
- Regularly sweep or vacuum your garage floor to remove any dirt, debris, or sand that can cause scratches and wear down the surface.
- Use a neutral pH cleaner specifically designed for cleaning concrete floors to avoid damaging the surface.
- To remove tough stains, use a degreaser or concentrated cleaner and follow the manufacturer’s instructions.
- Avoid using harsh chemicals such as bleach or ammonia, as they can damage your garage floor and contribute to efflorescence formation.
- If you notice cracks or uneven areas on your garage floor, repair them immediately to prevent further damage and potential efflorescence build-up.
- After cleaning and repairing your concrete garage floor, consider applying a sealant to protect the surface from future stains and damage.
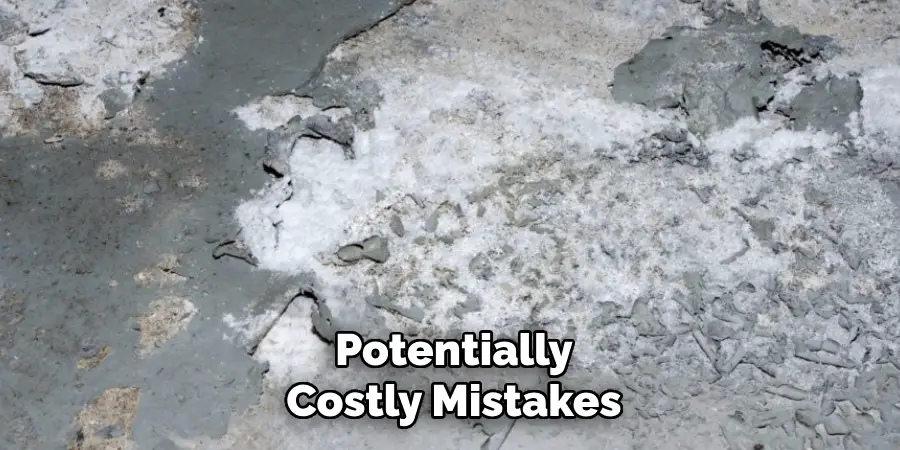
When to Call a Professional?
While regular maintenance and minor repairs can often be handled on your own, certain situations may require the expertise of a professional. If you notice persistent efflorescence that continues to return despite thorough cleaning and sealing efforts, this could indicate a deeper moisture issue that needs specialist attention.
Additionally, extensive cracks, significant structural damage, or uneven surfaces on your garage floor should be assessed and repaired by a professional to ensure safety and long-term durability. Professionals can also provide advanced sealing options and treatments to protect your garage floor from future problems. If you’re unsure about the best course of action, consulting an expert can save you time, effort, and potentially costly mistakes.
Frequently Asked Questions
Q1: Can I Paint My Garage Floor?
A: Yes, you can paint your garage floor. However, it is important to properly prepare the surface by cleaning and repairing any cracks or damage before painting. It is also recommended to use a durable, high-quality epoxy paint specifically designed for garage floors.
Q2: How Often Should I Clean and Maintain My Garage Floor?
A: The frequency of cleaning and maintenance will depend on the type of flooring you have in your garage and how much traffic it receives. Generally, it is recommended to do a deep cleaning every 3-6 months and spot clean as needed.
Q3: Will Sealing My Garage Floor Prevent Stains From Oil or Other Spills?
A: Yes, sealing your garage floor can help prevent stains from oil or other spills. The sealant creates a barrier between the surface of your floor and any liquids that may come in contact with it. This makes it easier to clean up spills without leaving behind permanent marks on your floor.
Q4: Are There Any Precautions I Should Take When Cleaning My Garage Floor?
A: Yes, there are some precautions you should take when cleaning your garage floor. First, make sure to wear protective gear such as gloves and goggles to avoid any potential skin irritation or eye injuries from harsh cleaning chemicals.

Conclusion
Maintaining and protecting your garage floor is essential for preserving its appearance and ensuring its longevity. By regularly cleaning your garage floor and taking the necessary precautions, you can prevent damage from spills, stains, and heavy use.
Investing in protective coatings or mats can further enhance durability and make cleanup much more manageable. With proper care, your garage floor will remain in excellent condition for years to come, providing a safe and functional space. Thanks for reading this article on how to stop efflorescence on garage floor.
I am Rick. I grew up helping my dad with his handyman service. I learned a lot from him about how to fix things, and also about how to work hard and take care of business. These days, I’m still into fixing things- only now, I’m doing it for a living.
I’m always looking for new ways to help people grow and develop. That’s why I have created this blog to share all my experience and knowledge so
that I can help people who are interested in DIY repair.