Did you know that you can sheetrock a garage? You can create a finished, insulated surface on the walls and ceiling of your garage by using standard drywall. In this blog post, we will show you how to sheetrock a garage. We will also provide tips for success. Let’s get started!
Summary: To Sheetrock a garage, start by measuring the walls and calculating the amount of material you’ll need. Next, install any necessary insulation and add a moisture barrier to prevent mold or mildew. Once the prep work is complete, begin hanging the drywall.
What Is Sheetrock in A Garage?
Sheetrock is a type of wallboard commonly used in the construction of residential and commercial buildings. It is made from gypsum, a mineral found in abundance in the earth’s crust.
Sheetrock is strong and durable, making it an ideal material for use in walls and ceilings. It is also easy to work with, making it a popular choice for do-it-yourselfers and professional contractors alike.
While sheetrock is most often used in the construction of indoor spaces, it can also be used in garages. When used in this setting, sheetrock helps create a barrier between the exterior elements and the garage’s interior. This can be beneficial in terms of both energy efficiency and noise reduction.
Why Should You Sheetrock a Garage?
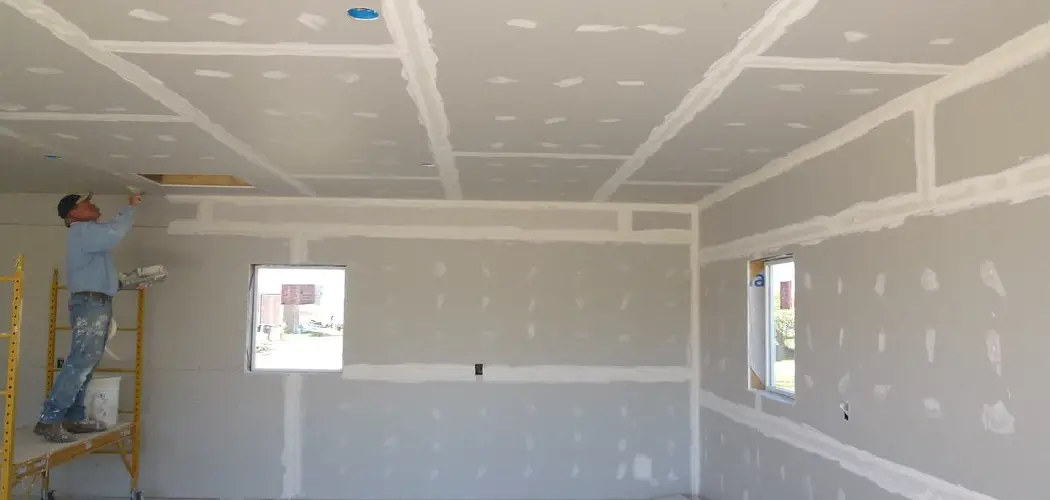
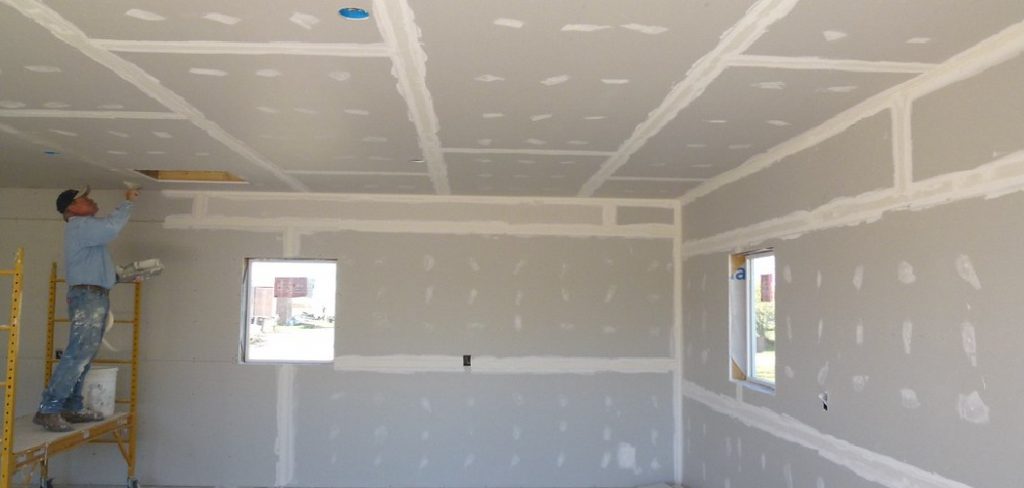
Sheetrocking a garage is a great way to improve its appearance and make it more functional. Sheetrocking can cover cracks and holes in the walls, making the garage look neater and more finished. It can also help insulate the garage, making it more comfortable to work in during hot or cold weather.
In addition, sheetrocking can provide a fire barrier between the garage and the house, preventing fires from spreading in the event of an accident. Overall, sheetrocking is a simple and effective way to improve safety and appearance.
Things You’ll Need
- Sheetrock
- Drywall screws
- Tape
- Knife
- Drill
- Hammer
- Level
- Square
How To Sheetrock A Garage Step by Step Guide
Step 1: Planning
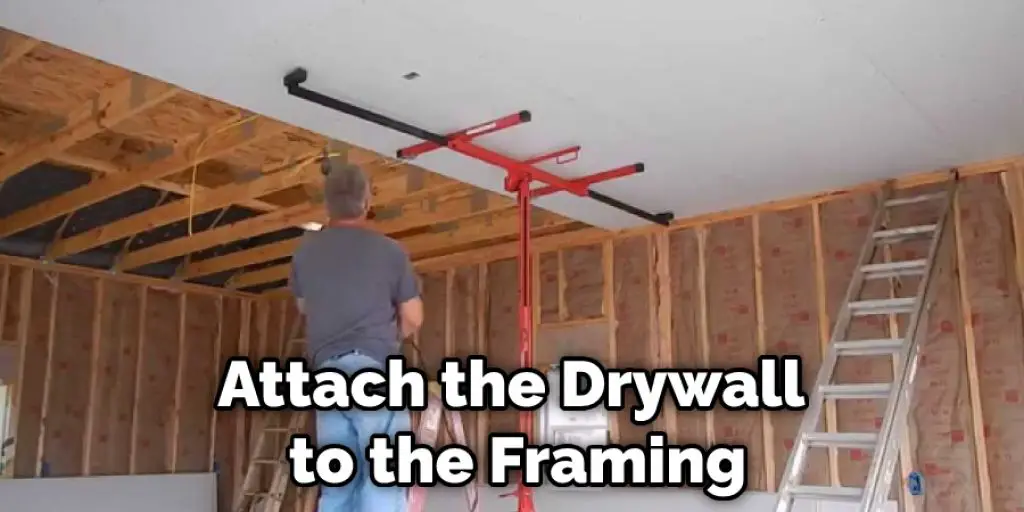
Planning is essential for a successful sheetrock project. You need to consider the size of the garage, how much material you will need, and how you will attach the drywall to the framing.
Step 2: Prepping
Now that you have all of your materials, it’s time to start prepping. The first step is to remove any existing drywall or paneling from the garage. You may need a pry bar or other tool to get started. If there are any fixtures or appliances in the way, such as shelving or cabinets, you’ll need to remove them.
Once the surface is clean, you’ll need to decide how you want to hang the sheetrock. If you have any exposed framing, you may want to use furring strips to give the drywall a more even surface to attach to. If other materials cover the framing, you can use screws or nails to attach the sheetrock directly to the studs.
Step 3: Framing
Now that the sheetrock is in place, it’s time to frame the garage. This will give it its shape and make it sturdy. First, measure the walls to find out how much lumber you need. Cut the lumber to size and then nail it into place. Make sure the frame is square before you start nailing.
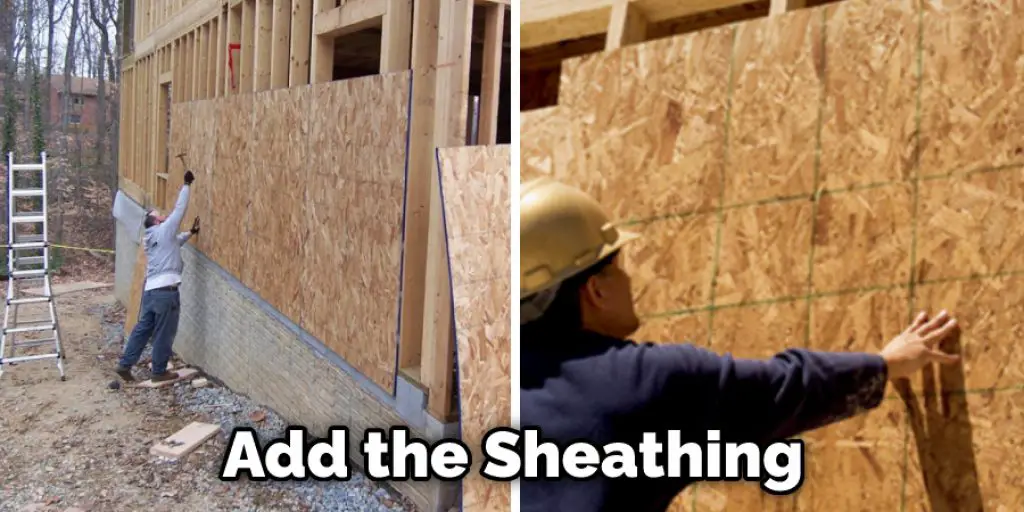
Once the frame is up, add the sheathing. The sheathing is a thin sheet of plywood that covers the frame and provides insulation. Nail it into place, and then trim the edges. Finally, add the siding. Siding can be made from various materials, such as wood, vinyl, or metal. Choose the material that best suits your needs and budget.
Step 4: Cutting
Now it’s time to cut the panels to size. You will want to measure the garage walls and then subtract about 1/4 inch from the measurements so that the panels will fit snugly against the wall. Use a straight edge and a sharp blade to cut the panels. Be sure to cut on a level surface, or you may have uneven panels.
Step 5: Priming
Now that your garage is ready for sheetrock, you’ll need to prime the walls before starting. This will help the sheetrock adhere to the surface and give you a smooth finish. Use a primer designed for concrete or masonry surfaces, and be sure to follow the manufacturer’s instructions. Once the primer has dried, you’re ready to install the sheetrock.
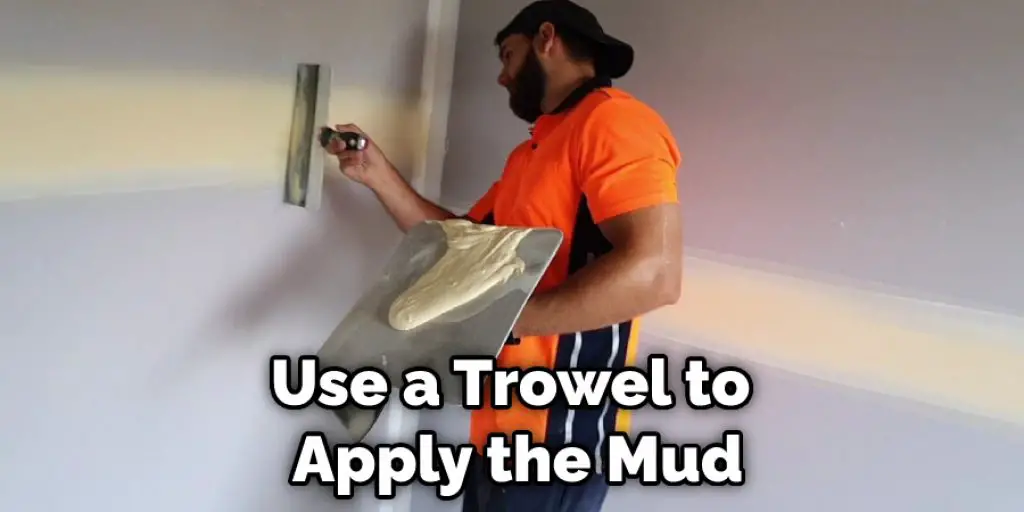
Step 6: Applying Mud
Now it is time to start applying the mud. You will want to start with the corners and then move on to the rest of the wall. Use a trowel to apply the mud, and then use a float to smooth it out. Ensure that you get all of the creases and bumps out so that your wall is nice and smooth.
Step 7: Sanding
Now that the sheetrock is up, it’s time for the sanding process. Use 220-grit sandpaper to sand the entire surface until it’s smooth. Wear a dust mask and goggles while sanding to avoid breathing in any dust or getting any in your eyes.
Step 8: Finishing
Once the sanding is complete, it’s time for the final steps. First, apply a coat of primer to the entire surface and then let it dry. Once the primer is dry, apply a coat of paint or other finish to the wall. Again, be sure to choose a finish designed for sheetrock surfaces.
Adding a garage to your home can be a great way to increase the value of your property and provide extra storage space. And that’s how to sheetrock a garage! Follow these simple steps, and you’ll be able to create a beautiful and durable garage wall.
How Much Does It Cost to Install Sheetrock?
Sheetrock Cost Per Square Foot
Sheetrock is a common material used to cover the walls and ceilings. It is durable, moisture-resistant, and easy to install. The cost to install sheetrock will vary depending on the size of the garage, the type and thickness of sheetrock, and the labor costs in your area.
On average, you can expect to pay between $0.50 and $1.50 per square foot for sheetrock installation. This includes both materials and labor costs. However, it is important to note that prices vary widely based on your location. Labor costs, in particular, can vary significantly from one area to the next.
If you are doing the installation yourself, you can expect to pay around $0.50 per square foot for materials. If you hire a professional installer, costs will typically be around $1.50 per square foot.
Cost to Hang Sheetrock
The cost to hang sheetrock will depend on how many square feet need to be covered. Most people charge between $0.50 and $1.50 per square foot.
Taping and mudding is the next step after hanging sheetrock. This is where the seams between the sheets are covered and made smooth. Most people charge between $0.75 and $1.25 per square foot for this task.
Average Cost to Hang and Finish Drywall Per Sheet
Cost to Texture Drywall
The cost to texture drywall is about $2 per square foot. This includes the cost of the drywall, the primer, and the texture. The cost of mud and tape drywall is $1.50 per square foot.
Drywall Contractors Prices
It is important to get an accurate quote for the drywall contractor’s prices. Some contractors may give you a lower price, but they may not do well. Ensure you get a quote in writing and ensure the contractor is insured and licensed.
Drywall Installation Cost Factors
The cost to install drywall will vary depending on the size of your project, the type of drywall you choose, and the labor costs in your area. Here are some things to consider when estimating the cost of installing drywall:
- Size of project – The larger the project, the more expensive it will be to install drywall.
- Type of drywall – Several types of drywall are available, including regular, moisture-resistant, and fire-resistant. The type of drywall you choose will affect the installation cost.
- Labor costs – Labor costs vary depending on your location. In general, the cost to install drywall is higher in large metropolitan areas than in rural areas.
When estimating the cost of installing drywall, include all of the costs associated with your project, including materials and labor. By taking these factors into account, you can get a more accurate estimate of how much it will cost to install drywall in your garage.
How to Sheetrock Older Homes
Garages in older homes were typically finished with a plaster finish. This type of finish is not very common today, but you may come across it if you want to purchase an older home. If this is the case, you will need to know how to sheetrock a garage. Here is a guide on how to do it:

- Remove the plaster finish. This can be done by scraping it off or using a chemical stripper.
- Clean the surface and make sure it is free of debris or dust.
- Cut the sheetrock to fit the size of the garage. Again, you may need to use more than one piece, depending on the size of the garage.
- Apply a coat of primer to the sheetrock.
- Apply a coat of joint compound to the seams and edges of the sheetrock.
- Sand the joint compound until it is smooth.
- Apply a second coat of joint compound if needed.
- Prime and paint the sheetrock.
You can also sheetrock the walls and ceiling of a garage if you choose to do so. Just follow the same steps, but make sure you measure the dimensions of the walls and ceiling before cutting the sheetrock.
Additional Upgrades
Once you have the sheetrock up, you may want to consider some additional upgrades. For example, a layer of insulation can help keep your garage cooler in the summer and warmer in the winter. You may also want to install some new lighting or add a ceiling fan to help circulate air.
Adding a door between the garage and house can also be a great way to improve insulation and keep the garage warmer in the winter. Whatever upgrades you choose, be sure to plan and allow for enough time to complete the work before you need to use your garage.
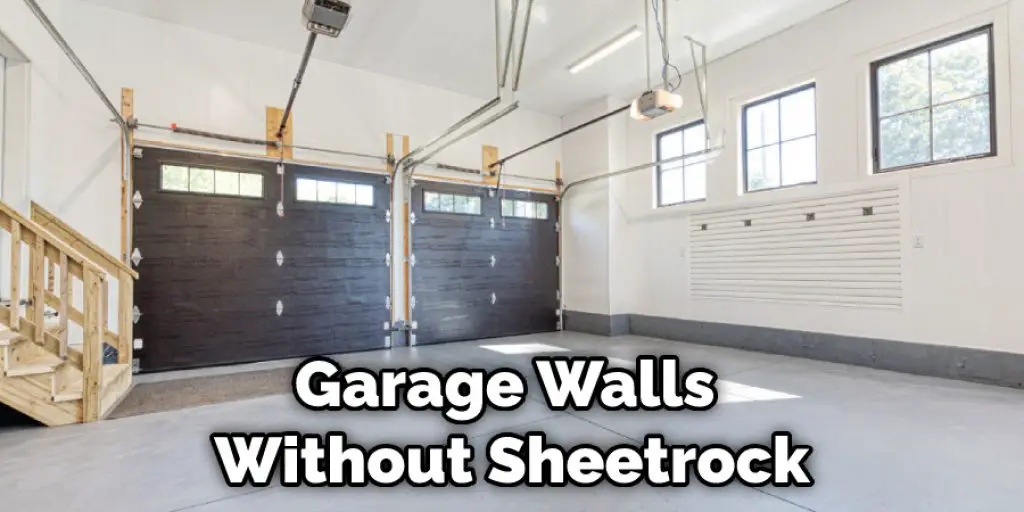
How to Finish Garage Walls Without Sheetrock?
If you’re looking for a way to finish your garage walls without sheetrock, you have a few options. One popular choice is to use paneling. Paneling comes in various materials, including wood, plastic, and metal, and can be found at most home improvement stores.
Another option is to use wallpaper. Wallpaper is available in a wide range of patterns and colors and can give your garage walls a finished look without sheetrock. Finally, if you’re willing to put in more work, you can always paint your garage walls. This will give you the most customized look and allow you to choose the exact color and finish that you want.
Whichever option you choose, follow the instructions carefully and take your time. A sloppy job will only end up looking worse in the end. Keep reading for more information about how to sheetrock a garage.
What’s the Difference Between Sheetrock and Plaster?
Sheetrock is a brand name for gypsum wallboard. It is a manufactured product made of an inorganic compound called gypsum. The board is created by pressing the gypsum between two sheets of paper.
Plaster is a material that is used to cover walls and ceilings. It is made from a mixture of lime, water, and sand. The plaster is applied in a thin layer over the wall or ceiling.
The main difference between sheetrock and plaster is that sheetrock is a manufactured product, while the plaster is a mixture of combined materials to create a finished product. Sheetrock is also easier to install than plaster because it does not require much skill. Plaster is also more durable than sheetrock.
Frequently Asked Question
How Do I Calculate How Much Sheetrock Need?
To calculate how much drywall you need, measure the height and width of your garage and multiply those two numbers together. Then subtract 10 percent from that number to account for waste. That’s how many square feet of drywall you need.
Do You Need a Permit to Install Sheetrock?
No, you do not need a permit to install drywall. However, it is always best to consult your local municipality to ensure you follow all necessary regulations.
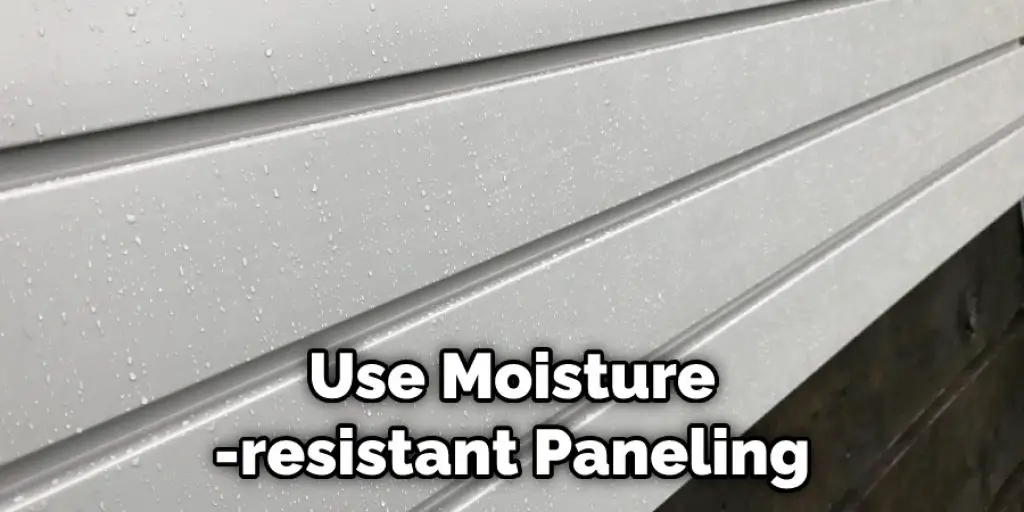
Should I Sheetrock My Garage?
There is no definitive answer to this question. You may want to consider how much insulation your garage currently has, how often you use the garage, and what the climate is like in your region. If you decide to sheetrock your garage, use moisture-resistant paneling such as drywall or cement board.
Conclusion
So, there you have it – a comprehensive guide on how to sheetrock a garage. By following these simple steps, you can create a sturdy and attractive finished product that will add value to your home. Have fun with it and take your time; after all, this is a DIY project that you’ll be proud of for years to come.
You May Also Read: How to Install a Urinal in Your Garage
I am Rick. I grew up helping my dad with his handyman service. I learned a lot from him about how to fix things, and also about how to work hard and take care of business. These days, I’m still into fixing things- only now, I’m doing it for a living.
I’m always looking for new ways to help people grow and develop. That’s why I have created this blog to share all my experience and knowledge so
that I can help people who are interested in DIY repair.