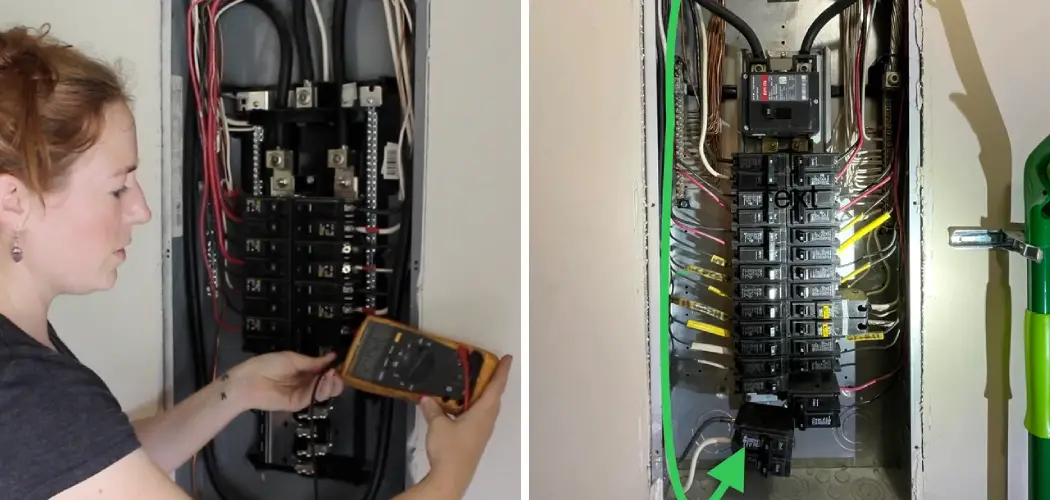
Running 220V to your garage can significantly enhance your electrical capabilities, allowing you to power heavy-duty tools and appliances that might be essential for various projects.
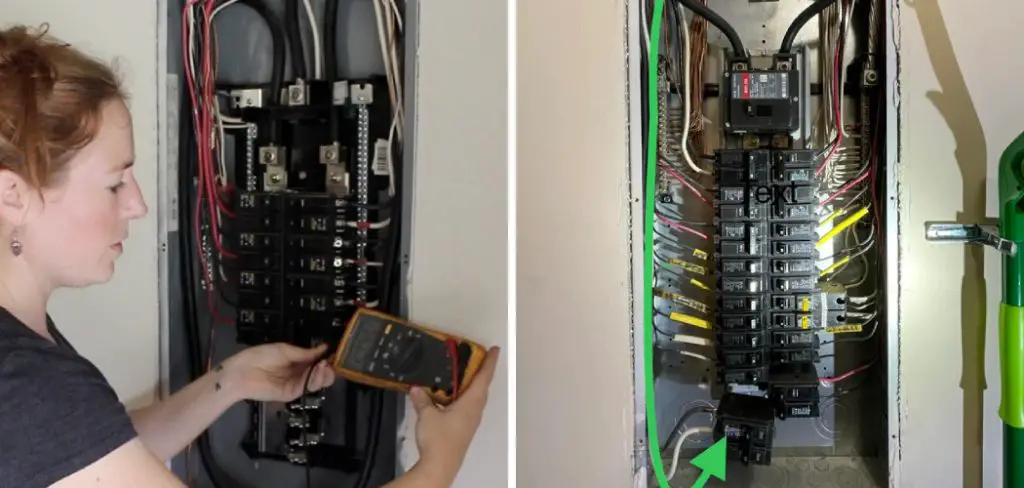
Whether you’re looking to set up a workshop, install an electric car charger, or simply improve the functionality of your garage space, understanding the process of wiring and connecting a 220V circuit is crucial.
This guide will walk you through how to run 220v to garage, safety precautions, and best practices to ensure a successful installation, helping you transform your garage into a more versatile and efficient area.
Benefits of Running a 220V Line to a Garage
Installing a 220V line in your garage offers numerous advantages. Firstly, it allows the use of more powerful equipment, such as air compressors, welders, and heavy-duty power tools, which typically require a higher voltage to operate efficiently.
This capability can significantly enhance your ability to complete complex projects and renovations. Additionally, a 220V line can improve energy efficiency; appliances designed for 220V often consume less current than those wired for 110V, which can lead to lower electricity bills in the long run.
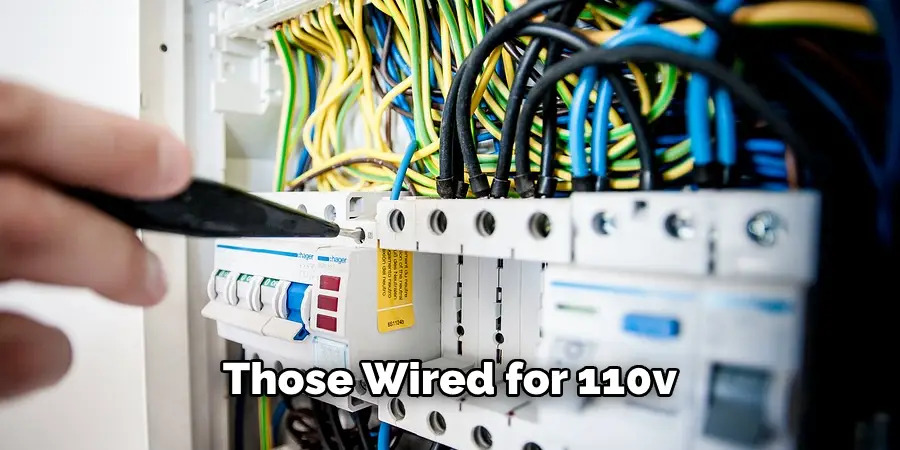
Moreover, having a dedicated 220V circuit ensures that you won’t overload existing circuits in your home, thereby reducing the risk of tripped breakers and potential electrical hazards.
This installation also adds to the overall value of your property, making it more attractive to future buyers who may appreciate the added functionality of a well-equipped garage. Ultimately, running a 220V line enhances both the efficiency and safety of your garage workspace, providing a solid foundation for any DIY enthusiast or professional tradesperson.
Understanding 220V Electrical Systems
To effectively run 220V to your garage, it’s essential to grasp the basics of 220V electrical systems. Unlike the more common 110V systems that power most household outlets, a 220V circuit typically consists of two hot wires and one ground wire.
The two hot wires carry a higher voltage and are responsible for delivering more power, which enables the operation of heavy-duty equipment. In North America, standard 220V outlets often use a 3-prong or 4-prong configuration depending on whether a dedicated ground is required.
When working with 220V systems, understanding the importance of circuit breakers is crucial. A double-pole breaker is necessary to safely manage the increased load and protect your system from overloads.
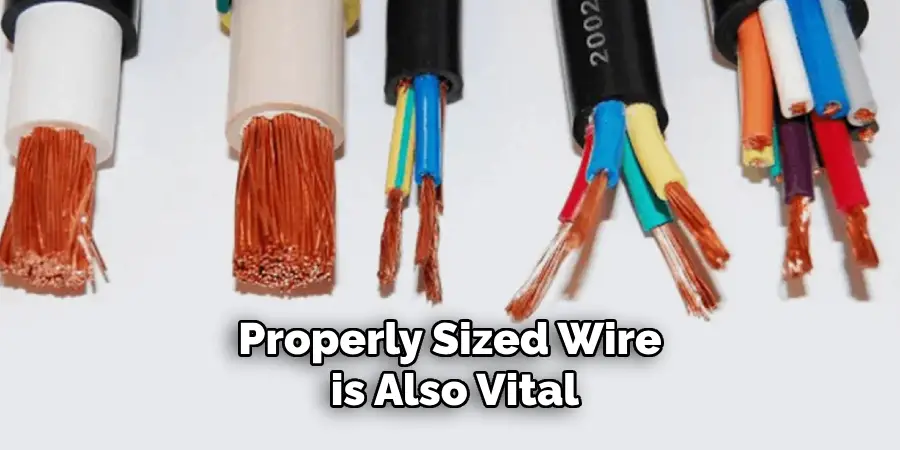
Properly sized wire is also vital; typically, a minimum of 10-gauge wire is recommended for 30-amp circuits, while 8-gauge may be needed for higher amperages. Familiarising yourself with local electrical codes and regulations is paramount to ensure that your installation meets safety standards and is compliant with requirements, ultimately safeguarding your home and workshop.
10 Methods How to Run 220v to Garage
1. Plan the Installation
Before starting the installation process, thorough planning is essential. Determine the power requirements for your garage and assess the current electrical capacity of your home. Decide on the location for the 220V outlet in the garage and the most efficient route for running the wiring from your main electrical panel. Accurate planning helps avoid potential issues and ensures that the installation meets your specific needs.
2. Obtain Necessary Permits

Running a 220V line often requires a permit from your local building authority. Check with your local codes and regulations to ensure compliance. Permits ensure that your installation adheres to safety standards and electrical codes, preventing potential hazards and ensuring the work is inspected and approved by a qualified inspector.
3. Shut Off Power
Safety is paramount when working with electrical systems. Before beginning any electrical work, shut off the power to the area where you will be working. Locate the main circuit breaker in your electrical panel and turn off the power. Verify that the power is off using a voltage tester to ensure there is no live current in the wires you’ll be working with.
4. Install a New Circuit Breaker
In your main electrical panel, you will need to install a new double-pole circuit breaker to accommodate the 220V line. This breaker will control the power supply to your garage. Select a breaker with the appropriate amperage rating based on your power needs. Carefully follow the manufacturer’s instructions to install the breaker, ensuring it is securely mounted and properly connected to the panel.
5. Run Electrical Wiring
Choose the appropriate gauge of electrical wire for your 220V line. Typically, 10-gauge wire is used for a 30-amp circuit, while 8-gauge wire is used for a 40-amp circuit. Run the wire from the main electrical panel to the garage, ensuring it is protected and properly routed. Use conduit or cable protectors where necessary to shield the wire from damage. Secure the wiring with staples or clips, following local electrical codes.
6. Install a Subpanel in the Garage
If you need to distribute power to multiple outlets or appliances in the garage, installing a subpanel may be beneficial. A subpanel acts as an extension of your main electrical panel, allowing you to add additional circuit breakers. Mount the subpanel on a wall in the garage, ensuring it is easily accessible. Connect the 220V wiring from the main panel to the subpanel, following the manufacturer’s guidelines.
7. Install a 220V Outlet
In the garage, install a 220V outlet where you need it. Use an electrical box that is rated for the type of outlet you’re installing. Connect the wiring to the outlet according to the color-coded wiring diagram: typically, black and red wires are connected to the hot terminals, the white wire to the neutral terminal, and the bare or green wire to the ground terminal. Secure the outlet in the electrical box and attach the cover plate.
8. Test the Circuit
After completing the installation, it’s crucial to test the circuit to ensure everything is working correctly. Turn the power back on at the main circuit breaker and check the new 220V circuit breaker to make sure it is in the ‘on’ position. Use a voltage tester or a multimeter to verify that the outlet is providing the correct voltage. Test any connected appliances or tools to ensure they are receiving power and operating properly.
9. Inspect the Installation
Have your installation inspected by a licensed electrician or your local building authority, especially if it was required by permit. An inspection ensures that the work meets safety standards and electrical codes. The inspector will check the connections, wiring, and installation practices to ensure everything is properly installed and functioning safely.
10. Perform Regular Maintenance
Once the 220V line is installed and operational, perform regular maintenance to ensure its continued safety and performance. Periodically check the wiring, outlets, and breakers for signs of wear or damage. Keep the area around the electrical panel and outlets clean and free from obstructions. Address any issues promptly to prevent potential hazards and ensure the electrical system remains in good working condition.
Things to Consider When Running 220V to Garage
1. Load Capacity
Before proceeding with the installation, carefully calculate the total load your garage will require. Include all tools, appliances, and any future usage in your calculations to ensure that the circuit can handle the demand without tripping breakers or causing overheating.
2. Future Expansion
Consider potential future needs for additional outlets, appliances, or power tools when planning your wiring layout. It may be beneficial to run extra wiring or install a larger subpanel to accommodate future expansions without requiring extensive additional work.
3. Local Electrical Codes
Always familiarize yourself with local electrical codes and standards. These regulations can vary significantly based on your location and are designed for safety and compliance. Adhering to these codes not only ensures safety but can also be a requirement for home insurance policies.
4. Environmental Factors
Evaluate environmental conditions in your garage. If the area is prone to moisture, ensure that you use appropriate weather-resistant components. Properly sealing and insulating the wiring can protect against potential damage caused by humidity or extreme temperatures.
Common Mistakes to Avoid
1. Neglecting Safety Protocols
One of the most critical mistakes to avoid is overlooking safety measures. Always ensure that the power is off before starting work and double-check with a voltage tester. Failing to do so can lead to electric shock or injury.
2. Using Incorrect Wire Gauges
Choosing the wrong wire gauge can result in overheating and potential fire hazards. It’s essential to adhere to the correct specifications based on the amperage of your circuit to ensure safety and efficiency.
3. Poorly Securing Wiring
Improperly secured wiring can lead to damage and create safety risks. Always use appropriate staples, clips, or conduit to protect and route the wiring correctly.
4. Inadequate Load Calculation
Failing to accurately assess the total load capacity can cause circuit overload, leading to tripped breakers or even electrical fires. Consider both current and future equipment needs when planning your installation.
Conclusion
Installing a 220V electrical line in your garage can greatly enhance its functionality, enabling you to power heavy-duty tools and appliances with ease.
By following the outlined steps, considering essential factors, and avoiding common pitfalls, you can ensure a safe and effective installation. Always prioritise safety and compliance with local electrical codes, and don’t hesitate to consult with or hire a licensed electrician if you’re unsure about any aspect of the process. Thanks for reading, and we hope this has given you some inspiration on how to run 220v to garage!
I am Rick. I grew up helping my dad with his handyman service. I learned a lot from him about how to fix things, and also about how to work hard and take care of business. These days, I’m still into fixing things- only now, I’m doing it for a living.
I’m always looking for new ways to help people grow and develop. That’s why I have created this blog to share all my experience and knowledge so
that I can help people who are interested in DIY repair.

