
Is your garage door looking a little worse for wear? Does the paint seem faded, and you don’t know how to restore it? Fear not, because this blog post is here to help! In just a few simple steps, you can have your garage door look as good as new in no time. So what are you waiting for? Read on to find out more about how to restore faded garage door.
Summary: If you’re tired of looking at your faded garage door, there’s good news: it’s possible to restore its original color and shine without having to replace the door altogether. The first step is thoroughly cleaning the door to remove dirt or grime buildup. Be sure to let each coat dry fully before applying the next, and use a high-quality paintbrush or roller for the best results.
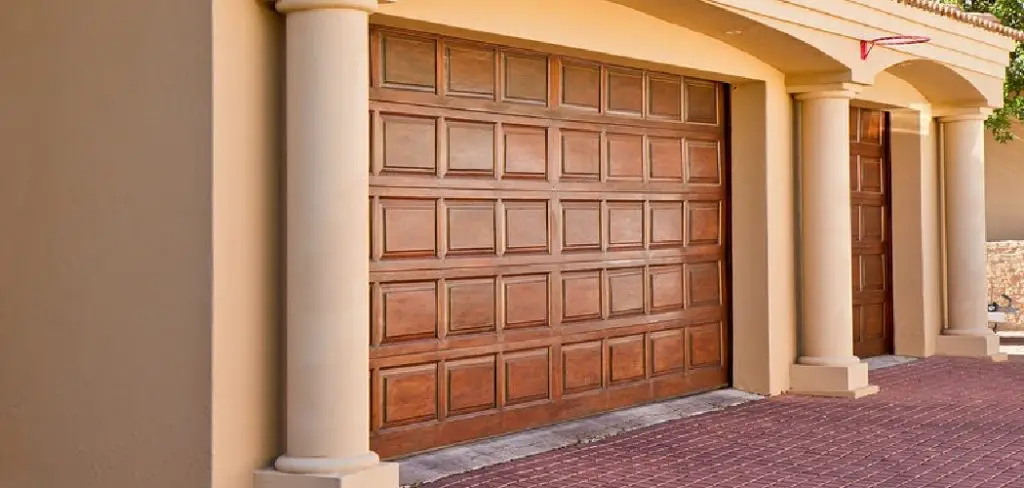
What Is a Faded Garage Door?
A garage door is one of the largest moving parts in your home, and it needs to be properly maintained to function properly. Over time, sun and rain can damage the door, causing it to fade and become brittle. In addition, the hardware on the door can become corroded, making it difficult to open and close.
If you notice any of these problems, it’s important to have a professional service at the door as soon as possible. A faded garage door is not only unsightly but can also be dangerous. The faded door may not provide adequate protection from the elements, and the hardware may fail, leading to a broken door or an accident.
By having your garage door serviced regularly, you can avoid these problems and keep your family safe.
Why Should You Restore Faded Garage Door?
Faded garage doors are an eyesore. They make your home look old and rundown and can detract from its curb appeal. Moreover, faded doors can be difficult to see in low light, making them a safety hazard. If you have a faded door, it’s important to restore it to its original color.
Doing so will not only improve the look of your home but will also increase its value. In addition, restoring a faded door is a relatively simple process that can be completed in a few hours. With a little effort, you can give your home a new look that will enhance its curb appeal and increase its value.
How to Restore Faded Garage Door in Six Easy Steps
Step 1: Assess the Condition of the Garage Door
Begin by assessing the condition of your garage door. Check for signs of fading, peeling paint, or damaged panels. If the door is in good condition aside from the fading, it can be restored. However, if the door is in poor condition, it might be more cost-effective to consider replacing it.
Step 2: Clean the Garage Door
Before restoring the faded garage door, it is essential to clean it thoroughly. Using a bucket of warm water mixed with a mild detergent, wash the door using a soft sponge or cloth. Be sure to remove any dirt, grime, or debris that may be present on the surface. Rinse the door thoroughly with clean water and allow it to dry completely.
Step 3: Remove Loose or Peeling Paint
If there is any loose or peeling paint on the garage door, use a scraper or sandpaper to remove it. Be gentle during this process to avoid damaging the underlying surface. Remove as much of the old paint as possible to ensure a smooth and even finish when repainting the door.
Step 4: Sand the Door
To ensure proper paint adhesion, sand the entire surface of the garage door using medium-grit sandpaper. This will help create a smooth surface for the new paint to adhere to and promote a more even finish. After sanding, use a tack cloth or damp rag to remove any dust or debris from the door’s surface.
Step 5: Apply Primer
Before applying paint to the garage door, it’s crucial to apply a primer coat. The primer helps the paint adhere better to the surface and provides a protective barrier against weather and other elements. Choose a primer specifically designed for garage doors or the material your door is made from (e.g., metal, wood, or fiberglass). Using a paintbrush or roller, apply a thin and even coat of primer to the door, ensuring full coverage. Allow the primer to dry completely, following the manufacturer’s recommended drying time.
Step 6: Choose the Right Paint
When selecting paint for your garage door, choose a high-quality exterior paint designed for the door’s material. Additionally, consider selecting a paint with UV protection to help prevent future fading. Opt for a color that complements your home’s exterior and adheres to any homeowner’s association guidelines, if applicable.
Step 7: Apply the Paint
Once the primer has dried, it’s time to apply the paint. Using a paintbrush, roller, or paint sprayer, apply a thin and even coat of paint to the garage door. Be sure to use smooth, consistent strokes to avoid drips and uneven coverage. Allow the first coat of paint to dry completely, following the manufacturer’s recommended drying time.
Step 8: Apply Additional Coats
After the first coat of paint has dried, assess the coverage and determine if additional coats are necessary. If the color appears uneven or if the primer is still visible, apply a second coat of paint. Allow each coat to dry completely before applying the next. Repeat this process until the desired coverage and color intensity are achieved.
Step 9: Reinstall Hardware and Weatherstripping
Once the paint has dried, reinstall any hardware or weatherstripping that was removed during the restoration process. Ensure all components are securely fastened and functioning properly.
Step 10: Maintain the Garage Door
To prolong the life of your restored garage door, it’s essential to perform regular maintenance. This includes cleaning the door regularly, inspecting the hardware and weatherstripping for wear, and touching up the paint as needed. By maintaining your garage door, you can help prevent future fading and ensure it remains in excellent condition for years to come.
By following these steps, you can effectively restore a faded garage door, giving it a fresh, revitalized appearance that enhances your home’s curb appeal. Keep in mind that patience and attention to detail are essential to achieving a professional-looking finish. Remember to maintain the door regularly and address any signs of wear or damage promptly to ensure its longevity and maintain its newly restored appearance.
Step 11: Seal the Paint (Optional)
For added protection and durability, you may choose to apply a clear sealer to the garage door after the paint has dried. This can help protect the paint from weather, UV exposure, and other potential sources of damage. Select a sealer that is compatible with the type of paint you used and follow the manufacturer’s instructions for application.
Step 12: Inspect the Garage Door System
While restoring the garage door’s appearance, it’s also a good opportunity to inspect the garage door system for any potential issues. Check the tracks, rollers, springs, and cables for any signs of wear or damage, and make any necessary repairs or replacements to ensure the garage door operates smoothly and safely.
Step 13: Properly Dispose of Materials
When you’ve completed the garage door restoration project, be sure to dispose of any used paint, primer, and other materials properly. Check with your local waste management facility for specific guidelines and requirements for proper disposal.
Step 14: Enjoy Your Restored Garage Door
With the restoration complete, take a moment to step back and admire your refreshed garage door. By following these steps and investing time and effort into the restoration process, you’ve not only improved the appearance of your garage door but also potentially extended its lifespan and increased your home’s overall curb appeal.
Restoring a faded garage door involves cleaning the door, removing loose paint, sanding the surface, applying primer and paint, reinstalling hardware and weatherstripping, and performing regular maintenance. By following these steps and investing in high-quality materials, you can successfully restore your garage door’s appearance and ensure its continued functionality and longevity.
What Are Some of The Benefits of Restoring a Faded Garage Door?
A garage door is one of the first things people see when they look at your home. Unfortunately, if it’s faded and damaged, it can give your whole home a run-down appearance. However, restoring a garage door is not just about improving curb appeal. Several practical benefits can also be gained from giving your garage door a makeover.
For instance, a new coat of paint can help protect the door from weather damage and increase its lifespan. A fresh coat of paint can also make it easier to open and close the door and improve insulation. In addition, restoring a faded garage door can add value to your home if you ever decide to sell.
With so many benefits to be gained, there’s no reason not to give your garage door a little TLC.
Tips for How to Keep Your Garage Door Looking New
The garage door is one of the most important parts of your home. Not only does it provide security and protection from the elements, but it also makes a major style statement. If your garage door looks worn or outdated, it can impact the curb appeal of your entire property.
Fortunately, you can follow a few simple tips to keep your garage door looking its best. First, make sure to clean it regularly with soap and water. This will help to remove any built-up dirt and grime. Second, inspect the door for any signs of damage, and repair any Hector’s Garage Door Service as soon as possible.
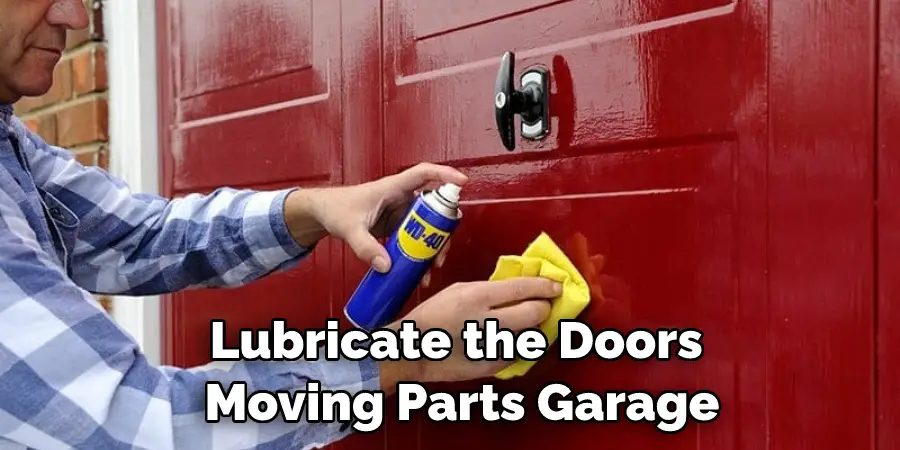
Finally, be sure to lubricate the door’s moving parts regularly to prevent rusting and ensure smooth operation. By following these simple tips, you can keep your garage door looking new for years to come.
Conclusion
Garage door restoration is a great way to improve the look and feel of your home while also increasing its value. If you’re thinking about restoring your garage door, follow these steps to get the best results. Thanks for reading our post about how to restore faded garage door.
I am Rick. I grew up helping my dad with his handyman service. I learned a lot from him about how to fix things, and also about how to work hard and take care of business. These days, I’m still into fixing things- only now, I’m doing it for a living.
I’m always looking for new ways to help people grow and develop. That’s why I have created this blog to share all my experience and knowledge so
that I can help people who are interested in DIY repair.