
Are you experiencing an issue opening and closing your garage door with the current opener? If so, then you may have just pulled the emergency red cord on your device. While this action can result in rapid relief of any stuck circuit boards or misaligned safety sensors, it also will need to be reset in order to get back up and running.
Luckily, resetting a garage door opener after pulling the emergency red cord is not that difficult – all it takes are some simple troubleshooting steps and you’ll be able to restore normal function safely without needing additional help from a professional. Keep reading for more helpful information on how to reset garage door opener after pulling red cord and get back to using your garage door in no time!
Step-by-step Guidelines on How to Reset Garage Door Opener After Pulling Red Cord
Step 1: Identify the Type of Garage Door Opener
Before you start troubleshooting, it’s important to know what type of opener you have. There are three common types: chain drive, belt drive, and screw drive. The process for resetting each one may vary slightly, so make sure to reference your owner’s manual for specific instructions. Identifying the type of opener will also help you locate the reset button, which can be found on the motor unit attached to the ceiling.
Step 2: Unplug and Wait
The first thing you’ll want to do is unplug your garage door opener from its power source. This will ensure that no electricity is flowing through the device while you are resetting it. Additionally, it’s important to wait for a few minutes before plugging it back in. This will allow any circuits that may have been tripped to reset and prevent further issues.
Step 3: Locate the Reset Button
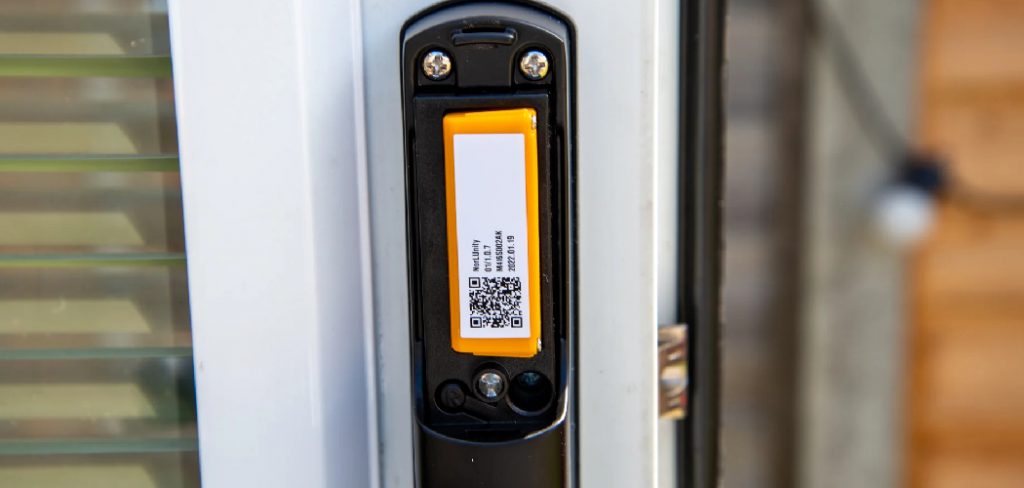
Once you’ve waited a few minutes, locate the reset button on your garage door opener. It is typically red and can be found near the motor unit attached to the ceiling. It may be labeled as “reset” or have a small button icon on it. Mostly, the reset button is located on the back of your device, but it may also be found on the front or side.
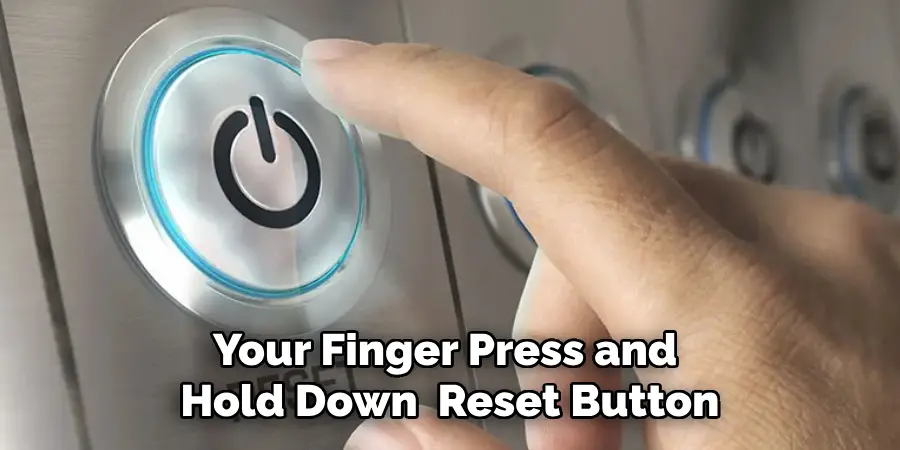
Step 4: Press and Hold the Reset Button
With your finger, press and hold down the reset button for a few seconds. This will trigger your garage door opener to go into “programming” mode. Keep holding the button until you see the small LED light on your device start flashing. Once it starts flashing, you can release the button and continue to the next step.
Step 5: Test Your Garage Door
Now that you have reset your garage door opener, it’s time to test it out. Plug the device back in and try opening and closing your garage door with the remote control or wall switch. If it works correctly, then you have successfully reset your garage door opener after pulling the red cord. Make sure to check the safety sensors and other components to ensure they are functioning properly as well.
Step 6: Realign Safety Sensors
If your garage door isn’t working properly after resetting the opener, it may be due to misaligned safety sensors. Make sure they are both facing each other and that there is nothing blocking their path. You may also need to clean the sensors with a soft, dry cloth. Once they are properly aligned and free from debris, try opening and closing your garage door again.
Step 7: Call a Professional
If you have followed all of these steps but your garage door is still not functioning correctly, it may be time to call a professional for assistance. They will be able to diagnose any potential issues and provide a solution to get your garage door back in working order. You may also want to consider regular maintenance for your garage door opener to prevent future problems.
Following these simple steps should help you successfully reset your garage door opener after pulling the red cord. Remember to always read your owner’s manual for specific instructions and safety precautions, and don’t hesitate to call a professional if needed.
With proper maintenance and troubleshooting, your garage door opener will continue to provide reliable function for years to come. So, go ahead and give it a try – your garage door will thank you! Happy resetting!
Additional Tips and Tricks to Reset Garage Door Opener After Pulling Red Cord
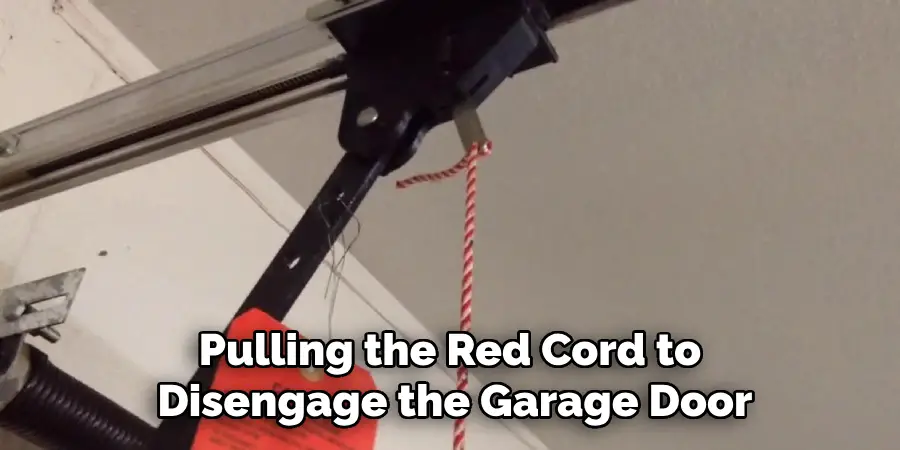
1. When pulling the red cord to disengage the garage door opener, make sure to do so with caution. Pulling it too hard or at an angle can cause damage to the cord and spring mechanism.
2. If you encounter any difficulties while resetting your garage door opener, refer to the owner’s manual for troubleshooting tips. It is always recommended to follow manufacturer instructions for optimal performance.
3. It is important to regularly maintain your garage door opener and its components to prevent any potential issues. This includes lubricating moving parts, checking for loose bolts or screws, and replacing worn-out parts when necessary.
4. For added convenience, consider installing a keypad entry system for your garage door opener. This eliminates the need for a physical key or remote control, making it easier to reset the opener in case of emergencies.
5. In some cases, pulling the red cord may not fully disengage the garage door opener and you may still need to manually lift the door. In such situations, make sure to have someone help you as garage doors can be heavy and difficult to maneuver alone.
6. If you frequently experience power outages in your area, consider investing in a backup battery for your garage door opener. This will ensure that you can still open and close your garage door even during power outages.
7 . Lastly, if you are unsure about how to reset your specific model of garage door opener or encounter any major issues, it is best to consult a professional technician. They have the necessary knowledge and expertise to safely and effectively reset your garage door opener.
Following these additional tips and tricks will help you reset your garage door opener after pulling the red cord with ease and avoid any potential complications. Remember to always prioritize safety and proper maintenance to ensure the longevity of your garage door opener. So keep these in mind, stay safe, and enjoy the convenience of a well-functioning garage door opener!
Precautions Need to Be Followed for Resetting the Garage Door Opener After Pulling the Red Cord
1. Before resetting your garage door opener, ensure that all objects and people are clear of the door’s path.
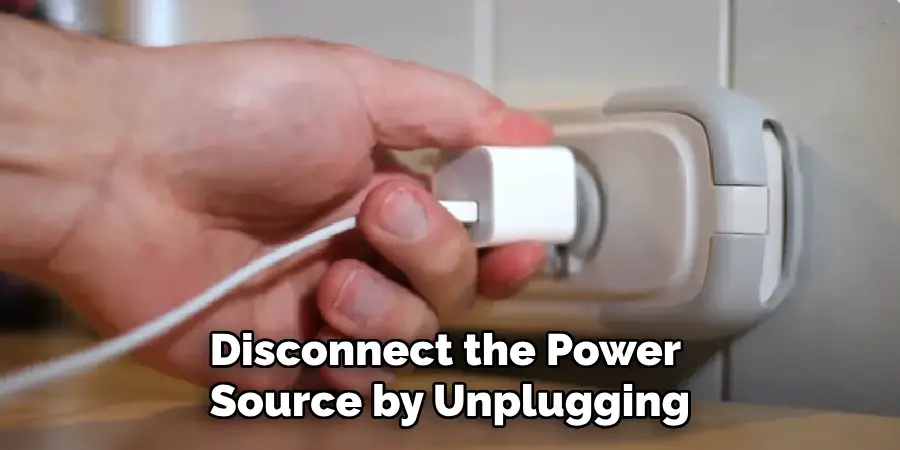
2. Disconnect the power source by unplugging the opener from its outlet or turning off the circuit breaker that powers it.
3. Wait for a couple of minutes before plugging in the opener or turning on the circuit breaker again. This will give time for any built-up electrical charge to dissipate.
4. Once the opener is reconnected to power, test the door by opening and closing it manually. This will ensure that the red cord was pulled successfully and that the opener.
5. If your garage door has a manual lock installed, make sure to unlock it before attempting to use the opener again.
6 . Check for any visible damage or wear on the opener’s mechanism or the garage door itself, and address any issues before using the opener again.
7. If you are unsure of how to reset your specific model of garage door opener, refer to the manufacturer’s manual for detailed instructions.
By following these precautions, you can ensure a safe and successful reset of your garage door opener after pulling the red cord. It is always better to take preventive measures and avoid any potential accidents or damage to your property. Remember to use caution and common sense when dealing with any electrical equipment. Safety should always be the top priority when handling garage doors and their openers.
Frequently Asked Questions
What is a Garage Door Opener?
A garage door opener is an electric motorized device that operates the opening and closing of your garage door. It contains a remote control, which you can use from inside your car or outside the garage to open or close the door. The opener is connected to a track on the garage ceiling that pulls the door up and down.

What is the Red Cord?
The red cord, also known as the emergency release rope, is a mechanism that allows you to manually open and close your garage door in case of a power outage or if your remote control malfunctions. It disengages the trolley from the opener carriage, allowing you to move the door manually.
Why Would You Need to Pull the Red Cord?
There are a few reasons why you might need to pull the red cord on your garage door opener. One of the most common reasons is a power outage or if your remote control stops working. In these situations, you can use the emergency release rope to manually open and close your garage door.
Conclusion
In conclusion, resetting your garage door opener is relatively simple if you know the steps to take. If the main power has gone out or the manual red cord was pulled, it’s possible to reset this unit right away. By pressing either the orange or yellow learn button, you can initiate the reset process. Your rolling code opener should now be restored and ready for use again.
Be sure to hold down on just one of those buttons, and never simultaneously press both! And voila! You’ve successfully learned how to reset garage door opener after pulling red cord. Who knew tackling it yourself would be this easy? It’s time for you to enjoy having a fully functional garage door system once again!
I am Rick. I grew up helping my dad with his handyman service. I learned a lot from him about how to fix things, and also about how to work hard and take care of business. These days, I’m still into fixing things- only now, I’m doing it for a living.
I’m always looking for new ways to help people grow and develop. That’s why I have created this blog to share all my experience and knowledge so
that I can help people who are interested in DIY repair.