
The garage door sensor, a vital component of your home security and convenience, ensures that your garage door operates safely and effectively. Over time, these sensors may become faulty, leading to issues such as the door not closing properly or reversing unexpectedly.
When confronted with a malfunctioning garage door sensor, knowing how to replace it is essential to maintain the safety and functionality of your garage. In this article, we will walk you through the process of how to replace garage sensor, offering a comprehensive guide to help you tackle this task with confidence.
From identifying the problem and choosing the right replacement sensor to step-by-step installation instructions and safety precautions, we will provide you with the knowledge and guidance needed to ensure your garage door operates smoothly and securely. Whether you’re a seasoned DIY enthusiast or a first-time homeowner, this article will equip you with the skills to address this common garage door issue effectively.
Importance of Garage Door Sensors for Safety
Garage door sensors play a crucial role in ensuring the safety and security of your home. These sensors are responsible for detecting any movement or obstruction in the path of the garage door, preventing it from closing on someone or something.
Without functioning garage door sensors, there is a risk of accidents and injuries occurring. This is especially true for households with children or pets who may not be aware of the danger posed by a closing garage door. In addition, malfunctioning sensors can also lead to damage to your vehicle or other belongings stored inside the garage.
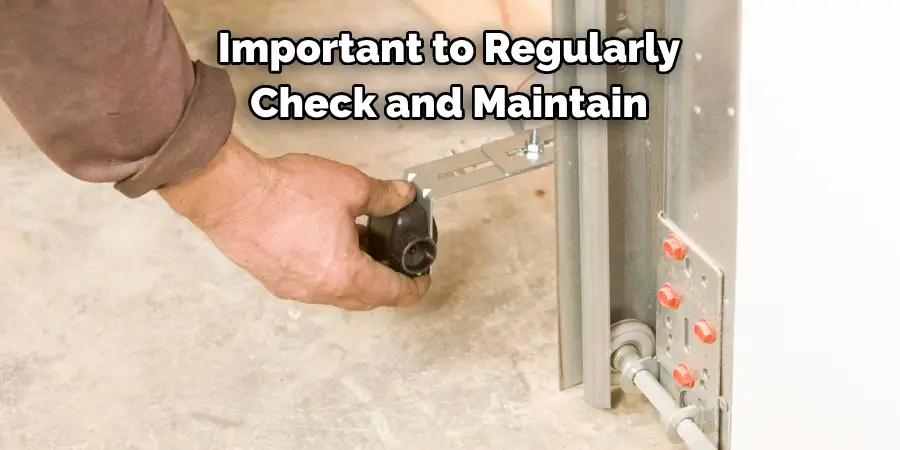
Therefore, it is important to regularly check and maintain your garage door sensors to ensure they are working properly. This includes cleaning the sensors and checking for any signs of wear and tear.
Signs that Indicate the Need for Sensor Replacement
- Malfunctioning Garage Door: A malfunctioning garage door is the most common sign that indicates a faulty sensor. If your garage door fails to open or close smoothly, it’s time to check on the sensors.
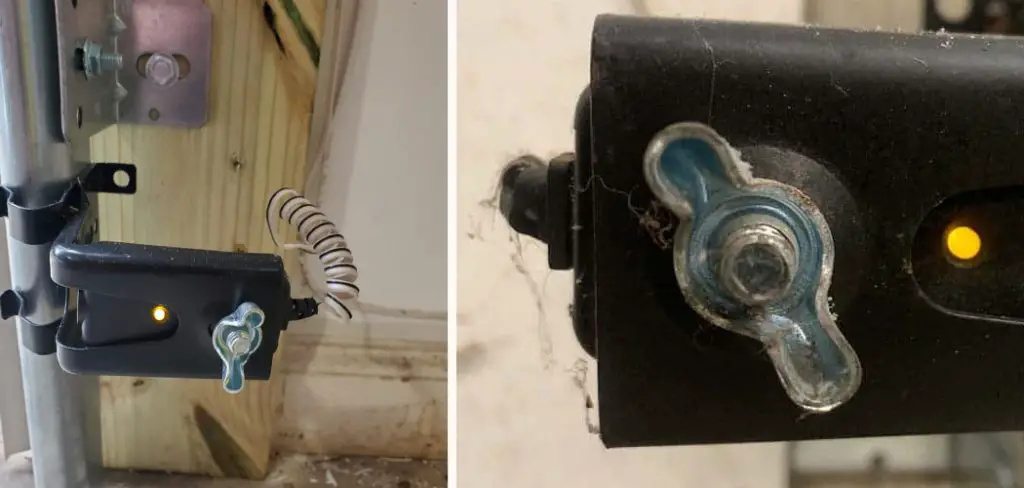
- Flashing Lights on Garage Opener: The garage opener on the wall-mounted control panel usually has indicator lights that flash when there is an issue with the sensors. If these lights are flashing, it could be a sign of faulty sensors.
- Incorrect Reading on Safety Sensors: Safety sensors are responsible for detecting any obstructions in the path of the garage door. If these sensors are not working properly, your garage door might close even if there is an object in its way.
- Overhead Light on Garage Door Opener Not Turning On: The overhead light on your garage door opener should turn on when the door is opening or closing. If it doesn’t, there might be an issue with the sensors.
- Visible Damage to Sensors: Physical damage to sensors can occur due to various reasons such as accidental bumping, exposure to extreme weather conditions, or even pests. If you notice any visible damage, it’s time to replace the sensors.
10 Methods How to Replace Garage Sensor
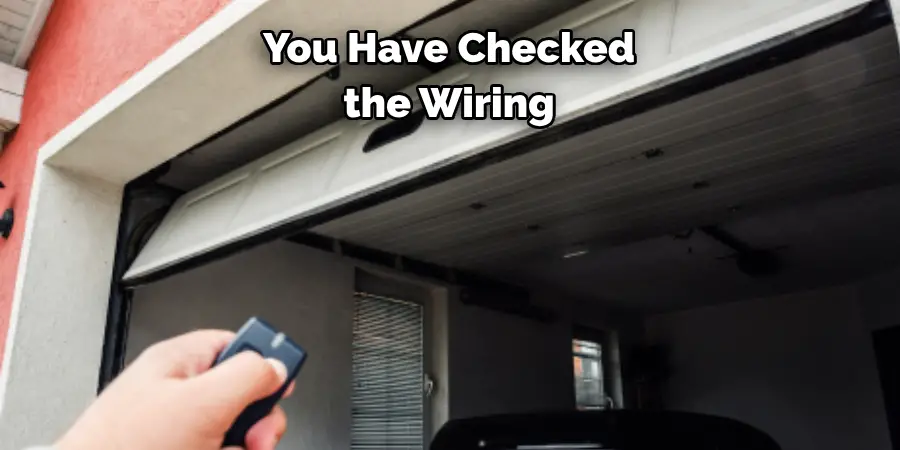
1. Check the Wiring
Before attempting to replace a garage sensor, it is important to check the wiring for any issues. If the wiring is damaged or frayed, it can cause the sensor to malfunction and will need to be replaced. It is also important to check that all of the connections are secure and properly connected before replacing the sensor.
2. Disconnect Power
Once you have checked the wiring, you will need to disconnect the power from the garage door opener before attempting to replace the sensor. This can usually be done by unplugging it from an outlet or turning off a circuit breaker. It is important to make sure that all power has been disconnected before beginning work on the garage door opener.
3. Remove Old Sensor
Next, you will need to remove the old sensor from its mountings on either side of the garage door opening. This may require some tools, such as a screwdriver or pliers depending on how it is mounted. Once removed, discard it properly, as it cannot be reused after being removed from its mountings.
4. Install New Sensor
After removing the old sensor, you will then need to install your new one in its place using any hardware that came with it or any additional hardware needed for installation such as screws or bolts. Make sure that all connections are secure and tight before proceeding with testing your new sensor.
5. Test New Sensor
Once your new sensor has been installed, you will then need to test it out by closing and opening your garage door several times while observing if the light on your new sensor turns on and off correctly each time you open and close your door. If all checks out okay, then you can proceed with connecting power back up again and using your new garage opener with its new sensor!
6. Clean Garage Door Tracks
In order for your new garage door opener with its new sensors to work correctly, it’s important that you also clean out any debris or dirt from inside of your garage door tracks so that they are clear of any obstructions that could prevent proper operation of your system when opened and closed repeatedly over time due to wear and tear caused by use over time without regular maintenance care taken for them regularly throughout their lifetime of use in order for them continue working correctly at all times without issue whatsoever!

7. Lubricate Garage Door Tracks
It’s also important that you lubricate both sides of your garage door tracks with a quality lubricant such as WD-40 or silicone spray in order for them to continue running smoothly over time without having any issues caused due to lack of lubrication causing friction which could potentially cause damage over time due to lack of proper maintenance care taken for them regularly throughout their lifetime of use in order for them continue working correctly at all times without issue whatsoever!
8. Tighten Loose Bolts & Nuts
It’s also important that you check both sides of your garage door tracks for any loose bolts & nuts which may have come loose over time due too wear & tear caused by frequent usage over time without regular maintenance care taken for them regularly throughout their lifetime of use in order for them to continue working correctly at all times without issue whatsoever!
9. Align Garage Door Sensors Properly
Finally, once everything else has been checked & tightened up properly, including both sides of your garage door tracks being cleared out & lubricated accordingly along with all loose bolts & nuts being tightened up properly then comes aligning both sensors located on either side of your opening accurately so they can detect each other easily when opened & closed repeatedly over time without issue whatsoever!
10. Program Your Garage Door Opener Remote Control
The final step required after everything else has been completed successfully would be programming back up again into memory settings onto a compatible remote control device which should already have come included within the package when purchased originally so that way when pressed buttons located on the remote control device can activate open/close functions accordingly whenever needed conveniently anytime anywhere anytime desired!
Things to Consider When Replacing Garage Sensor
Whether you are looking to upgrade your old garage sensor or replace a faulty one, there are a few things you need to keep in mind before starting the process. With advancements in technology, new and improved sensors have been introduced in the market, making it important for homeowners to consider different factors when choosing a replacement.
Compatibility
Before purchasing a new garage sensor, it’s crucial to ensure that it is compatible with your existing garage door opener. Not all sensors are universal, and using an incompatible one can lead to malfunctioning or even damage to the opener. Make sure to check the model number and specifications of your current sensor before making a purchase.
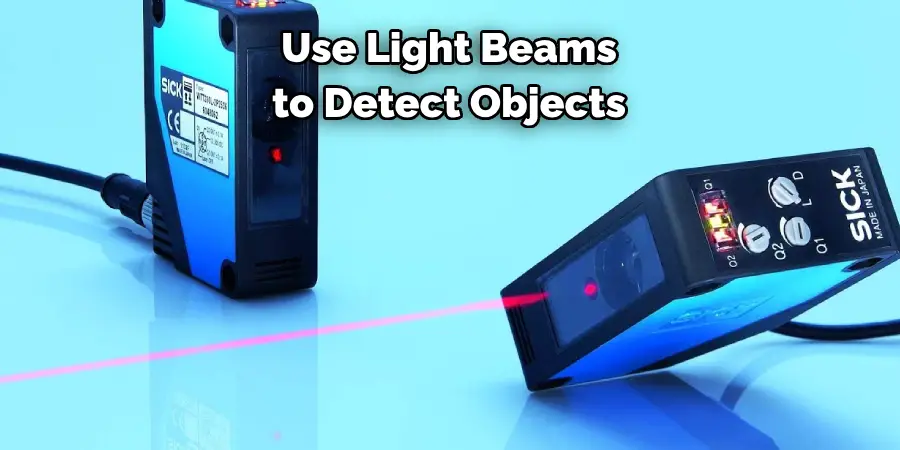
Type of Sensor
There are mainly two types of garage sensors – photoelectric sensors and mechanical sensors. Photoelectric sensors use light beams to detect objects, while mechanical sensors work by sensing pressure or physical contact. Depending on your preference and needs, choose the type that best suits you.
Quality
Investing in a high-quality garage sensor is important for long-term usability and reliability. Choose a reputed brand that offers durable and sturdy sensors that can withstand various weather conditions and frequent use.
Installation Process
Replacing a garage sensor can be a simple or complicated process, depending on the type of sensor and your technical skills. If you are unsure about the installation process, it’s always best to seek professional help rather than risk damaging the sensor or opener.
Additional Features
Modern garage sensors come with additional features such as remote control operation, motion sensing, and smartphone connectivity. These features can enhance the overall convenience and functionality of your garage door system.
Conclusion
Replacing a garage sensor isn’t as difficult as it might seem. With just a few steps, you’ll be well on your way to having an improved garage security system. Make sure that you have all the necessary tools and materials before getting started. Don’t hesitate to consult an outside source if you need any additional advice or help with the process.
You can find detailed tutorials online or visit your local hardware store for expert assistance. Regardless of how you go about replacing your garage sensor, stay safe and use caution throughout every step of the process. With patience and some elbow grease, you’re sure to upgrade your home’s security system in no time.
I am Rick. I grew up helping my dad with his handyman service. I learned a lot from him about how to fix things, and also about how to work hard and take care of business. These days, I’m still into fixing things- only now, I’m doing it for a living.
I’m always looking for new ways to help people grow and develop. That’s why I have created this blog to share all my experience and knowledge so
that I can help people who are interested in DIY repair.