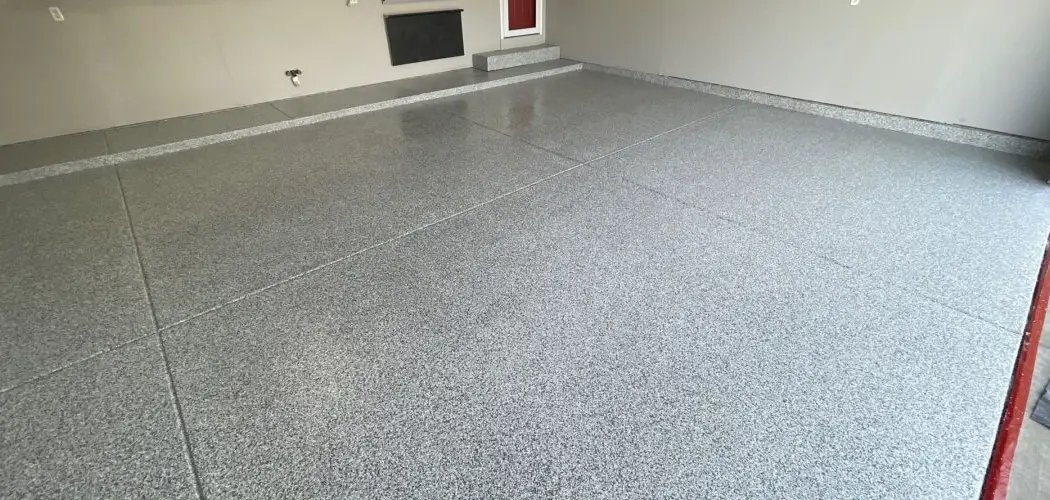
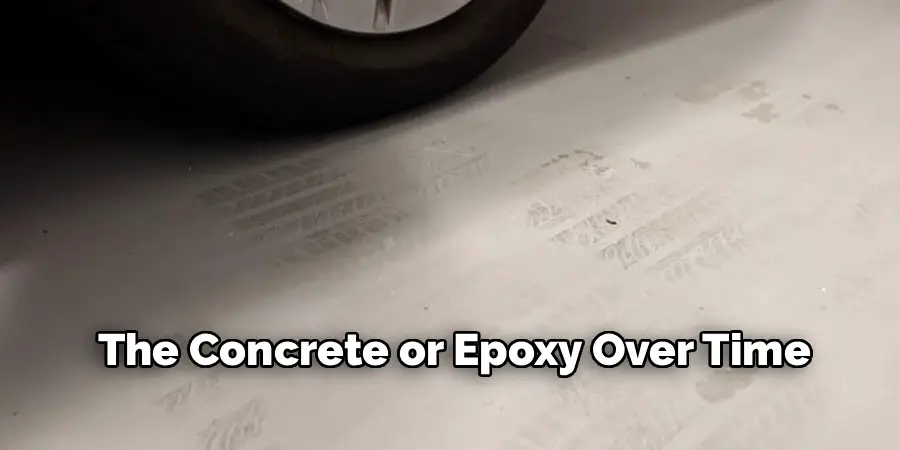
Stubborn black tire marks are a familiar and frustrating sight for anyone who takes pride in keeping their garage floor clean. These unsightly stains seem to appear out of nowhere, often after parking a vehicle just a few times. What many homeowners don’t realize is that these marks aren’t simply caused by rubber scraping off onto the floor.
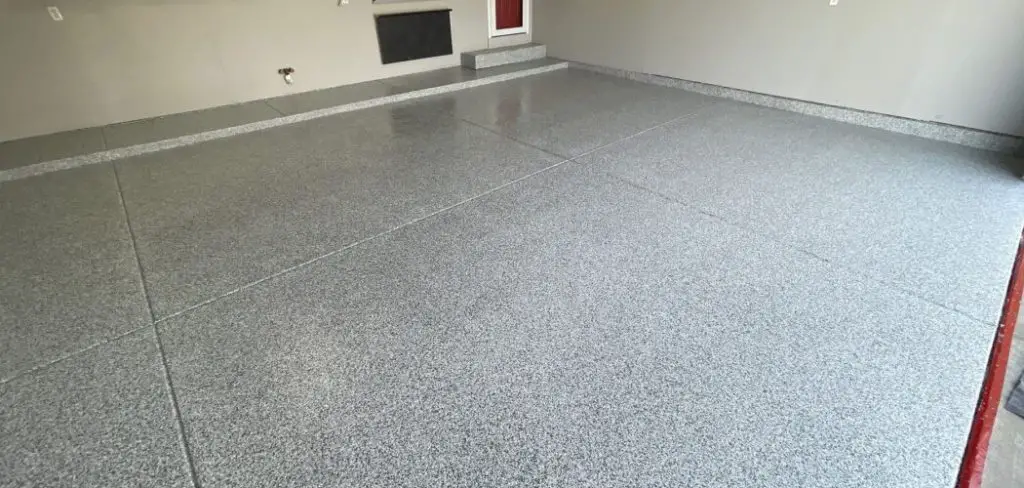
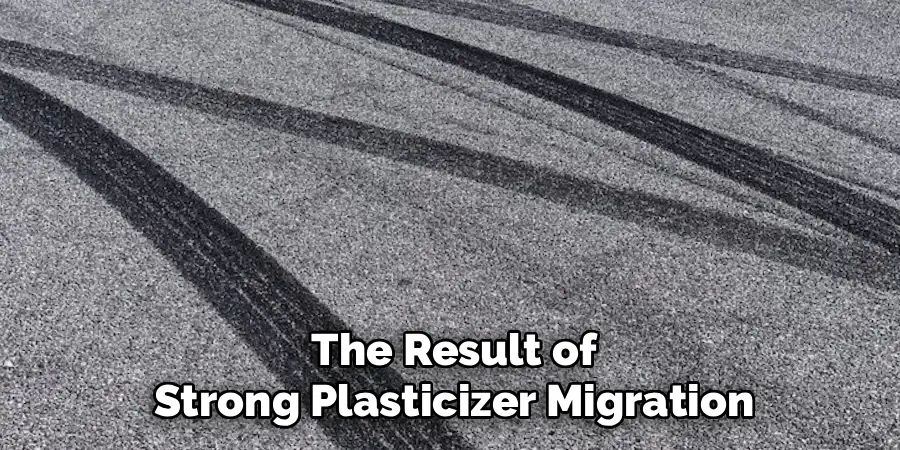
Instead, the culprit is a chemical reaction known as “plasticizer migration.” Understanding what’s really behind those persistent black streaks is the key to getting rid of them—and preventing them from coming back. In this article, you’ll discover not only why tire marks appear, but also step-by-step instructions on how to remove tire marks from garage floor surfaces. Whether your floor is bare concrete, sealed, or coated with epoxy, you’ll find actionable solutions to restore your garage to a like-new state.
Why Do Tire Marks Appear on Garage Floors?
The Science of Plasticizer Migration
At the heart of the tire mark mystery is a process called plasticizer migration. When you drive your car and park it, the tires heat up. The rubber in the tires contains compounds called plasticizers, which make the tire flexible and help it grip the road. When those hot tires rest on the garage floor—especially on sealed concrete or epoxy coatings—plasticizers leach out and interact with the floor’s surface. Instead of merely leaving a layer of rubber behind, they bond chemically with sealers and coatings, producing a stain that is more than just surface-level.
The Role of Heat and Pressure
It’s not just parking that causes the problem. The heat from recently driven tires softens both the rubber and the floor coating. Add to that the significant weight of your vehicle, which increases the pressure at the contact points, and you set the stage for a more intense chemical reaction. This is why marks tend to be more visible after longer drives and in hot weather, and also explains why they are more stubborn than ordinary dirt or scuffs.
Sealed vs. Unsealed Concrete
Sealed garage floors—especially those coated with acrylic, polyurethane, or epoxy—are typically more susceptible to plasticizer migration. These surfaces are less porous, so rather than absorbing contaminants, they hold them at the surface, where chemical bonding can take place. That said, unsealed concrete isn’t immune. Traditional rubber transfer can also leave behind obvious black marks, even if the bond isn’t as strong.
Assessing Your Floor Type and the Severity of the Marks
Identifying Your Floor Surface
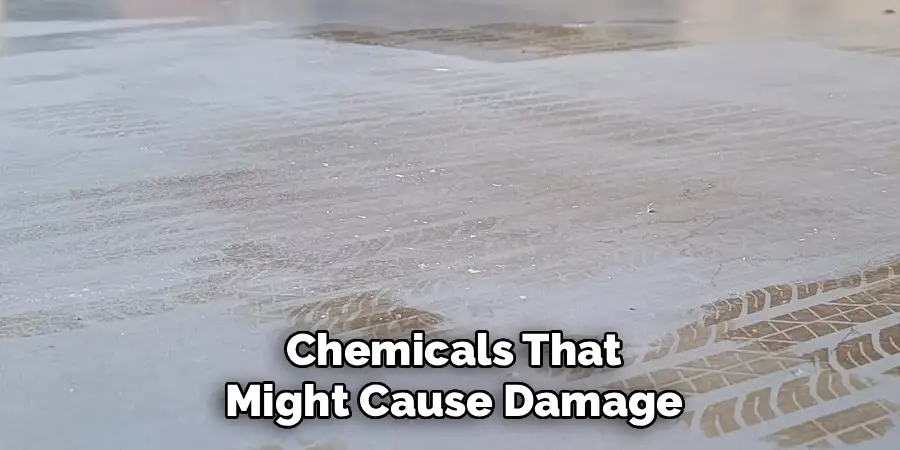
Before you tackle cleaning, it’s wise to identify what kind of floor you’re dealing with, as the best method often depends on the surface. Unsealed (bare) concrete has a rougher, more porous surface, while sealed concrete will usually have a slightly glossy or darker appearance. Epoxy-coated floors are very smooth and typically shiny, with a noticeably slick feel underfoot. Knowing your floor type helps you avoid using cleaning methods or chemicals that might cause damage.
Differentiating Between Surface Marks and Deep Stains
Not every tire mark is created equal. Some may be light scuffs on the surface, easily removed with a bit of soap and elbow grease. Others, thanks to plasticizer migration, penetrate the surface or bond chemically with the floor coating. To determine which you’re dealing with, try scrubbing a small section using a mild cleaner and a non-metallic brush. If the mark fades noticeably, it’s likely just a surface scuff. If it remains dark and stubborn, you’ll need a more targeted approach.
Essential Cleaning Agents and Tools
Start with the Right Supplies
Tackling garage floor stains begins with having the proper supplies on hand. A bucket and a stiff-bristled scrub brush are your most essential tools. For most surfaces, choose a brush that won’t scratch or damage the floor—avoid metal bristles unless you’re working on unfinished concrete or particularly stubborn stains. Additionally, have clean, dry towels or rags ready for drying the surface and inspecting your progress as you clean.
Selecting Effective Cleaning Agents
When it comes to cleaning agents, start with the basics. Soap and water are often surprisingly effective for mild marks and easy stains. For more stubborn spots, upgrade to a concrete degreaser, which is specifically designed to break down automotive residues such as oils and greases. Citrus-based cleaners are another excellent option, offering a balance of extra cleaning strength without the harshness of industrial-grade products. For the most challenging cases involving tire marks caused by plasticizer migration, specialized tire mark removers are your best bet.
Prioritize Safety During Cleaning
While cleaning, safety should always be your top priority. Wear safety glasses to guard your eyes against any splashes, and protect your hands with chemical-resistant gloves when handling cleaning agents. Additionally, ensure the space is well-ventilated by opening the garage door or nearby windows to prevent fume buildup. With the right tools, cleaners, and precautions, you’ll be well on your way to restoring your garage floor to its former glory.

Step-by-Step Guide on How to Remove Tire Marks from Garage Floor
Step 1: Clear the Area and Do a Preliminary Sweep
Move any vehicles and stored items out of the way for unobstructed access to the affected area. Sweep the garage floor thoroughly to remove all dirt, dust, and debris. Cleaning a clean surface maximizes your results and prevents scratching during scrubbing.
Step 2: Start with the Mildest Cleaning Method
Fill a bucket with warm water and add a generous amount of dish soap or an all-purpose cleaner. Apply this solution to the tire marks and let it sit for several minutes to soften the residues. Use your scrub brush in firm, circular motions over the marks. Often, this treatment alone is enough for minor stains.
Step 3: Escalate to a Stronger Cleaner if Needed
If the marks resist the initial cleaning, switch to a concrete degreaser or a citrus-based cleaner. Thoroughly read and follow the product instructions, especially regarding dilution and recommended dwell times. Apply the cleaner directly to the stain, allow it to soak in, and then scrub as before. For particularly tough marks, try a specialized tire mark remover, available at most hardware or auto supply stores.
Step 4: Scrub and Rinse Thoroughly
No matter which cleaning solution you use, it’s vital to rinse the area with clean water after scrubbing. This step removes all traces of the cleaning agent, preventing sticky residues that could attract new dirt or interfere with future treatments. Wipe the spot dry with a towel or allow it to air dry, and inspect to see if the mark remains.
Step 5: For Stubborn Stains on Epoxy Floors
Epoxy-coated floors can be more delicate when it comes to cleaning. If marks remain after your efforts with soap or degreaser, use a non-abrasive cleaner and a soft brush to avoid scratching the shiny finish. It’s wise to test a small inconspicuous corner before treating the affected area to check for any adverse reactions.
Step 6: Dry the Area and Inspect
Once cleaning is complete, dry the area thoroughly with clean towels or a fan. Inspect the spot from several angles and under good lighting. Deep-set marks may need a second treatment, especially if the stain is the result of strong plasticizer migration.
What to Do When Stains Won’t Budge
Some stains, especially those on unsealed concrete that have been left unattended for a long time, can be particularly stubborn. When traditional methods fail, consider using a poultice.
How to Use a Poultice for Tough Stains
A poultice is created by combining a solvent with an absorbent material such as kitty litter, sawdust, or baking soda. Apply the mixture generously over the stain, ensuring it covers the affected area thickly. Cover it with plastic wrap to retain moisture, and leave it to sit for several hours or overnight. During this time, the solvent breaks down the stain while the absorbent material pulls the residue out. Once done, sweep or vacuum the material and rinse the area thoroughly.
Mechanical Removal for Deep Stains
For persistent marks on unsealed concrete, light mechanical removal might be necessary. Using a handheld grinder or floor buffer, you can sand away the surface layer of the concrete. However, this step must be taken cautiously, and only by individuals skilled in using power tools, as these methods can alter the floor’s appearance.
Sealing to Prevent Future Stains
If stains are too deep or extensive, or if the concrete floor needs rejuvenation, consider a full cleaning and applying a new sealer or epoxy coating. Not only can this cover the stains, but it also provides a protective barrier, reducing the likelihood of future staining and enhancing the floor’s durability.
Preventing Future Tire Marks
Applying Protective Coatings
Once your garage floor is clean, applying a high-quality protective coating is one of the best ways to prevent future tire marks. Opt for a non-yellowing polyurethane or polyaspartic sealer, as these advanced coatings are more resistant to plasticizer migration than standard acrylic sealers. They create a durable, protective barrier that repels most tire residues effectively, keeping your garage floor looking pristine.
Adding Additional Protections
For even more defense, consider using parking mats made of rubber or vinyl beneath your tires. These mats absorb heat and pressure, preventing direct contact and reducing the likelihood of stains or marks. Another simple habit is allowing your tires to cool for a few minutes after a long drive before parking in your garage. While not always convenient, this practice reduces heat transfer to the floor, minimizing the chemical reactions that cause unsightly marks. By combining these strategies, you can keep your garage floor protected and looking its best for years to come.

Maintaining Your Clean Garage Floor
Ongoing upkeep is key to keeping your floor looking its best and minimizing the likelihood of future stains. Sweep or vacuum the garage floor regularly to remove grit and dust, which can be abrasive and may help embed marks more deeply. Mop with a gentle cleaner periodically to get rid of any residues left by tires or spilled fluids.
Always clean up oil, gas, and chemical spills quickly. These substances not only contribute to staining but also can react with floor coatings and even affect the structure of the concrete or epoxy over time.
Conclusion
Learning how to remove tire marks from garage floor surfaces starts with understanding what causes them and progresses through a series of practical, escalating steps—from basic scrubbing to specialized cleaners and, when necessary, mechanical solutions. Prevention remains the best long-term defense, whether that means applying a modern floor sealer, adding protective mats, or simply developing a routine of regular sweeping. By taking a progressive approach and investing a little time in maintenance, you can keep your garage floor looking pristine and protect your investment for years to come.
I am Rick. I grew up helping my dad with his handyman service. I learned a lot from him about how to fix things, and also about how to work hard and take care of business. These days, I’m still into fixing things- only now, I’m doing it for a living.
I’m always looking for new ways to help people grow and develop. That’s why I have created this blog to share all my experience and knowledge so
that I can help people who are interested in DIY repair.