
Coolant stains on concrete can be an unsightly and stubborn problem, especially in garages or workshops where vehicles are regularly parked. These stains not only detract from the appearance of your concrete floor but can also pose a slip hazard due to their slick nature.

However, fear not, as in this article, we will guide you through the step-by-step process of how to remove coolant stains from concrete.
Whether you’re a DIY enthusiast or simply looking to restore the pristine look of your garage floor, our comprehensive instructions and tips will help you tackle this issue with ease.
From identifying the right materials to employing proven stain-removing techniques, you’ll soon discover how to reclaim the clean, safe, and attractive surface your concrete floor deserves. Say goodbye to those stubborn coolant stains and hello to a revitalized space.
The Issue of Coolant Stains on Concrete and Their Significance
Removing coolant stains from concrete is an important task for any property owner. Coolant spills can easily occur in garages, driveways, or other outdoor areas.
The longer the spilled coolant is left to sit on the concrete, the harder it will be to remove later on. In addition, when these stains are not removed properly, they may leave behind a permanent discoloration that can be difficult to get rid of.
The Importance of Safety during the Stain Removal Process
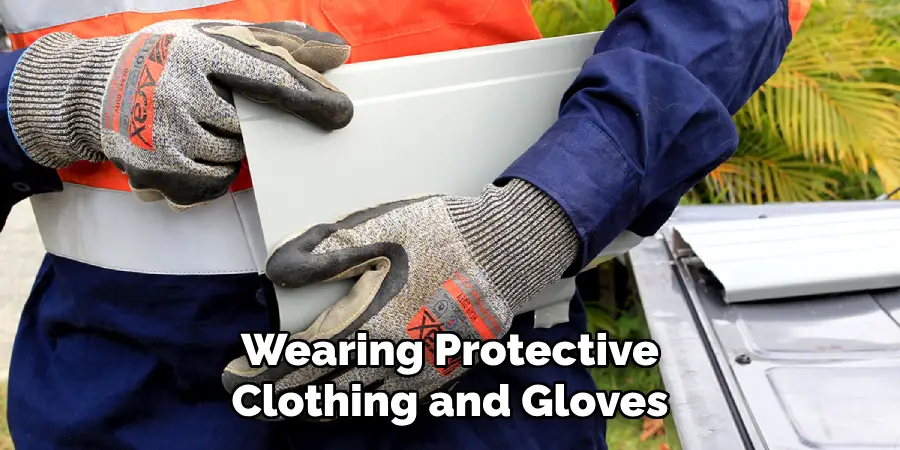
When attempting to remove coolant stains from concrete, it is important to take safety precautions to avoid injury or damage. Make sure you are wearing protective clothing and gloves, as well as any other necessary safety equipment.
Ensure adequate ventilation in the area, and close all windows and doors before beginning the stain removal process. Additionally, make sure that any cleaning products used are not corrosive. Finally, be sure to dispose of any used cleaning materials properly after the task is complete.
When working with concrete, it is important to use a gentle approach when removing coolant stains from its surface. Abrasive techniques or harsh chemicals can cause permanent damage and should never be used on concrete surfaces.
Additionally, pressure washing with water that is too hot can cause damage to concrete, so it is important that the water temperature be monitored closely.
The best way to prevent coolant stains from forming on concrete in the first place is by regularly cleaning and maintaining the surface. Regularly removing dirt and debris will help keep coolant from sticking to the surface, as well as make future stain removal much easier.
Additionally, it is beneficial to apply a protective coating to the concrete surface, such as a sealant or wax. This will protect the concrete from coolant staining and further damage.
10 Steps How to Remove Coolant Stains from Concrete
Step 1: Safety First
Before you start the coolant stain removal process, prioritize safety. Wear appropriate personal protective equipment (PPE), including gloves to protect your hands and safety goggles to shield your eyes from any splashes or chemical contact. Additionally, work in a well-ventilated area to avoid inhaling any fumes or vapors from cleaning products.
Step 2: Gather Your Tools and Materials
To remove coolant stains from concrete, you’ll need the following tools and materials:
- Absorbent materials like cat litter, sawdust, or baking soda
- A stiff bristle brush or broom
- A plastic scraper or putty knife
- Commercial concrete degreaser or cleaner
- A bucket
- A hose or pressure washer (optional)
- A scrub brush or wire brush
- Protective gloves
- Safety goggles
- Water
Make sure you have all these items ready before you begin the stain removal process.
Step 3: Identify the Stain
Before diving into stain removal, it’s crucial to confirm that the stain is indeed coolant-related. Coolant stains often appear as a slick, oily residue with a green or pinkish hue. Identifying the stain correctly will help you choose the most effective removal method.
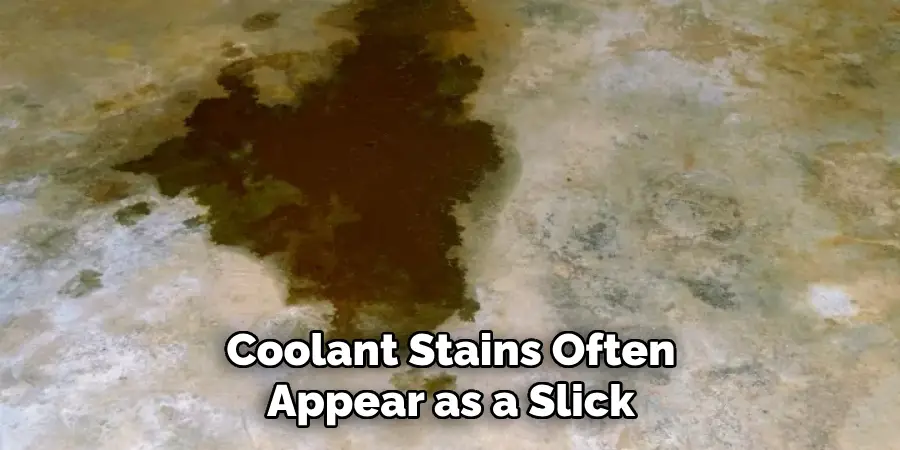
If the stain is from another source, such as rust or grease, it may require a different approach. Once you’ve identified the coolant stain, you can move on to removal methods that are most effective for this type of spill.
Step 4: Pre-Stain Removal Preparation
Prepare the stained area by removing any loose debris or dirt. Use a stiff bristle brush or broom to sweep the surface and clear it of loose particles. This step ensures better contact between the cleaning agent and the stain. Once the area has been prepared, move to the next step.
For stubborn coolant stains, you may need to use a pressure washer to effectively remove them from concrete. A pressure washer should be used with caution and according to the instructions given by the manufacturer. Follow all safety guidelines and wear appropriate clothing when operating the device.
Step 5: Absorbent Materials Method
If the coolant stain is relatively fresh and hasn’t deeply penetrated the concrete, you can try the absorbent materials method:
- Cover the stain generously with an absorbent material like cat litter, sawdust, or baking soda.
- Gently press the material down with your foot or a tool to encourage absorption.
- Leave it in place for at least 24 hours to absorb as much of the stain as possible.
- Sweep up the used absorbent material and dispose of it properly.
Step 6: Commercial Concrete Degreaser Method
For tougher or older coolant stains, commercial concrete degreasers are effective:
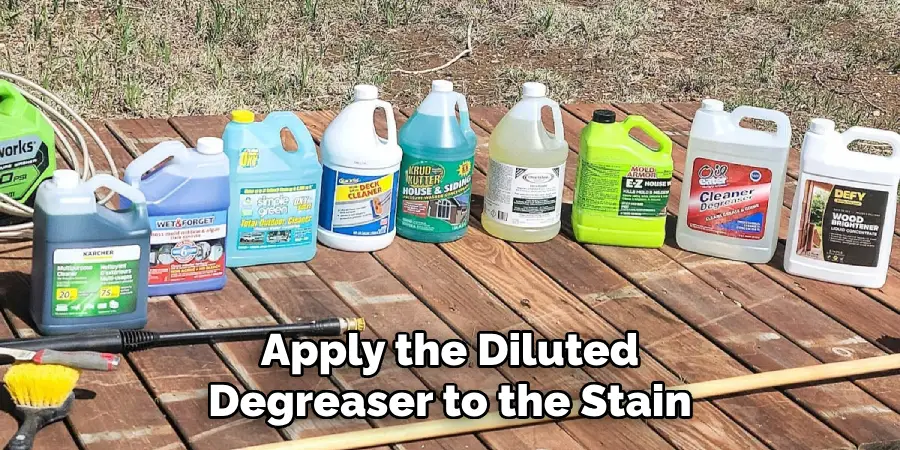
- Read and follow the manufacturer’s instructions on the degreaser label carefully.
- Dilute the degreaser as recommended, and mix it in a bucket of water.
- Apply the diluted degreaser to the stain, covering it completely.
- Use a stiff scrub brush or wire brush to agitate the stained area, working the degreaser into the concrete.
- Allow the degreaser to sit on the stain for the recommended time (usually 10-15 minutes).
- Scrub the stain vigorously with the brush to lift the coolant residue.
- Rinse the area thoroughly with water or use a hose or pressure washer to remove the degreaser and loosened stain particles.
Step 7: Reapply as Needed
For particularly stubborn stains, you may need to repeat the commercial concrete degreaser method several times, allowing the solution to sit longer and using a bit more elbow grease.
Be sure to rinse with plenty of water between applications. It’s important to make sure all the residue is washed away, otherwise it could cause further damage and discolouration later on. If you’re unable to remove the stain, consider enlisting the help of a professional concrete cleaning service.
Step 8: Scraper and Putty Knife Method
For any remaining stubborn residue, use a plastic scraper or putty knife to gently scrape off the coolant stain. Be cautious not to scratch or damage the concrete surface while doing so.

Work on the stained area in small sections and be sure to clean off the blade after every few passes. When the stain has been removed, continue with a thorough rinsing of the area. Repeat this process until all traces of coolant are gone.
If you find that stubborn stains remain, try using a dilution of one part muriatic acid to 10 parts water. Apply the mixture to the stained area and allow it to set for several minutes before scrubbing with a stiff bristled brush.
Step 9: Post-Stain Removal Clean-Up
After you’ve successfully removed the coolant stain, clean the area to ensure no residue or cleaning product remains. Rinse the cleaned area thoroughly with water and allow it to dry completely before using the space again.
It is also important to thoroughly clean any sponges, rags and other cleaning materials that you used during the stain removal process. It is essential to remove all of the residue from these materials before using them again on another surface or task. Additionally, it is a good idea to wear gloves when handling cleaners and other products used in removing coolant stains from concrete.
Step 10: Preventative Measures
To prevent future coolant stains on your concrete surface, consider using absorbent mats or drip pans under vehicles to catch any leaks or spills. Regularly inspect and maintain your vehicles to address any coolant leaks promptly.
Additionally, apply a concrete sealer to create a protective barrier that can make stain removal easier in the future. Applying a concrete sealer can also help to extend the life of your concrete surface. With the right preventive measures, you can keep your concrete surfaces looking beautiful and stain-free for years to come.
Conclusion
In conclusion, coolant stains on concrete can be removed quickly and easily using the methods outlined in this blog post. It takes just a few simple steps to remove these pesky blemishes and restore the beauty of your outdoor surfaces. With a bit of elbow grease and the right cleaning solution, you can have your concrete looking as good as new again.
However, if you find that the stains are too stubborn, it may be time to call in professional help. Nobody wants to live with unsightly coolant stains, so take the necessary steps to tackle them today and enjoy the satisfaction of a job well done! Now that you know how to remove coolant stains from concrete, why not practice what you’ve learned by giving it a go?
I am Rick. I grew up helping my dad with his handyman service. I learned a lot from him about how to fix things, and also about how to work hard and take care of business. These days, I’m still into fixing things- only now, I’m doing it for a living.
I’m always looking for new ways to help people grow and develop. That’s why I have created this blog to share all my experience and knowledge so
that I can help people who are interested in DIY repair.