Are you needing extra space but can’t afford to move into a larger home? Remodeling your garage is the perfect solution! With proper planning and execution, you can transform your cluttered and unused garage into a functional and stylish living space.

How to remodel a garage can be an exciting project that transforms unused space into a functional area tailored to your needs. Whether you envision a sleek home office, an organized workshop, or a cozy gym, a well-planned garage remodel can significantly enhance both the value of your home and your everyday life. With careful consideration of design, storage solutions, and potential permits, you can create a versatile environment that maximizes space and utility.
This guide will explore the essential steps and tips to consider when undertaking your garage renovation.
What Will You Need?
Before diving into your garage remodel, you must gather some essential tools and materials. Make sure to stock up on safety gear such as gloves, goggles, and dust masks to protect yourself during the process. Here are some essential tools that will come in handy:
- Tape measure
- Hammer
- Screwdriver set
- Power drill
- Circular saw
- Level
- Chalk line
In addition to these tools, you may also need specialty tools depending on the specific renovation tasks involved. It’s always a good idea to consult with a professional or do thorough research before starting any DIY project.
10 Easy Steps on How to Remodel a Garage
Step 1: Plan Your Layout
The first step in your garage remodel is to plan the layout of your new space. Consider how you intend to use the garage—whether for storage, a workshop, or a personal gym.
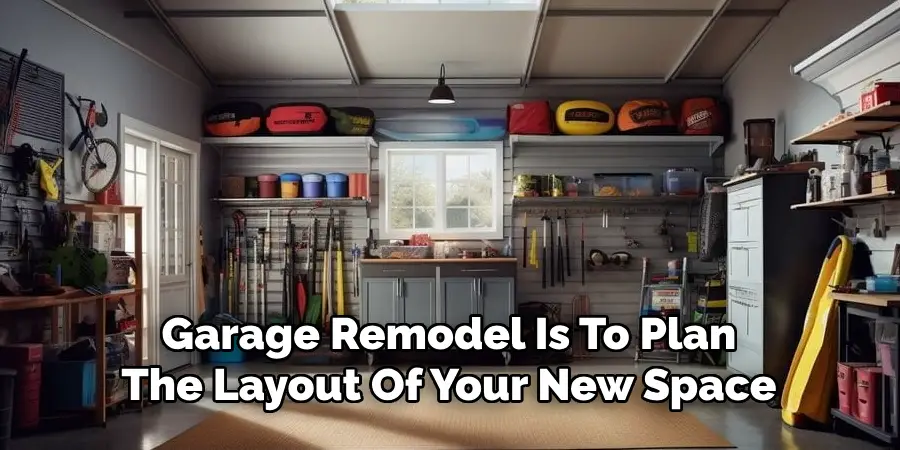
Sketch out a floor plan that includes the arrangement of furniture, storage solutions, and any appliances or equipment you plan to incorporate. Be mindful of electrical outlets and lighting requirements as you design your layout to ensure the space will be functional and comfortable. Taking the time to plan thoroughly will help you visualize the outcome and identify any potential challenges before you begin the renovation.
Step 2: Declutter and Clean the Space
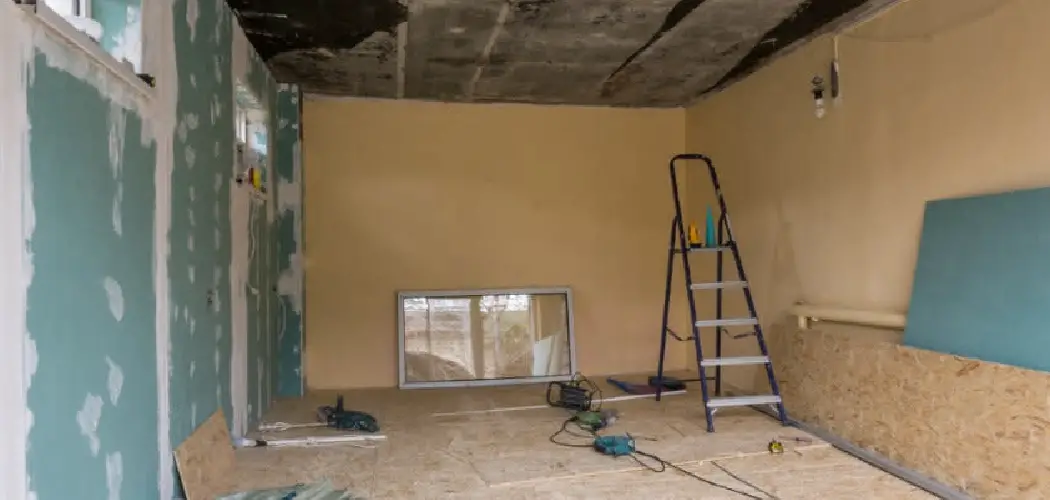
Once you have a layout plan, the next step is to declutter and clean your garage. Start by removing everything from the garage and sorting items into categories: keep, donate, sell, and discard. This process creates more space and allows you to evaluate what you truly need in your new setup. After decluttering, thoroughly clean the garage. Sweep away dust and debris, and consider power washing the floors if they are filthy. This clean slate will help you visualize the transformations to come and set a solid foundation for your remodel.
Step 3: Insulate and Drywall
After decluttering and cleaning your garage, it’s essential to consider insulation and wall finishing to create a comfortable environment. If your garage will be used as a living space, insulation will help regulate temperature and improve energy efficiency. Start by installing insulation between the wall studs, ensuring it’s adequate for your climate.
Next, hang drywall to cover the insulated walls, creating a clean and finished appearance. Secure the drywall using screws and tape the seams for a polished look. Once the drywall is up, you can paint the walls in a color of your choice, which not only brightens the space but also personalizes it to your style. This transformation will set the stage for the remaining elements of your remodel.
Step 4: Install Flooring
Selecting the right flooring is crucial for your garage remodel, as it needs to be durable, easy to clean, and suited to the uses of the space. Depending on your vision, you might choose vinyl, tile, epoxy, or even polished concrete options. Each of these materials offers various benefits, such as water resistance or aesthetic appeal,
so consider how the flooring will fit into your overall design. Start by preparing the subfloor to ensure it is clean and level, then follow the manufacturer’s instructions for installation. A well-chosen floor enhances your garage’s functionality and contributes significantly to its overall aesthetic.
Step 5: Add Electrical Outlets and Lighting
Once your flooring is in place, it’s time to focus on the electrical layout of your garage. Proper lighting is essential for creating a comfortable and functional space, especially if you plan to use it for crafting or exercising. Start by assessing your current electrical setup; if necessary, consult a licensed electrician to discuss the addition of new outlets or circuits. Consider installing a combination of overhead, task, and accent lighting to enhance the atmosphere.
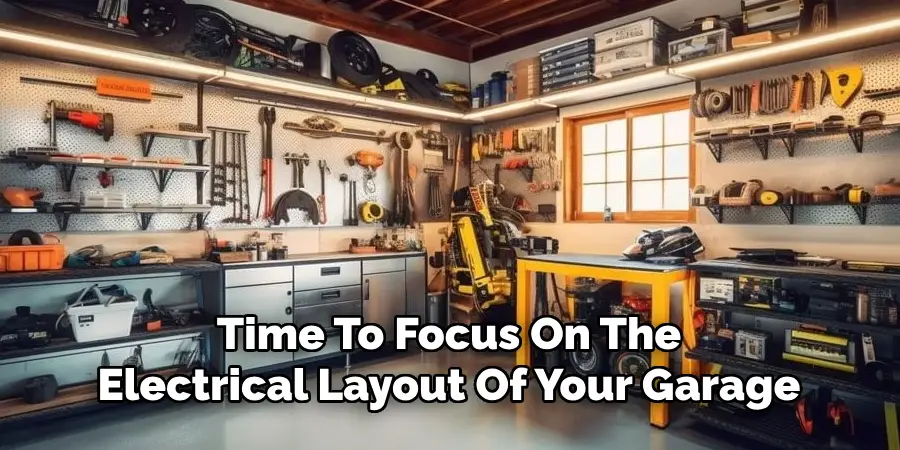
Recessed lights can provide a clean look, while under-cabinet lights in work areas can ensure sufficient illumination where you need it most. Don’t forget to include adequate outdoor lighting if your garage has external access! Ensuring well-planned electrical features will make your transformed garage both safe and inviting.
Step 6: Organize Storage Solutions
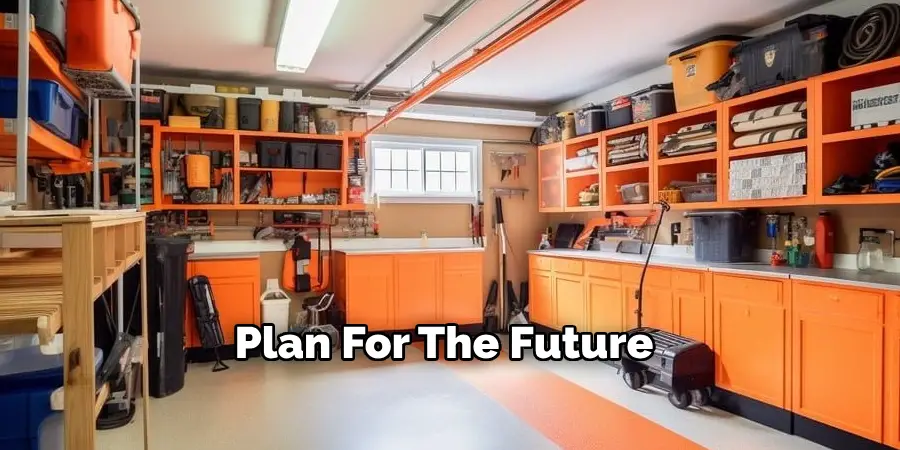
A well-organized storage system is critical to maintaining the functionality and aesthetic of your newly remodeled garage. Consider incorporating a mix of shelving units, cabinets, pegboards, and storage bins to keep everything in its designated place. Wall-mounted shelves and cabinets can help maximize vertical space, while pegboards allow easy access to tools and frequently used items. Be sure to label storage bins and boxes for quick identification of contents. Designing a clear storage strategy not only enhances the efficiency of the space but also ensures that your garage remains clutter-free and appealing to use for any purpose you’ve envisioned.
Step 7: Add Workstations and Furniture
Creating designated workstations and incorporating furniture will enhance the functionality of your garage remodel. Depending on your intended use for the space, consider integrating a workbench for DIY projects, a desk for hobbies, or exercise equipment if you’re turning the garage into a gym. Choose furniture that complements your layout and ensure it is sturdy and appropriate for the activities you plan to engage in. Be mindful of the available space to avoid overcrowding, and consider multi-functional pieces that can serve different purposes.
Step 8: Personalize the Space
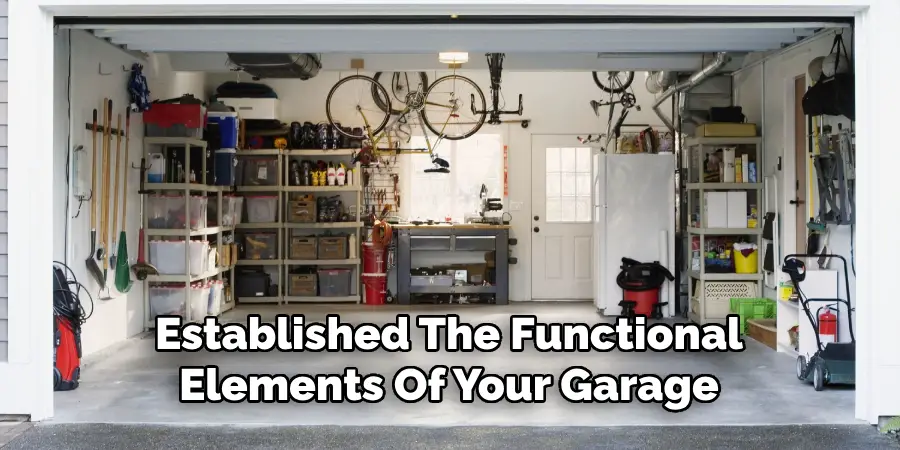
After you’ve established the functional elements of your garage, it’s time to infuse some personal touches that reflect your style and make the space enjoyable to use. Consider adding artwork, decorative elements, or themed accessories that resonate with your interests. For instance, if it’s a workshop, showcasing tools visually appealingly can add charm. At the same time, a gym area might benefit from motivational posters or personal achievements displayed on the walls. Additionally, incorporating comfortable seating can create a space for relaxation or socializing with friends and family.
Step 9: Maintain Your Garage
Once you’ve completed your remodel, it’s essential to establish a maintenance routine to keep your garage in top condition. Regular cleaning is vital; set aside time each month to sweep floors, dust surfaces, and organize any items that may have shifted out of place. Additionally, inspect your electrical fixtures and outlets periodically to ensure everything functions properly and safely. For the flooring, consider applying sealants if required to protect against spills and wear. Regularly maintaining your garage can preserve its appeal and functionality, ensuring it remains a valuable asset for your home.
Step 10: Enhance Climate Control
Consider enhancing its climate control features to ensure your garage remains comfortable year-round. Depending on your local climate, you should install a heater for colder months or a cooling system for the summer. If you’re using the garage for activities that require a stable temperature, such as a workshop or gym, installing insulation in the doors can also help maintain a consistent environment. Additionally, consider installing a dehumidifier if humidity is an issue, which can protect your belongings and improve air quality.
Following these steps, you can transform your garage into a functional and appealing space that meets your needs and personal style.
5 Things You Should Avoid
- Neglecting Local Building Codes: Always check and adhere to local building codes and regulations before starting your remodel. Please do so to avoid costly fines and the need for expensive adjustments later.
- Overlooking Adequate Lighting: Avoid underestimating the importance of proper lighting. Insufficient lighting can make your garage feel cramped and pose safety hazards, especially when performing tasks or activities.
- Ignoring Ventilation Needs: Pay attention to the necessity for good ventilation. Proper airflow prevents mold and humidity build-up, primarily if you use the space for activities that produce fumes or dust.
- Forgetting About Future Needs: Plan for the future by avoiding a one-size-fits-all design approach. Consider how your needs evolve and incorporate flexible solutions that can adapt as your requirements change.
- Skimping on Quality Materials: While cutting costs by using cheaper materials may be tempting, opting for higher-quality items can pay off in the long run. Durable materials ensure your garage withstands wear and tear while maintaining a polished look.
Conclusion
How to remodel a garage can significantly enhance both its functionality and aesthetics, transforming it into a versatile space that caters to your needs.
By carefully planning each step— from choosing the proper layout and lighting to integrating excellent storage solutions and personal touches—you can create an inviting environment that reflects your style and serves various purposes. Remember to keep maintenance and climate control in mind to ensure your newly remodeled garage remains comfortable and usable all year round.
Ultimately, a successfully transformed garage adds value to your home and improves your overall quality of life, providing a practical space for hobbies, projects, or relaxation.
You can also check it out Clean Garage Floor After Winter
I am Rick. I grew up helping my dad with his handyman service. I learned a lot from him about how to fix things, and also about how to work hard and take care of business. These days, I’m still into fixing things- only now, I’m doing it for a living.
I’m always looking for new ways to help people grow and develop. That’s why I have created this blog to share all my experience and knowledge so
that I can help people who are interested in DIY repair.