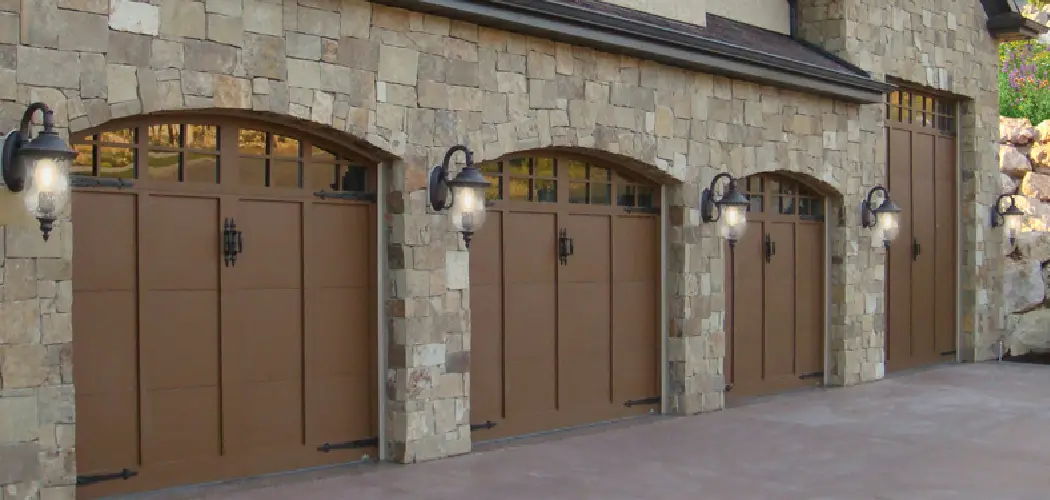
Are you looking for a way to add some character and style to your garage door? Adding lights around your garage door can do just that!
How to put lights around garage door can significantly enhance your home’s curb appeal while providing essential illumination for safety and security. Whether you want to create a warm, welcoming glow for your entryway or increase visibility during the night, installing lights around your garage can be a simple yet effective DIY project.
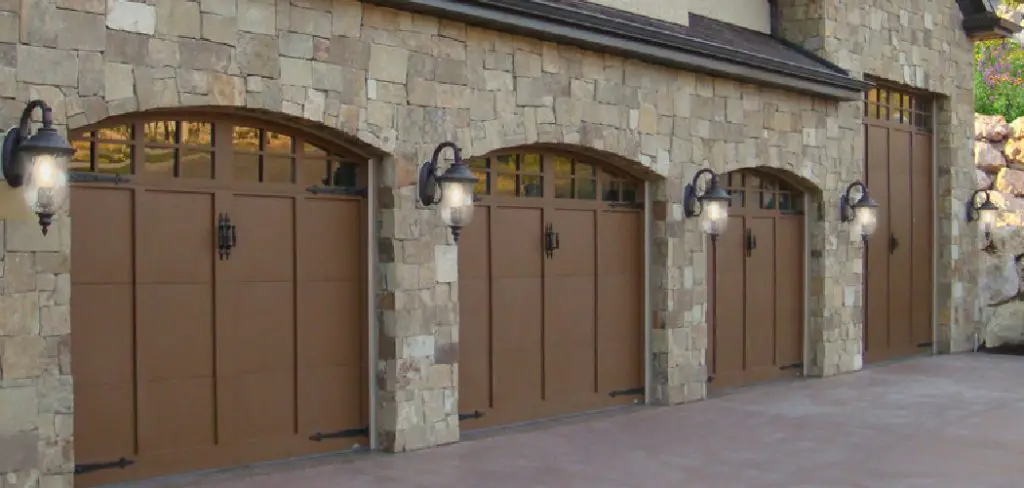
This guide will outline the steps and considerations necessary to successfully install lights around your garage door, ensuring both functionality and aesthetic appeal. You’ll find everything you need to brighten up your garage area, from selecting the right lighting fixtures to proper wiring and placement.
What Will You Need?
Before you begin the installation process, gathering all the necessary tools and materials is essential. Here is an essential list of what you will need:
- Lighting Fixtures: This can include wall sconces, string lights, spotlights, or any other type of outdoor lighting that fits your desired look.
- Electrical Wire and Connectors: Choose wire suitable for outdoor use and the voltage requirements of your chosen lighting fixtures. Connectors will also be necessary to link multiple light fixtures together.
- Electrical Drill and Bits: You’ll need these to create holes in your garage walls for wiring and mounting hardware.
- Screwdriver: A basic screwdriver set will suffice for most installations.
- Wire Strippers and Cutters: These will be useful for properly preparing the electrical wire.
- Cable Clamps: These secure wiring to the wall and prevent it from being damaged by sharp edges.
- Ladder: Depending on the height of your garage door, you may need a ladder to reach and install lights at the appropriate level.
Once you have gathered all the necessary tools and materials, you can begin the installation process.
10 Easy Steps on How to Put Lights Around Garage Door
Step 1: Plan Your Lighting Design
Planning your design thoughtfully is the first step in your lighting installation project. Consider the overall aesthetic you wish to achieve and how the lights will
door and surrounding architecture. Sketching a layout can be helpful here, allowing you to visualize the positioning of each light fixture. Think about the mood you want to create. Do you prefer a soft, ambient glow or a brighter, more functional illumination?

Take into account the height, spacing, and placement of your lights. For example, wall sconces can be installed on either side of the garage door for a symmetrical look, while string lights can create a charming festive atmosphere when draped above. Ensure you also consider any potential obstructions that block light or obscure the fixtures, such as plant foliage or garage decorations. Finally, remember the wiring; plan a route that minimizes visibility and maintains safety, avoiding high-traffic areas where wires could be inadvertently disturbed.
Step 2: Gather and Prepare Your Tools
Before diving into the installation, ensuring you have all your tools organized and ready for use is crucial. Lay out your materials in a clear workspace near the garage. Check that your lighting fixtures are compatible with the electrical supply and verify that your electrical wire is sufficient for your plan. Additionally, inspect your electric drill to confirm it’s functioning correctly and ensure you have the right drill bits to create holes in the garage wall. Safety should be a priority, so wear protective eyewear and gloves while working.
Step 3: Turn Off Power Supply
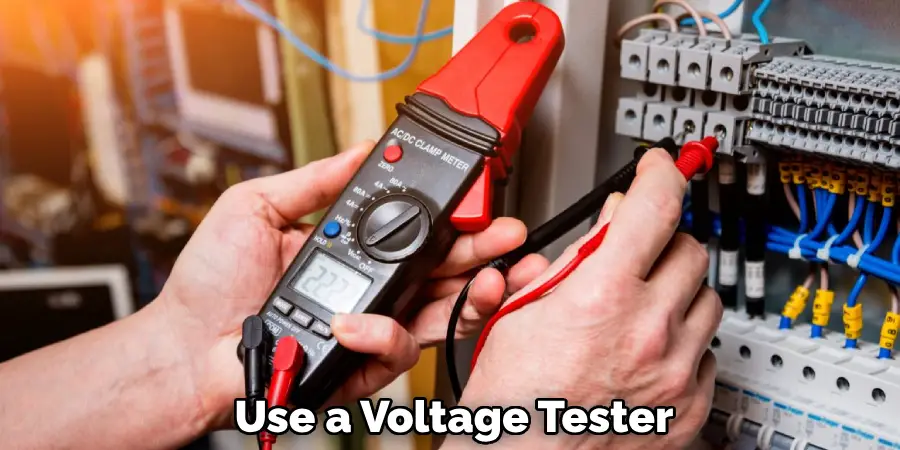
Safety is paramount when working with electrical components. Before you start any wiring or installation, turn off the power supply to the area where you’ll be working. Locate your home’s circuit breaker panel and switch off the relevant circuit that powers the garage area. Utilize a voltage tester to confirm that no current flows through the electrical wires you will be handling.
Step 4: Install Lighting Fixtures
Now that you’re prepared and have ensured safety with the power supply turned off, installing your lighting fixtures is time. Begin by marking the locations on the wall where each fixture will be mounted according to your earlier design plan. Use a level to ensure that your markings are straight and even.
For wall sconces, drill holes where you will insert anchors, if necessary, to support the weight of the lights. Attach the fixtures per the manufacturer’s instructions, ensuring they are securely fastened. If you opted for string lights, you can use hooks or clips to hang them at your desired height, maintaining the look you envisioned.
Step 5: Connect the Wiring
With your lighting fixtures securely mounted, the next step involves connecting the wiring. Start by carefully routing the electrical wire from your power source to each fixture, following the plan you outlined. Strip the ends of the wires using wire strippers to expose enough copper for connections.
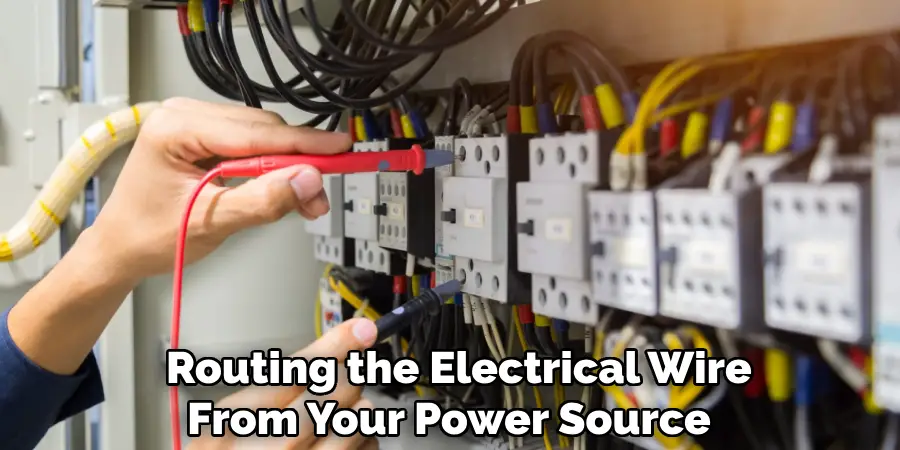
If your fixtures have separate connections for live, neutral, and ground wires, ensure that you match them appropriately—typically, black or red is live, white is neutral, and green or bare is ground. Using connectors, twist the wires tightly and secure them with electrical tape for safety. For string lights, follow the manufacturer’s guidelines for wiring and connections.
Step 6: Test the Connections
After completing the wiring connections, it’s crucial to test everything before finalizing the installation. First, double-check that all connections are tight and secure, ensuring there are no exposed wires. Once you’ve verified the wiring, turn the power supply back on at the circuit breaker.
Use a voltage tester again to confirm power reaches each light fixture. If everything appears to be functioning correctly, proceed to test the installed lights by turning them on. Observe how they illuminate the area around the garage door, checking for any inconsistencies or flickering that may indicate a poor connection. If you notice any issues, turn off the power supply again and revisit your connections to troubleshoot as needed.
Step 7: Final Adjustments and Aesthetics
With the lights successfully tested, it’s time to make any final adjustments to enhance their appearance and functionality. Check the positioning of your fixtures to ensure they light up the desired areas effectively. If necessary, slightly reposition ceiling-mounted lights or adjust wall sconces to achieve your preferred angles.
Consider the overall look of your installation and ensure the fixtures align with your initial design vision. Now is also an excellent time to manage any visible wiring; use cable clips or conduit to neatly secure the wires along walls or ceilings, enhancing the aesthetic appeal while preventing any tangling or strain on connections. A little attention to detail in this stage can transform your installation from functional to beautifully integrated.
Step 8: Install a Timer or Smart Switch
Consider installing a timer or smart switch for your lighting setup for added convenience and efficiency. A timer can be programmed to turn the lights on and off at specific times, providing security and energy savings. Alternatively, an intelligent switch allows you to control your lights remotely via a smartphone app or through voice command, making it easy to adjust lighting whether you’re at home or away.
Follow the manufacturer’s installation instructions for your chosen device, ensuring it’s properly connected to the fixtures and wired into the power supply. This upgrade not only offers practicality but can also enhance the overall experience of using your newly installed garage door lights.
Step 9: Clean Up and Enjoy
Once you’ve installed your lighting fixtures and made necessary adjustments, it’s time to clean up your workspace. Gather any leftover materials, tools, and packaging materials from the installation. Dispose of any waste appropriately, ensuring a tidy environment that reflects the effort you’ve put into this project.
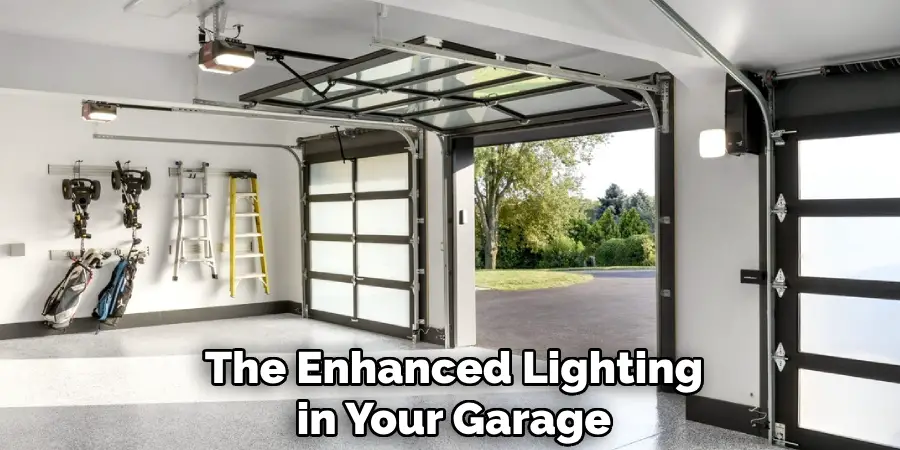
After everything is cleared, take a moment to step back and admire your work. Enjoy the enhanced lighting in your garage, which should not only improve visibility but also elevate the overall aesthetic of the space. Celebrate this achievement, knowing you’ve successfully transformed your garage into a well-lit and functional area.
Step 10: Maintenance and Upkeep
Regular maintenance is essential to ensure your lighting fixtures’ longevity and optimal performance. Start by periodically checking the fixtures for any signs of wear, damage, or loose connections. Dust and clean the lights as needed, using a soft cloth to avoid scratching surfaces. Inspect outdoor fixtures for moisture accumulation or corrosion due to weather exposure.
Replace any burnt-out bulbs promptly, and consider upgrading to energy-efficient LED bulbs for both longevity and cost savings. Additionally, if you have installed timers or intelligent switches, regularly update the settings as needed to fit your schedule, ensuring that the lighting continues to meet your needs effectively.
By following these steps, you can successfully install garage door lights and elevate the functionality and aesthetics of your garage.
Conclusion
In conclusion, how to put lights around garage door not only enhances its visual appeal but also improves safety and functionality.
You ensure a successful lighting project by meticulously following each step—from planning and selecting the appropriate fixtures to installation, testing, and maintenance. Remember, the proper lighting can define your home’s exterior, provide security during nighttime, and add an inviting touch to your property.
With regular upkeep, your investment in garage door lights will serve you well for years, transforming your garage into a brighter, more welcoming space. Embrace the satisfaction of completing this project, knowing you’ve significantly improved your home’s exterior aesthetics and functionality.
I am Rick. I grew up helping my dad with his handyman service. I learned a lot from him about how to fix things, and also about how to work hard and take care of business. These days, I’m still into fixing things- only now, I’m doing it for a living.
I’m always looking for new ways to help people grow and develop. That’s why I have created this blog to share all my experience and knowledge so
that I can help people who are interested in DIY repair.

