
When a garage door comes off its chain, it can disrupt your daily routine and pose potential safety hazards. Thankfully, putting the garage door back on the chain is a task that can often be completed with some basic tools and careful attention.
This guide on how to put garage door back on chain will provide step-by-step instructions to help you safely and efficiently reattach your garage door to the chain, ensuring it operates smoothly once again. Always remember to prioritize safety during the process and consult a professional if needed.
Why Do You Need to Put the Garage Door Back on Chain?
Before we dive into the process of putting your garage door back on a chain, let’s first understand why it is necessary. The most common reason for needing to reattach the garage door is when it has fallen off or become dislodged from the chain. This can happen due to a variety of reasons such as wear and tear, lack of maintenance, or excessive force being applied to the chain.
Having a properly functioning garage door is crucial for the safety and security of your home. A misaligned or detached garage door can not only be an inconvenience but also pose a safety hazard if left unaddressed. It can prevent you from safely entering or exiting your garage, and also make it easier for potential intruders to access your home.
Fortunately, reattaching a garage door is a relatively simple process that can be done with the right tools and knowledge. In this guide, we will walk you through the steps to reattach your garage door safely and effectively.
Materials Needed
Before starting the process of reattaching your garage door, it’s important to gather all the necessary materials. These may include:
- Ladder
- Socket Wrench Set
- Pliers
- Screwdriver
- Replacement Bolts and Screws (if Needed)
- Lubricant Spray (if Needed)
6 Simple Steps on How to Put Garage Door Back on Chain
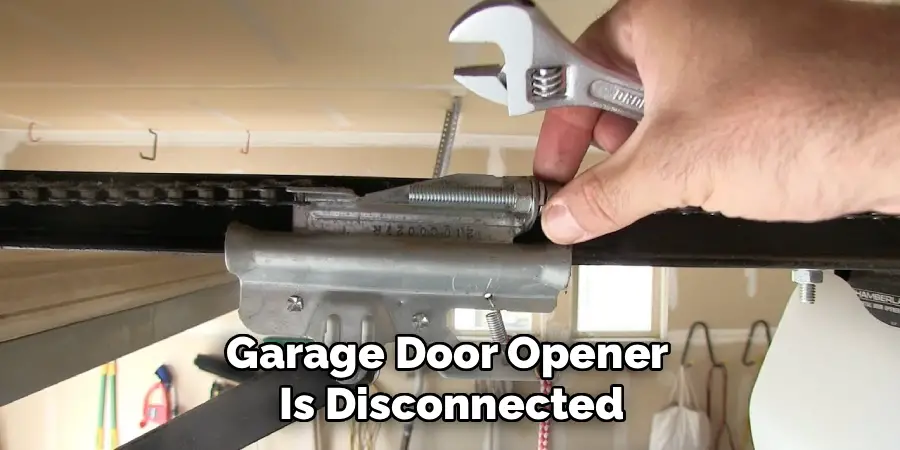
Step 1: Disconnect the Opener
Before you begin, ensure the garage door opener is disconnected to prevent accidental operation while working. Start by unplugging the opener from its power source or turning off the circuit breaker that powers it. This precaution is essential for your safety and prevents the door from moving unexpectedly during the reattachment process.
Additionally, pull the emergency release cord (typically a red handle hanging from the opener mechanism) to disengage the door from the chain system. This allows you to manually operate the door and proceed with the next steps.
Step 2: Inspect the Chain and Track
Carefully examine the chain and track for any signs of damage, wear, or debris that could interfere with the garage door’s operation. Look for loose or frayed sections of the chain, and ensure that it sits securely within the track.
Additionally, check the track for any bends, dents, or obstructions that might hinder smooth movement. Clear away any dirt, grease, or other debris to ensure optimal performance. If you notice significant damage to the chain or track, consider consulting a professional for repairs or replacements before proceeding.
Step 3: Position Ladder and Remove Tension
Place a sturdy ladder securely beneath the garage door mechanism, ensuring it is stable and positioned for easy access to the chain system. Before making any adjustments, disconnect the garage door opener from its power source to prevent accidental activation during the process.
Carefully locate the tension adjustment bolt or spring, which is typically found near the chain assembly. Using the appropriate tools, gently loosen the bolt or spring to release tension in the chain. Be cautious not to over-loosen, as this could cause the chain to sag excessively. This step is critical for safely proceeding with any further adjustments or maintenance.
Step 4: Remove and Replace Damaged Parts
Inspect the garage door opener’s components thoroughly to identify any damaged or worn-out parts that need replacement. Common parts that may require attention include the chain, sprockets, or rollers. Use the appropriate tools to carefully detach the damaged part, ensuring you take note of how it was originally installed.

For example, if you’re replacing a sprocket, make sure to remove any securing screws or bolts in the correct sequence. Once the defective part is removed, install the replacement piece by aligning it properly and securing it tightly with the necessary fasteners. Double-check for proper alignment and stability to ensure the opener functions smoothly.
Step 5: Reattach Door to Track
After replacing the damaged components, the next step is to reattach the door to the track. Begin by carefully lifting the door and aligning it with the track rollers. Ensure the rollers are securely seated within the tracks on both sides. Once aligned, check for smooth movement by gently raising and lowering the door.
If any resistance is felt, inspect the track and rollers for potential obstructions or misalignment. Tighten any loosened screws or bolts holding the rollers in place to secure the door. Finally, test the operation of the opener with the door attached to confirm everything is functioning as intended.
Step 6: Test the Door
Once your garage door is back on the track, it’s time to test it out. It should move smoothly up and down without any unusual noises or sticking. If you notice any problems, you may need to readjust the tension on the springs or check for any other issues that may be causing the problem.
Following these steps on how to put garage door back on chain, your garage door should now be back to its fully functioning state. Remember to always use caution when working with heavy equipment and if you are unsure about any steps, it’s best to consult a professional for help.
Maintenance Tips for Your Garage Door
In order to keep your garage door functioning properly, there are a few maintenance tips you can follow:
- Regularly clean and lubricate all moving parts such as rollers, hinges, and tracks.
- Check for any loose bolts or screws and tighten them if necessary.
- Inspect the weather stripping and replace it if it becomes damaged or worn out.
- Keep an eye on the springs and cables for signs of wear and tear, as these are crucial components to the functioning of your garage door.
- Test the balance of your garage door by disconnecting it from the opener and manually lifting it. It should stay in place when opened halfway; otherwise, you may need to adjust the tension on the springs.
- Check the safety sensors regularly to make sure they are properly aligned and functioning correctly.
- If your garage door has a chain or belt drive opener, inspect and lubricate it according to the manufacturer’s instructions.
Frequently Asked Questions
Q: How Often Should I Inspect and Maintain My Garage Door?
A: It is recommended to inspect and maintain your garage door at least once a year. However, if you notice any issues or strange noises, it is important to address them immediately.
Q: Can I Perform Maintenance on My Own, or Should I Hire a Professional?
A: While there are some simple maintenance tasks that can be done by homeowners, it is always best to consult with a professional for proper inspection and maintenance of your garage door. They have the expertise and tools necessary to identify any potential problems or hazards.
Q: What Are Some Common Maintenance Tasks for Garage Doors?
A: Some common maintenance tasks for garage doors include cleaning and lubricating all moving parts, testing the balance of the door, inspecting tracks and rollers for debris or damage, checking the weather stripping and sealant around the door, and tightening any loose hardware. These tasks should be performed regularly to ensure the proper functioning and safety of your garage door.

Q: How Often Should Garage Door Maintenance be Performed?
A: It is recommended to perform general maintenance tasks on garage doors at least once a year. However, if your door is used frequently or exposed to harsh weather conditions, it may need more frequent maintenance. Regularly checking and performing minor maintenance tasks can also help prevent major issues from arising. It’s important to address any problems or concerns with your garage door as soon as possible to avoid potential safety hazards and costly repairs in the future.
Q: What are Some Signs That Your Garage Door Needs Maintenance?
A: If you notice any unusual sounds, such as grinding or squeaking, when operating your garage door, it may be a sign that it needs maintenance. Other signs to look out for include jerky or slow movements, uneven lifting, or difficulty in opening and closing the door. Additionally, if you see any visible damage or wear on the garage door itself or its hardware, it’s important to address these issues promptly. Ignoring these signs can lead to more extensive damage and costly repairs down the line.
Regularly inspecting your garage door and its components can also help you catch any potential problems early on. Look for any loose or damaged parts, such as springs, cables, rollers, and hinges. Check for rust or corrosion in metal parts and make sure all moving parts are properly lubricated.
Conclusion
Proper maintenance and timely repairs are essential for ensuring the longevity and smooth operation of your garage door. By staying proactive and addressing any issues as they arise, you can prevent costly repairs and extend the life of your door.
Regular inspections and care will not only keep your garage door functioning efficiently but also provide peace of mind knowing your home remains secure and accessible. Remember, a well-maintained garage door is an investment in both safety and convenience. Thanks for reading this article on how to put garage door back on chain.
I am Rick. I grew up helping my dad with his handyman service. I learned a lot from him about how to fix things, and also about how to work hard and take care of business. These days, I’m still into fixing things- only now, I’m doing it for a living.
I’m always looking for new ways to help people grow and develop. That’s why I have created this blog to share all my experience and knowledge so
that I can help people who are interested in DIY repair.