
The integrated HomeLink universal transceiver system is one of the most convenient features in a modern Toyota Highlander. This brilliant piece of technology eliminates the need for bulky, clip-on garage door remotes that get lost, run out of batteries, or clutter up your sun visor. With just the touch of a button built right into your vehicle, you can seamlessly open your garage door or front gate, streamlining your arrival home and enhancing your vehicle’s security. But to take advantage of this feature, you first need to sync it with your home’s devices.
Many new owners feel intimidated by this process, assuming it involves complex wiring or technical knowledge. The good news is that this couldn’t be further from the truth. The article’s purpose is to provide a clear, step-by-step guide that demystifies the entire procedure. Learning how to program Toyota Highlander garage door opener systems is a simple process that most owners can complete in just a few minutes, regardless of their technical expertise. This guide will walk you through identifying your equipment, preparing for the process, and completing the synchronization, including troubleshooting common issues.
Understanding Your HomeLink System and Garage Door Opener
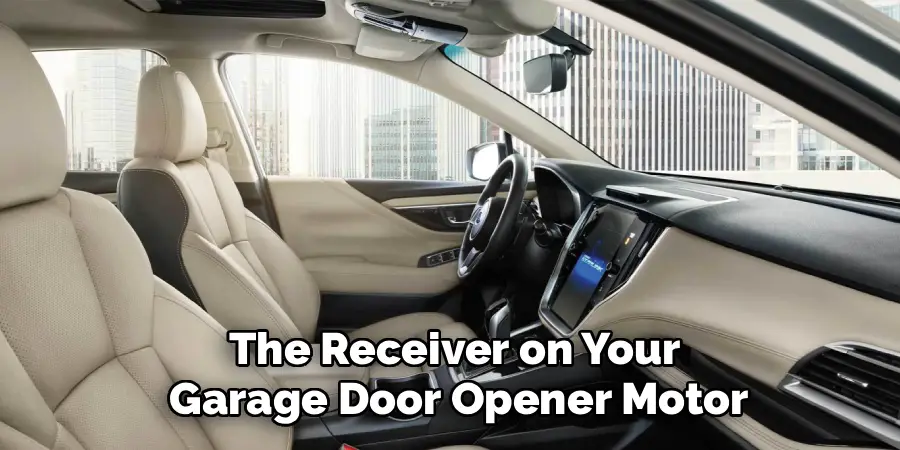
Before beginning the programming process, it is essential to identify the components you will be working with. Understanding your specific equipment in both the vehicle and the garage will make the steps clearer and help you troubleshoot if you run into any snags. The process involves two main components: the HomeLink transmitter in your Highlander and the receiver on your garage door opener motor.
Locating the HomeLink Buttons in Your Highlander
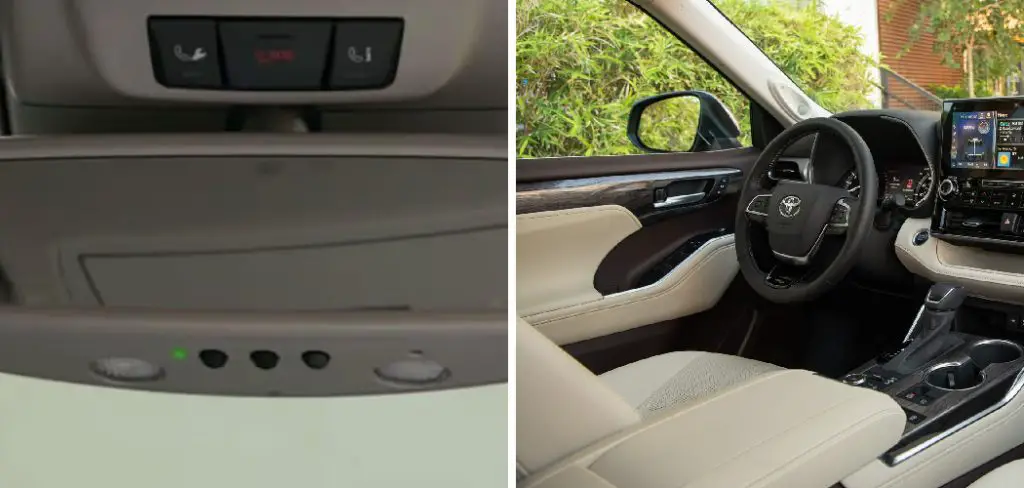
First, you need to find the HomeLink system in your vehicle. In most Toyota Highlander models, the three programmable buttons are integrated directly into the rearview mirror. You will see three small buttons, often marked with Roman numerals (I, II, III) or dots, along with a small LED indicator light.
This indicator light is crucial, as its behavior—flashing slowly, flashing rapidly, or turning solid—will provide feedback throughout the programming process. In some trims or model years, these buttons might be located in the overhead console near the map lights, but the functionality remains the same.
Identifying Your Garage Door Opener Type (Rolling vs. Fixed Code)
Next, you need to understand what type of garage door opener you have. This is the most critical distinction in the programming process. Older models, generally manufactured before 1995, use a “fixed code” system. This means the remote sends the same signal every time. Modern openers, however, use “rolling code” technology for enhanced security. These systems, often branded as Security+ or IntelliCode, change the access code with every use. This prevents would-be thieves from capturing your remote’s signal and gaining access to your garage.
The programming process for both is similar, but rolling-code systems require one extra but very important step: pressing the “Learn” button on the garage door motor unit itself to finalize the synchronization. If your garage door opener was made in the last two decades, it almost certainly uses a rolling code.
Pre-Programming Checklist: What to Do First
A successful and safe programming experience starts with a few moments of preparation. Getting everything in order before you begin will ensure the process goes smoothly and without interruption.
Safety Precautions
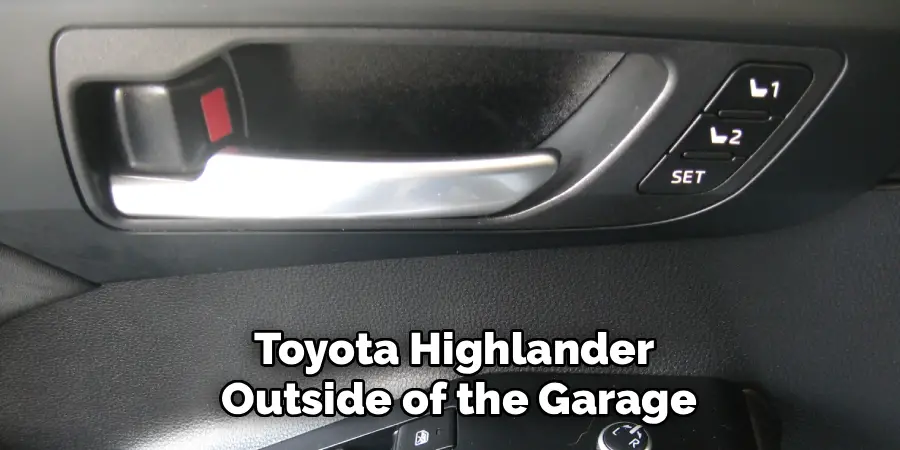
Your garage door is a heavy, moving piece of equipment, so safety should always be your top priority. Before you start, make sure the path of the garage door is completely clear of people, pets, vehicles, and any other objects. For the programming process, it is recommended that you park your Toyota Highlander outside of the garage, but facing the door. This ensures a strong, clear signal between the vehicle and the opener’s motor unit without the risk of the door closing on your vehicle.
Gathering Your Equipment
You will need two key items to complete the programming. First, you must have your original, functional handheld remote for the garage door opener. The HomeLink system learns by copying the signal from this remote, so it must be in good working order with a fresh battery. Second, if you have a rolling-code opener, you will need a sturdy ladder or step stool. This is to provide safe and easy access to the “Learn” button, which is located on the motor unit hanging from the ceiling in your garage.
Clearing Previous Codes from Your HomeLink System
Whether your Highlander is brand new or you bought it used, it is always best practice to start with a clean slate. A used vehicle may have codes from the previous owner stored in the system, and even a new vehicle may have been tested at the factory. Performing a master reset ensures there are no lingering signals that could interfere with your programming.
The Reset Procedure
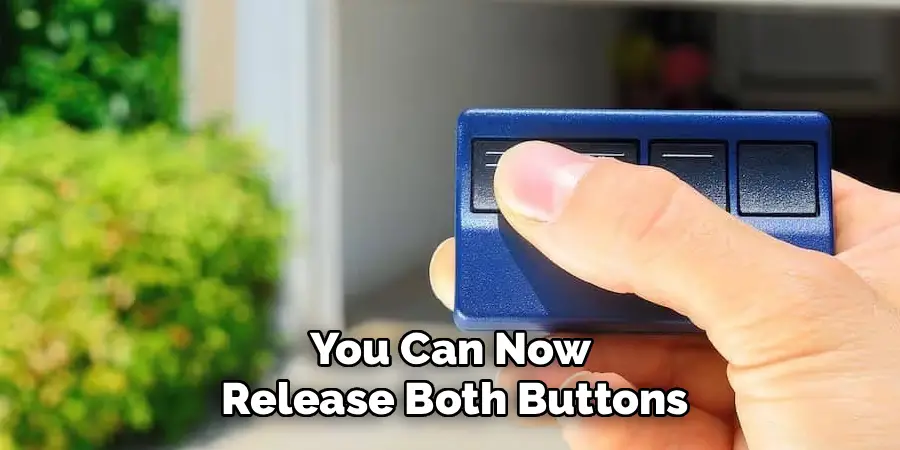
The process for clearing the memory is simple. First, turn your Highlander’s ignition to the “On” or “Accessory” position to provide power to the HomeLink system. Next, press and hold the two outer HomeLink buttons (typically labeled I and III) simultaneously. Continue to hold them down for approximately 10 to 20 seconds. You will see the indicator light on the mirror or console turn on and then, after several seconds, begin to flash rapidly. This rapid flashing is the confirmation signal. Once you see it, you can release both buttons. This action successfully erases all previously programmed codes from all three buttons, giving you a fresh start.
How to Program Toyota Highlander Garage Door Opener: Step-by-Step Instructions
With the preparation complete and the system reset, you are now ready for the main event. This section will walk you through the core programming steps. For most users with modern openers, this will be a two-part process: training the HomeLink button with your remote and then syncing it with the motor unit.
Step 1: Position the Original Remote
Sit in the driver’s seat of your Highlander. Take your original handheld garage door remote and hold it approximately 1 to 3 inches away from the HomeLink buttons on your rearview mirror or overhead console. The exact distance can sometimes make a difference, so you may need to adjust it slightly if the signal isn’t picked up on the first try.
Step 2: Press and Hold Both Buttons
Decide which of the three HomeLink buttons you want to program for your garage door. Now, simultaneously press and hold both the desired HomeLink button in your Highlander and the button on your original remote. Continue to hold both buttons down as the system begins to learn.
Step 3: Watch the Indicator Light
This is where you will get your feedback. As you hold both buttons, the HomeLink indicator light will at first flash slowly. This indicates that it is in “learning mode” and is trying to capture the signal from your handheld remote. Keep holding both buttons down. After several seconds, the light’s pattern will change from a slow flash to a rapid flash. This rapid flashing confirms that the HomeLink system has successfully learned and stored the frequency from your remote. You can now release both buttons.
Step 4: Test the Connection
Now it is time for a quick test. Press and release the HomeLink button you just programmed. Watch the indicator light and the garage door. If your garage door begins to move, congratulations—you have a fixed-code opener, and your programming is complete! However, for the vast majority of users, the door will not move. Instead, the indicator light on the mirror will flash rapidly for a few seconds and then turn solid. This is not a failure; it simply means you have a rolling-code system and must proceed to the final synchronization step.
Step 5: Activate the “Learn” Button on the Motor Unit
This step finalizes the link between your Highlander and your rolling-code opener. Safely use your ladder to access the garage door motor unit hanging from the ceiling. On the back or side of the unit, you will find a “Learn” or “Smart” button. It is often a small square button, sometimes located near an antenna wire, and may be purple, red, orange, or green. Press and release this button once. Do not hold it down, as that can erase all remotes from the opener’s memory. When you press it, an adjacent LED will typically light up, indicating that the opener is in pairing mode. You now have approximately 30 seconds to complete the next step.
Step 6: Finalize the Sync from Inside the Car
Quickly and safely return to the driver’s seat of your Highlander within that 30-second window. Firmly press and release the newly programmed HomeLink button for two seconds. The main lights on your garage door opener may flash, or you may hear an audible click from the motor unit. Press and release the same HomeLink button again for two seconds. By the second or third press, your garage door should activate. The sync is now complete.
Programming for Gated Communities and Other Devices
The utility of the HomeLink system extends beyond just your primary garage door. You can program the other two buttons to operate a wide range of radio-frequency-activated devices, further decluttering your life.
Syncing with Community Gates
If you live in a gated community, you can program one of the HomeLink buttons to operate the entrance gate. The process is the same as programming a garage door. You will need a functional remote for the gate to train the HomeLink button. Most modern community gates also use rolling-code technology, so you may need to contact your property manager to find the “Learn” button on the gate’s main control box to complete the final synchronization step.
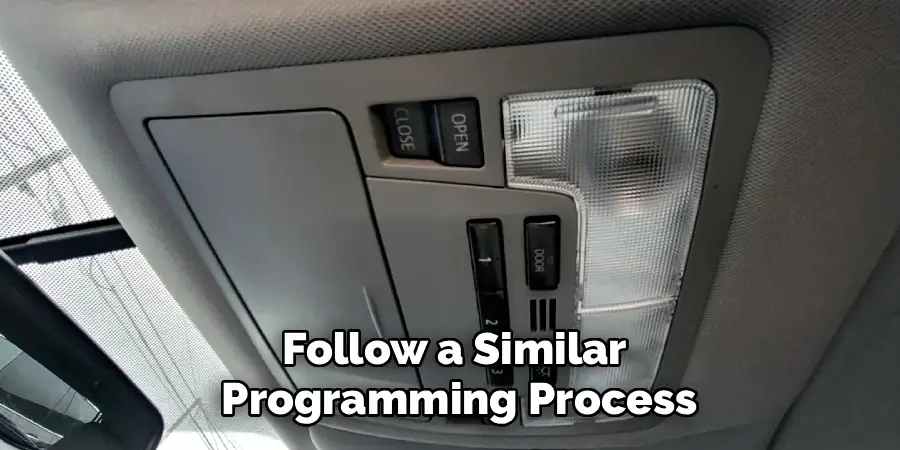
Controlling Home Lighting
In addition to gates, the HomeLink system is compatible with certain brands of RF-controlled home automation systems. This allows you to program a button to turn on lights inside your home as you pull into the driveway, adding another layer of safety and convenience. You will need a HomeLink-compatible lighting kit and will follow a similar programming process.
Troubleshooting Common Programming Issues
While the process is generally straightforward, a few common issues can arise. If you run into a problem, one of these simple fixes will likely solve it.
The HomeLink Light Won’t Change to a Rapid Flash
If you are holding both the remote and the HomeLink button, but the indicator light never changes from a slow flash to a rapid one, the system is not successfully learning the code. The most common cause for this is a weak battery in your original handheld remote. Try putting a fresh battery in the remote and attempting the process again. You can also try varying the distance of the remote from the mirror, from one inch up to a foot away, as this can sometimes help capture the signal.
The “Learn” Button Step Isn’t Working
If you have successfully trained the HomeLink button (it flashes rapidly when pressed), but it will not sync with the motor unit, the issue lies in the final step. First, double-check that you are completing the step within the 30-second time limit, as the pairing mode on the opener is brief. Second, refer to your garage door opener’s user manual. Some brands have slight variations in the “Learn” button procedure. For example, some may require you to press the HomeLink button three times instead of two to finalize the sync.
Programming a Canadian Garage Door Opener
Some older garage door openers sold in Canada operate on a different frequency that requires a slightly different training technique. If the standard method of holding the remote button down continuously fails, try this instead: while holding the HomeLink button, press and release your remote button every two seconds (“cycling” it) until the HomeLink indicator light changes to a rapid flash.
Tips for Maintaining Your Programmed Buttons
Once your system is set up, a little bit of knowledge can help you manage it in the future.
What to Do When Selling Your Car
For your security, you must clear your personal codes before you sell or trade in your Highlander. Simply perform the master reset procedure described earlier by holding down the two outer HomeLink buttons until the indicator light flashes rapidly. This ensures the new owner will not have access to your home.
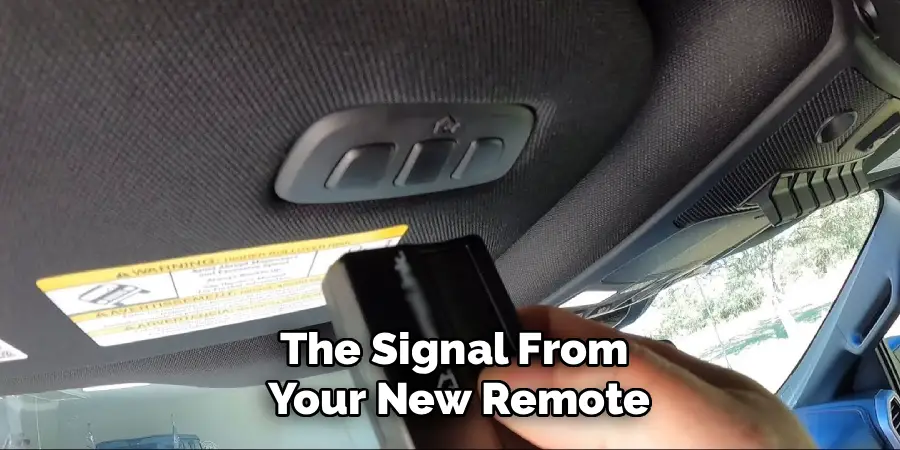
Reprogramming After a New Opener Installation
If you get a new garage door opener installed at your home, you will need to reprogram your Highlander to work with it. You do not necessarily need to perform a master reset. You can simply follow the entire programming process again for the specific button you want to use, overwriting the old code with the signal from your new remote.
Conclusion
The integrated HomeLink system in your Toyota Highlander is a powerful feature designed to simplify your daily routine. By taking just a few minutes to sync it with your garage door, you can add a level of convenience and security that you will appreciate every time you leave or return home.
Reiterate that knowing how to program Toyota Highlander garage door opener buttons is a valuable skill that puts you in full control of your vehicle’s features. The process is not complex; by following the steps of clearing the memory, training the button with your remote, and syncing with the motor unit, any owner can successfully link their vehicle to their home. Ditch the old remote for good and enjoy the seamless, integrated experience that your Highlander offers.
I am Rick. I grew up helping my dad with his handyman service. I learned a lot from him about how to fix things, and also about how to work hard and take care of business. These days, I’m still into fixing things- only now, I’m doing it for a living.
I’m always looking for new ways to help people grow and develop. That’s why I have created this blog to share all my experience and knowledge so
that I can help people who are interested in DIY repair.