Programming multiple garage door openers offers numerous benefits, particularly for families or multi-car households. By learning how to program multiple garage door openers, you can control several doors using a single remote or keypad, enhancing convenience and reducing clutter. This streamlined access simplifies daily routines—minimizing the need to carry multiple remotes—and adds an extra layer of security, as you can ensure that only authorized individuals can operate each door.
The programming process itself is straightforward, typically involving a few key steps: first, preparing the garage door opener system, programming each individual opener, and finally, testing the setup to confirm that everything works seamlessly. By following these steps, you can make managing access to your garage simpler and more efficient.
Understanding Garage Door Opener Systems
Types of Garage Door Openers
There are three primary types of garage door openers: chain drive, belt drive, and screw drive. The chain drive opener is the most common and affordable option; it uses a metal chain to lift the door, making it sturdy and reliable but often noisier than other types. The belt drive opener features a rubber belt, which allows for quieter operation and smoother performance, making it ideal for homes with bedrooms adjacent to the garage.
Lastly, the screw drive opener operates on a threaded steel rod, and while it has fewer moving parts—making it generally low maintenance—it may be slower in operation than the other types. While each opener type has specific programming procedures depending on the manufacturer, the basic programming principles—such as pairing the remote with the opener—remain largely consistent across all models.
Overview of Remote Controls and Keypads
Modern garage door systems are equipped with remotes and keypads that enhance convenience by enabling the control of multiple garage doors. Many remotes feature multi-button designs, allowing each button to be assigned to operate different doors. This feature is particularly beneficial for households with multiple garage doors. Programming these remotes typically involves a simple sequence of button presses that link the remote to each individual opener, ensuring that each door can be accessed quickly and easily without the need for multiple remotes.
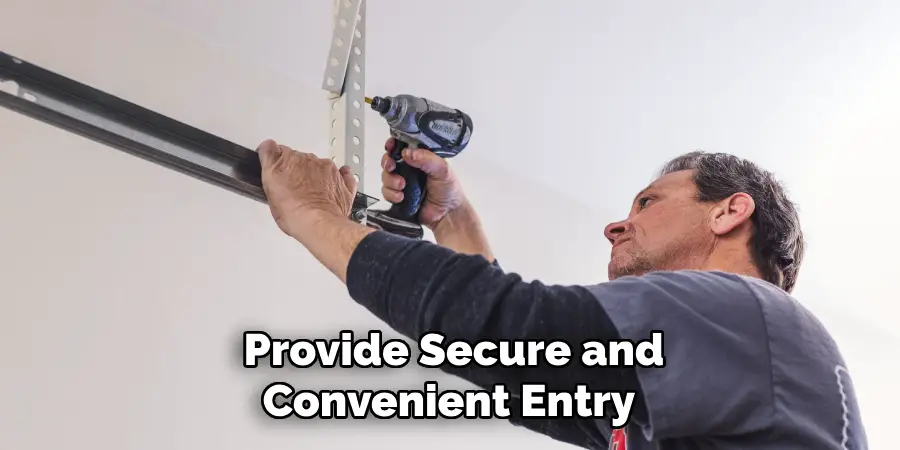
Keypads mounted on the outside of the garage provide secure and convenient entry as well, allowing family members to gain access with a code instead of a remote. This multifaceted approach not only enhances accessibility but also bolsters security by ensuring that only those with the appropriate codes can operate the doors.
Preparing for Programming
Gathering Necessary Tools and Materials
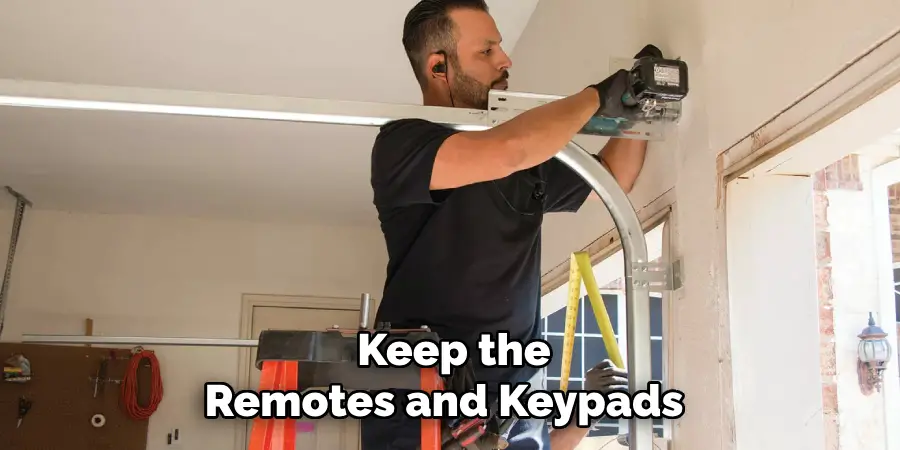
Gathering all the necessary tools and materials before diving into the programming process is crucial to ensure a smooth experience. You will need the garage door remotes, any keypads you plan to use, and access to the garage door openers. If your garage has high openings or if you need to reach any components mounted out of reach, a sturdy ladder may also be necessary. Having everything prepared beforehand will save time and frustration during the programming process.
Safety Considerations
Safety should always be a priority when programming garage door openers. Begin by ensuring that all garage doors are fully closed during the setup to prevent accidental openings while you work. Keep the remotes and keypads out of the reach of children to avoid unintended activations. Being mindful of these precautions will help you conduct the programming process safely and efficiently, minimizing potential hazards.
How to Program Multiple Garage Door Openers: Programming the First Garage Door Opener
Locating the “Learn” Button on the Motor Unit
To begin programming your first garage door opener, you must locate the “Learn” button on the motor unit. This button is typically found on the back or side of the garage door’s motor housing. Depending on the manufacturer, it can be easily identified by its distinct color, which is usually either green, red, orange, or purple. Before starting the programming process, ensure that you have a clear view of this button.
Programming the Remote Control
Once you have located the “Learn” button, it’s time to program your remote control. Start by pressing and releasing the “Learn” button on the motor unit. After a few seconds, you should see the indicator light on the motor unit illuminate and then begin to flash. This signals that the unit is in programming mode. Next, take your remote control and choose the button you want to assign to this garage door opener.
Press and hold this button until the indicator light on the motor unit flashes rapidly, then release the button on the remote. This action assigns the selected remote button to control the first garage door opener, confirming that the programming has successfully linked the remote to the opener.
Testing the First Remote
Finally, it’s essential to test the newly programmed remote. Simply press the assigned button on the remote control to see if the first garage door opens and closes properly. If it operates as expected, the programming was successful, and you are one step closer to easily managing multiple garage doors.
How to Program Multiple Garage Door Openers: Programming Additional Garage Door Openers
Preparing the Second Garage Door Opener
To program your second garage door opener, ensure that the “Learn” button on its motor unit is easily accessible, just as you did with the first opener. Check that the garage door is fully closed and prepare your remote for the next steps. Having all tools and materials at hand will streamline the process, allowing you to focus on successfully programming the additional opener.
Programming the Second Remote Button
Now that you’re prepared locate the “Learn” button on the motor unit of the second garage door opener. Just like before, press and release this button. Wait until the indicator light illuminates and flashes, indicating that it is in programming mode. Next, grab your remote control. Choose a different button from the remote to assign for the second garage door opener. Press and hold this button until the motor unit light flashes rapidly, then release the button. This action links the chosen button on the remote to the second garage door opener, completing the programming for the additional opener.
Testing and Finalizing the Setup
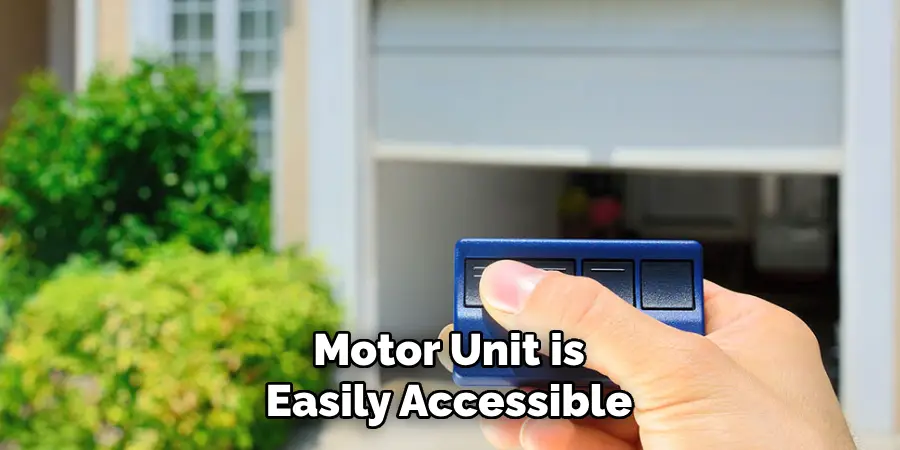
Once you’ve programmed the second remote button, it’s paramount to test both remotes thoroughly. Press the first button to verify that the first garage door opens and closes correctly, then test the second button to ensure that it activates the second garage door. These steps should be repeated multiple times to confirm the reliability of the setup. Doing so will secure smooth operations and enhance your ability to manage multiple garage doors effectively.
Programming a Wireless Keypad for Multiple Doors
Setting Up the Keypad for Multiple Doors
To effectively program a wireless keypad for multiple garage doors, begin by selecting a convenient location for mounting it—ideally, near your garage entrance for easy access. Make sure the area is free of obstructions and direct sunlight to prolong the keypad’s lifespan. Once mounted, gain access to the keypad’s initial setup mode. This typically involves pressing and holding a specific button (often indicated in the user manual) until the LED indicator lights up, signaling that the keypad is ready for programming.
Assigning Different Codes for Each Door
Start by programming the first garage door opener. Locate the “Learn” button on the motor unit and press it, waiting for the indicator light to flash. Next, return to the mounted keypad and enter the unique code you wish to assign to the first garage door, then press the “Enter” key.
The indicator light will usually blink or remain steady, indicating successful programming. Repeat this process for the second garage door opener: press the “Learn” button again, wait for the indicator light, then input a different code on the keypad and press “Enter.” Continue this sequence for any additional doors, ensuring each door has its distinct code. Keeping track of assigned codes is beneficial for seamless operation.
Testing and Troubleshooting
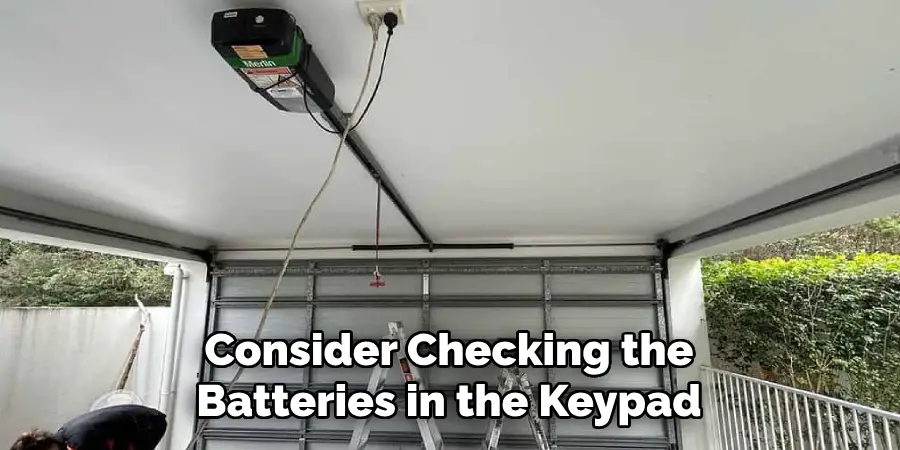
After programming, it’s crucial to test the keypad to ensure that each code opens the correct garage door. Simply enter the assigned code for the first door and check its function. If you encounter issues, ensure that the codes are entered correctly and that the keypad is within range of the garage door opener. If problems persist, consider checking the batteries in the keypad and resetting the system if necessary.
Programming with a Smart Garage Door System
Overview of Smart Garage Door Openers
Smart garage door systems have revolutionized the way we manage our garage access. Through applications like MyQ or Aladdin Connect, these systems allow users to control multiple garage doors from the convenience of their smartphones.
This integration simplifies the process of operating each door and enhances convenience by providing real-time notifications and remote access capabilities. By having all doors managed through a single app, users can unlock impressive features such as monitoring door status, setting schedules, and receiving alerts, all promoting enhanced security and ease of use.
Connecting Multiple Doors to the App
To begin programming your garage doors into the smart app, start by downloading and installing the relevant application on your smartphone. Follow the prompts to create an account, and then proceed to add your garage doors. Most apps will require you to enter the serial numbers associated with each opener; this information is typically found on the motor unit or packaging.
Alternatively, some systems allow the scanning of QR codes for easy setup. Once entered, you can assign a unique name to each garage door—such as “Main Door” or “Side Door”—for easier identification within the app. After naming, proceed to sync each door with the app, ensuring that the device remains within the appropriate range of the smart hub.
Testing the Smart System
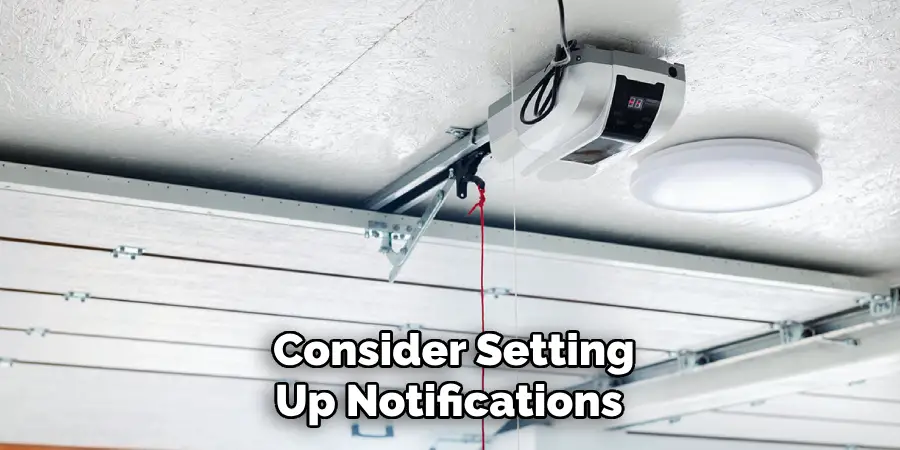
After you’ve successfully connected all garage doors to the app, it’s essential to conduct tests. Open and close each garage door using the app to verify that they respond correctly. This will confirm that the programming was successful. Additionally, consider setting up notifications for door status changes, which can provide added security by keeping you informed whenever your garage doors are opened or closed.
Conclusion
In summary, understanding how to program multiple garage door openers involves several key steps: firstly, programming the remotes by pressing the “Learn” button on each motor unit and linking it to the desired remote button; secondly, setting up a wireless keypad with unique codes for each door; and finally, connecting your garage doors to a smart system for seamless smartphone control.
To ensure success, meticulously follow each step and always refer to the specific manual for your garage door opener model for tailored instructions. Remember, programming multiple garage door openers is a manageable task that significantly enhances the convenience and functionality of your home. With a little patience and attention to detail, you can confidently implement these systems for optimal garage management.
I am Rick. I grew up helping my dad with his handyman service. I learned a lot from him about how to fix things, and also about how to work hard and take care of business. These days, I’m still into fixing things- only now, I’m doing it for a living.
I’m always looking for new ways to help people grow and develop. That’s why I have created this blog to share all my experience and knowledge so
that I can help people who are interested in DIY repair.

