A garage door opener is a modern convenience we often take for granted until it stops working. Whether you have purchased a new remote, replaced the batteries in an old one, or simply lost the connection, re-establishing the link between your remote and the motor unit is a common task.
For owners of a Legacy garage door opener, known for their reliability, the process can seem a bit mysterious. You press the button, but nothing happens. The good news is that you do not need to call a professional for this simple fix. Pairing the remote is a straightforward process that takes only a few minutes. This guide will provide clear, beginner-friendly instructions on how to pair legacy garage door opener models, ensuring you can get your door moving again without any frustration.

Before you begin, it’s important to have everything you need on hand and ensure your garage door opener is in good working condition. By following the steps carefully, you can avoid common pitfalls and have your remote paired quickly. Whether you’ve misplaced your instruction manual or simply never had to deal with this before, this guide will walk you through the process with ease. Let’s get started!
How to Pair Legacy Garage Door Opener: A Step-by-Step Guide
Step 1: Locate the “Learn” Button on the Motor Unit
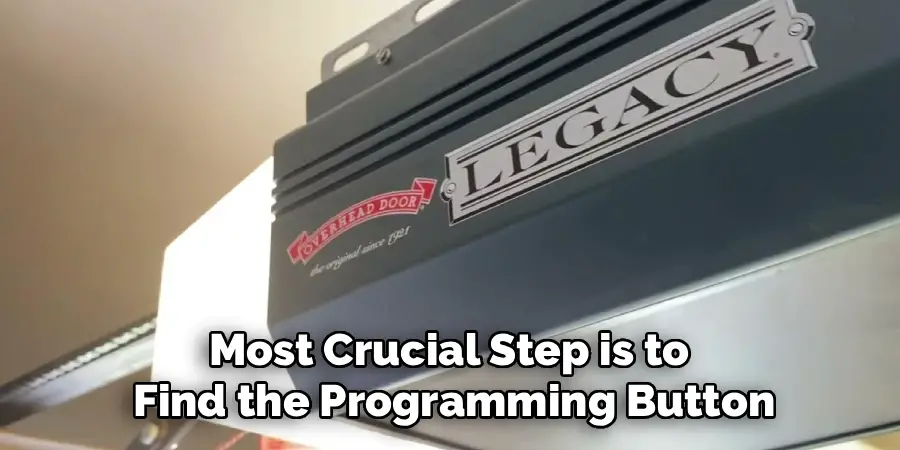
The first and most crucial step is to find the programming button on the main motor unit, which is the large box mounted to your garage ceiling. On most Legacy models, this is called the “Learn” or “Code” button. You will typically find it on the back or side of the unit, often near the antenna wire and a small LED indicator light. You may need a stepladder to access it safely. The button is usually square or round and may be a different color from the surrounding casing, such as black, red, or purple, to make it stand out. Finding this button is the key to putting the opener into programming mode, which allows it to receive the signal from a new remote.
Step 2: Clear Existing Codes from Memory (Optional but Recommended)
If you are replacing a lost or stolen remote, it is a smart security practice to first erase all existing codes from the opener’s memory. This ensures that only the remotes you currently possess can operate the door. To do this, press and hold the “Learn” button on the motor unit. Keep it held down for about six to ten seconds. You will see the small LED indicator light next to the button illuminate and then turn off. Once the light goes out, release the button. This action wipes the opener’s memory clean, deactivating all previously paired remotes and keypads. Now you can start fresh, knowing your garage is secure.
Step 3: Press the Learn Button
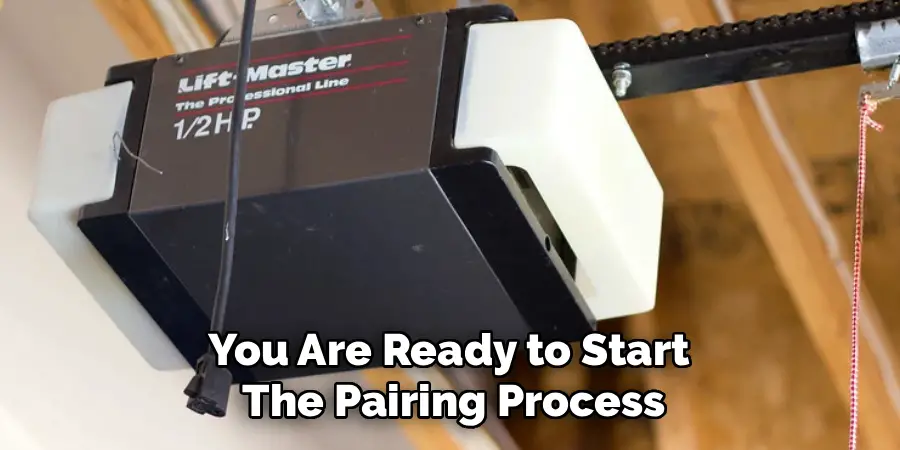
Now you are ready to start the pairing process. With your remote in hand, climb your ladder and press the “Learn” button on the motor unit one time, then release it immediately. Do not hold it down this time, as that would trigger the memory wipe function you may have just performed. A single, quick press will put the opener into programming mode. The LED indicator light next to the “Learn” button will begin to blink or will light up steadily, depending on your specific model. This light signals that the opener is actively listening for a new remote control signal. You now have a limited window, typically about 30 seconds, to complete the next step.
Step 4: Press and Release the Button on Your Remote
With the LED light on the motor unit flashing, it is time to introduce your remote. Pick up the remote control you wish to program and press the button you want to use to open the garage door. You should see the main light bulbs on the garage door opener unit flash once, or you might hear an audible click from the motor. This is the confirmation that the opener has successfully received and accepted the remote’s signal. If the lights do not flash, the remote’s battery might be low, or it may not be compatible with your opener model.
Step 5: Press the Remote Button Again to Confirm
Some Legacy models require a second press to finalize the connection. After the main lights on the motor unit have flashed, press the same button on your remote control one more time. This second press confirms the pairing and solidifies the code in the opener’s memory. This completes the programming sequence. The LED light next to the “Learn” button on the motor unit will stop flashing and turn off, indicating that the system has exited programming mode. Your remote and opener are now officially synced and ready for testing. This is the final confirmation in the process of how to pair legacy garage door opener remotes.

Step 6: Test the Remote Control
Now for the moment of truth. Step away from the ladder and ensure the area under the garage door is completely clear of any people or obstructions. Aim your newly programmed remote at the motor unit and press the button you just programmed. The garage door should begin to move, either opening or closing depending on its current position. If the door operates as expected, congratulations, you have successfully completed the pairing process. If it does not move, there might have been an issue with the timing. You can simply start over from Step 3 and try the sequence again.
Step 7: Program Additional Remotes if Necessary
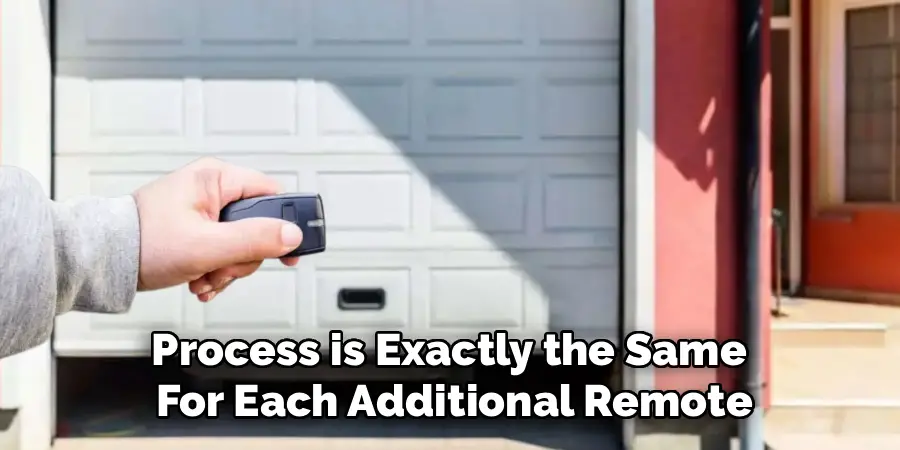
If you have other remotes for different family members or vehicles, now is the perfect time to program them as well. The process is exactly the same for each additional remote. Simply press the “Learn” button on the motor unit once to enter pairing mode again. Then, press the desired button on the new remote until the opener’s lights flash. Follow up with the second confirming press. You can repeat this sequence for all the remotes you need to program. Just remember that the opener stays in pairing mode for only about 30 seconds each time, so you will need to repeat the “Learn” button press for each individual remote.
Frequently Asked Questions
Why Is My Remote Not Pairing with the Opener?
If the pairing process fails, there are a few common culprits.
- Compatibility: Ensure your remote is compatible with your specific Legacy model. The color of the “Learn” button often indicates the radio frequency required.
- Battery: A weak or dead battery in the remote is a very common issue. Try replacing it.
- Range: You may be standing too far from the motor unit. Stand within a few feet of the opener when programming.
- LED Interference: Some LED light bulbs can interfere with the opener’s radio frequency. Try removing the bulbs from the opener and then attempting to pair again.
How Do I Know Which Remote Is Compatible with My Legacy Opener?
The easiest way is to identify the color of the “Learn” button on your motor unit. Legacy openers (manufactured by Overhead Door) use the same technology as Genie. For example, a red “Learn” button often corresponds to a 390 MHz frequency with Intellicode technology. Check your opener’s manual or look up the model number online to find the exact remote specifications required for your unit.
What Is the “Learn” Button and What Does It Do?
The “Learn” button is the gateway to your opener’s programming functions. A short press puts the unit into “pairing mode,” allowing it to accept the signal from a new remote or keypad. A long press (holding it down for several seconds) typically erases all previously programmed devices from the opener’s memory. This is a crucial security feature if a remote is ever lost or stolen.
Can I Pair a Universal Remote to My Legacy Opener?
Yes, most modern universal garage door remotes are compatible with Legacy openers. When you purchase a universal remote, it will come with a compatibility chart and specific instructions for different brands. You will need to follow the remote’s instructions to set it to the correct frequency for your Legacy unit before you begin the pairing process using the “Learn” button.
How Many Remotes Can I Pair to One Opener?
Most Legacy garage door openers can store codes for about seven wireless devices. This includes remote controls, wireless keypads, and built-in vehicle remotes (like HomeLink). If you try to program an eighth device, the opener will typically delete the first remote that was programmed to make room for the new one.
Conclusion
Syncing a remote to your garage door opener is a simple task that empowers you as a homeowner, saving you from a potentially expensive and unnecessary service call. The key to success lies in correctly identifying the “Learn” button and following the press-and-release sequence in a timely manner. By clearing old codes for security and methodically programming each remote, you can restore convenience and ensure your garage is accessible only to those you trust.
Do not be intimidated by the technology in your garage ceiling; it was designed for easy user interaction. Now that you have this clear guide on how to pair legacy garage door opener systems, you can confidently tackle the job and enjoy the simple satisfaction of a button that works every time.
I am Rick. I grew up helping my dad with his handyman service. I learned a lot from him about how to fix things, and also about how to work hard and take care of business. These days, I’m still into fixing things- only now, I’m doing it for a living.
I’m always looking for new ways to help people grow and develop. That’s why I have created this blog to share all my experience and knowledge so
that I can help people who are interested in DIY repair.