Pairing your Clicker garage door opener can seem daunting at first, especially if you’re new to it. Thankfully, most models are designed with user-friendliness in mind. Whether you’ve just purchased a new remote or want to reprogram an old one, the process is straightforward and can usually be completed in just a few minutes. By the end of this guide, you’ll know all the necessary steps to connect your Clicker remote to your garage door opener seamlessly.
Before starting, locate the “Learn” button on your garage door opener. This button is typically found on the back or side of the motor unit, often near the antenna wire. Once located, press and release the “Learn” button. A small indicator light will either turn on or blink, signaling that the opener is ready to pair. Within 30 seconds, press and hold the programmed button on your Clicker remote until the garage door opener light blinks or you hear a click, indicating successful pairing. Test the remote by pressing the button to see if the door operates as expected. If it doesn’t work, repeat the steps to ensure everything is correctly aligned.
This article walks you through a step-by-step guide on how to pair a Clicker garage door opener, exploring the tools and methods you’ll need to succeed. Homeowners of all experience levels can use this guide to get their garage doors functioning exactly as they should.
Why Pairing a Clicker Garage Door Opener is Important
Your garage door opener serves as more than just a convenience—it’s key to your home’s security and accessibility. A properly paired Clicker remote allows you to open or close your garage on demand, offering a level of automation that can improve daily life.
Imagine hunting for house keys during a downpour or fumbling with locks when you’re in a rush. A paired garage door remote spares you those struggles. Additionally, ensuring your remote aligns with your door opener ensures the system isn’t vulnerable to external interference or glitches. Pairing the opener is a small step toward maintaining a functional, secure, and convenient home.
Now, let’s get into the exact steps to accomplish this task.
10 Step-by-Step Guide to Pair a Clicker Garage Door Opener
Step 1: Confirm Compatibility Between Your Remote and Door Opener
Before starting the pairing process, it’s crucial to confirm that your Clicker remote is compatible with your garage door opener. Check the manufacturer’s guide or product description for a list of compatible brands and models. Most Clicker remotes support a range of systems, but it’s always best to double-check.
If you’re unsure about compatibility, look for the opener’s year of manufacture. Clicker remotes typically work with devices made after 1993, when rolling code technology became the standard.
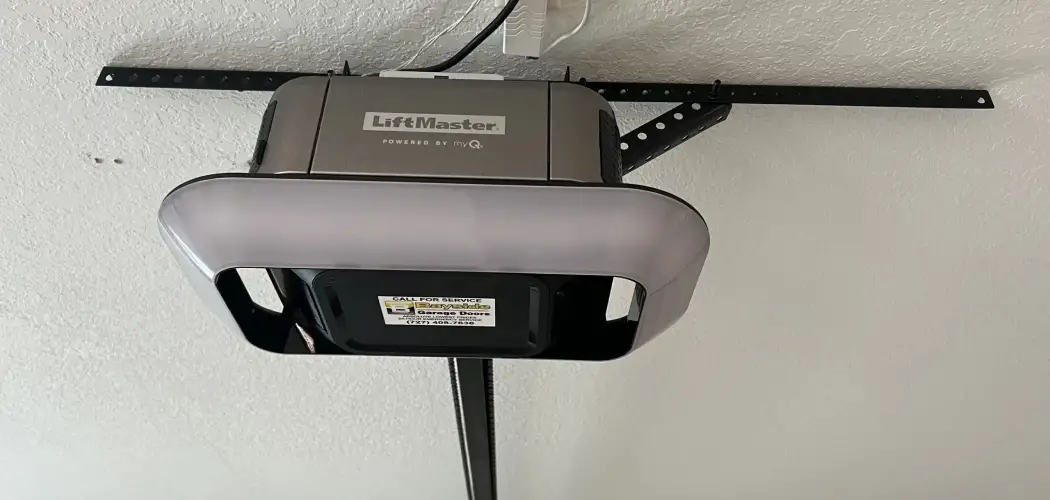
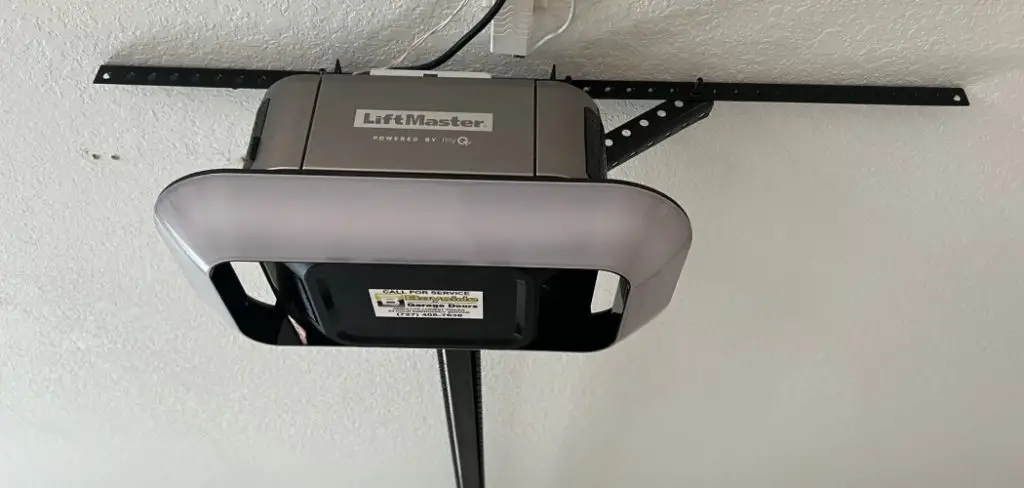
Step 2: Locate the Learn Button on the Garage Door Opener
The learn button is key to programming your Clicker remote. Typically, this button is located on the back or side of the garage door motor unit. To access it, you may need a stepladder.
The button is often labeled “Learn” and may come in different colors like orange, purple, or yellow depending on the manufacturer. Identifying this button can save you unnecessary troubleshooting later.
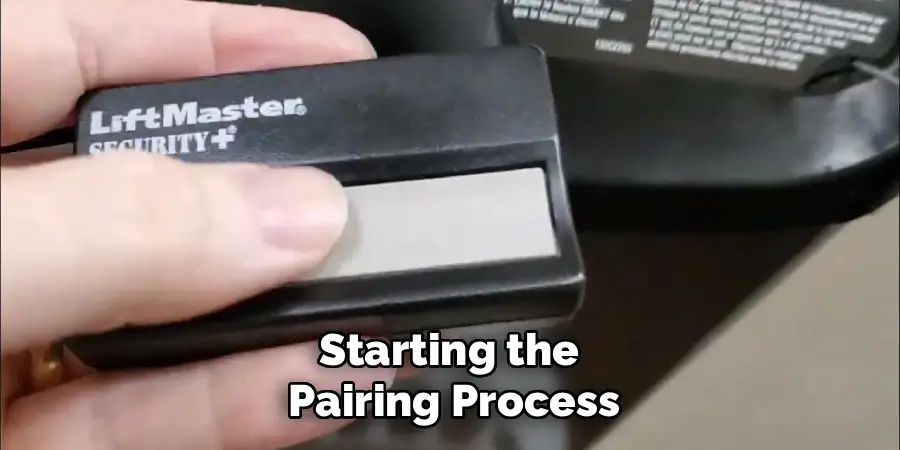
Step 3: Prepare the Remote Control
Ensure your Clicker garage door opener remote has fresh batteries before programming. Outdated or weak batteries can interfere with the signal and disrupt the pairing process.
Once the batteries are checked, bring the remote close to the motor unit to ensure uninterrupted communication between the two devices.
Step 4: Press the Learn Button on the Opener
With the remote and garage motor within reach, press the learn button on the motor unit. A light on the unit usually flashes or comes on, signaling it’s ready to sync. Be mindful of the time frame; many systems only stay in programming mode for 30-60 seconds.
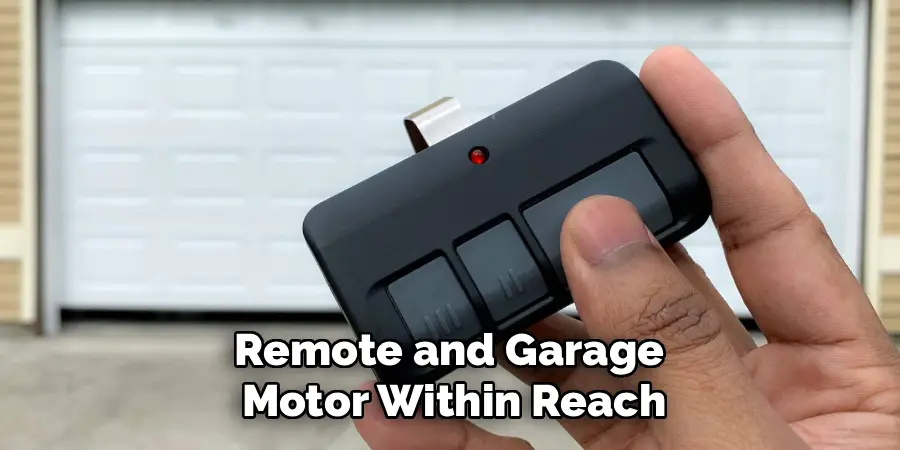
This step is crucial in learning how to pair your Clicker garage door opener. Be prepared to act quickly to proceed to programming.
Step 5: Press the Corresponding Button on the Remote
Choose the button on your Clicker remote that you want to use for your garage door. Press and hold this button for a few seconds while the opener remains in learning mode. If successful, you’ll notice the garage door opener’s indicator light flash or hear the motor activate briefly.
Step 6: Test the Connection
After programming, test the connection immediately. Press the programmed button on your Clicker remote to confirm the garage door opens or closes properly. If the door doesn’t respond, you may need to repeat the process from Step 4.
Consistency is key—ensure that each step was followed correctly before attempting again.
Step 7: Reset If Necessary
If you encounter persistent issues, consider resetting your Clicker remote or the garage door opener. Most remotes include reset instructions that can clear prior programming. Be sure to consult your user manual for detailed instructions.
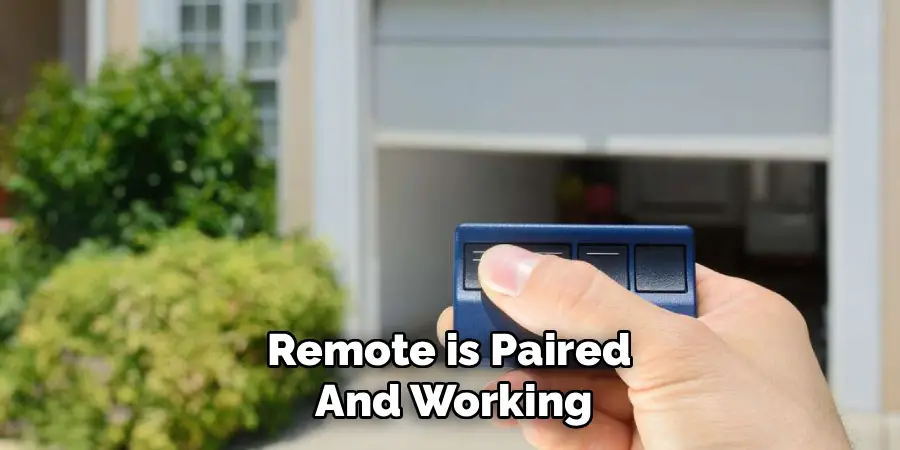
Step 8: Secure Your System
Once the remote is paired and working, secure your garage by ensuring no additional remotes can interfere. Many garage door systems allow you to clear all previously paired remotes for security purposes.
Step 9: Consult Troubleshooting Resources
If problems persist, consult the user manual for both the Clicker remote and your garage door opener. Manufacturer websites and customer service lines often provide excellent troubleshooting support.
Step 10: Maintain Your Remote
Finally, check your Clicker remote periodically to ensure it remains in good working condition. Replace batteries as needed and clean the device to keep it functional for years. As a general rule, keep your remote out of direct sunlight and extreme temperatures to preserve its lifespan.
Additionally, consider programming a second Clicker remote as a backup in case the primary one gets lost or damaged. This way, you can still access your garage without any inconvenience.
Benefits of a Clicker Opener
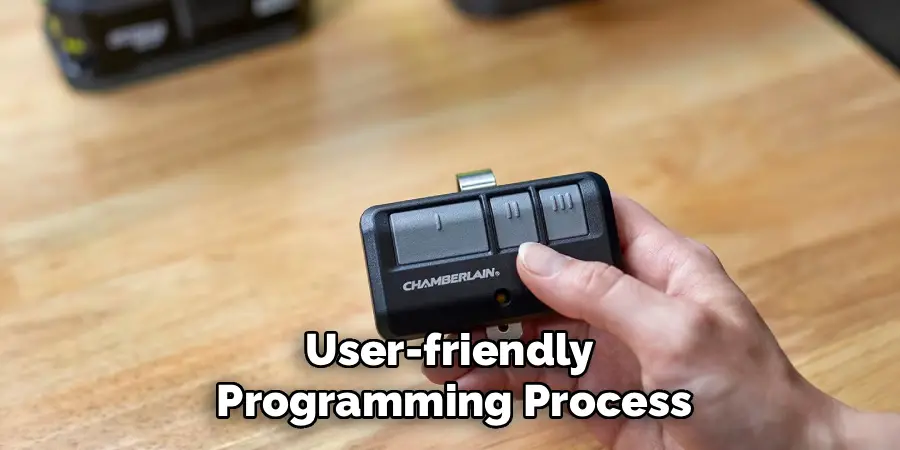
A Clicker opener offers numerous advantages, making it a valuable addition to your garage system. One of the primary benefits is its universal compatibility, allowing it to work seamlessly with a wide range of garage door brands and models. This eliminates the need for multiple remotes and simplifies garage access. Additionally, Clicker openers provide enhanced convenience through their ability to control more than one garage door or gate with a single device.
Another key advantage is their user-friendly programming process, which makes setup quick and straightforward, even for those unfamiliar with remote technology. Clicker openers also prioritize security, often featuring rolling codes or other encryption methods to prevent unauthorized access. Durable and built to withstand everyday use, these openers are designed for reliability and longevity, giving homeowners peace of mind and hassle-free access to their garages.
Frequently Asked Questions
How do I reset my Clicker remote if it stops working?
To reset your Clicker remote, locate the reset button (often a pinhole on the back of the remote). Use a thin object like a paperclip to press and hold the button for approximately 10 seconds. This action clears any previously paired devices, allowing you to reprogram it from scratch.
Do I need tools to pair my Clicker garage door opener?
No special tools are required to pair most Clicker garage door openers. All you need is the remote, fresh batteries, and a safe way to access the motor unit, such as a step ladder. Compatibility and instructions may vary, so having the user manual on hand is helpful.
Can I program more than one remote to the same garage door?
Yes, most garage door opener systems allow multiple remotes to be programmed. Follow the same pairing process for each device. Be aware that your unit may have a capacity limit for paired devices, often around five remotes.
What should I do if my garage door opener doesn’t have a visible learn button?
If your motor unit lacks a visible learn button, consult the user manual. Older models may require different settings or accessories for pairing. Another solution is checking for a “DIP switch” configuration inside the motor unit to pair remotes manually.
Does the pairing process differ between garage door opener brands?
While the general steps remain the same, slight variations exist between brands. For example, Chamberlain, LiftMaster, and other common manufacturers use different colors or placements for the learn button. Always refer to brand-specific instructions to ensure successful pairing.
Conclusion
With the right steps, learning how to pair a Clicker garage door opener is an accessible process for everyone. Whether you’re programming your remote for the first time or refreshing old connections, having a functioning opener offers unmatched convenience and security.
If you encounter any issues during the pairing process, it’s important to double-check the compatibility of your garage door opener with the Clicker remote. Ensure the remote has fresh batteries and that you are pressing the learn button correctly. Patience and attention to detail can go a long way in resolving common setup problems.
By following this guide, you can tackle potential challenges with confidence and enjoy the ease of operating your garage door at the push of a button. Take the time to program your remote today and experience just how beneficial a paired Clicker opener can be for your home.
I am Rick. I grew up helping my dad with his handyman service. I learned a lot from him about how to fix things, and also about how to work hard and take care of business. These days, I’m still into fixing things- only now, I’m doing it for a living.
I’m always looking for new ways to help people grow and develop. That’s why I have created this blog to share all my experience and knowledge so
that I can help people who are interested in DIY repair.