Pairing your Chamberlain garage door opener may sound technical, but it’s a straightforward process once you know the steps. Whether you’ve just installed a new Chamberlain opener or you’re reprogramming a remote, this guide will walk you through it. Learning how to pair Chamberlain garage door opener is essential for controlling access to one of the most significant entry points to your home—your garage.
Start by locating the “Learn” button on your Chamberlain garage door opener. This button is typically found near the antenna wire on the opener motor housing. Once you’ve found it, press and release the “Learn” button. You’ll notice that an indicator light on the opener will start blinking, signaling that it’s ready to pair. Next, take your remote control and press the button you wish to program within 30 seconds of activating the “Learn” button. The garage door opener light will flash, or you may hear a click, confirming that the pairing process is complete. Test the remote to ensure it successfully operates the garage door. Repeat these steps for additional remotes if needed.
This task is beginner-friendly, and with Chamberlain’s advanced technology, the process is efficient and reliable. By the end of this guide, you’ll have the know-how to pair your opener successfully. Plus, we’ll answer common questions, provide troubleshooting advice, and explain why mastering these steps is so valuable.
Why Pair a Chamberlain Garage Door Opener?
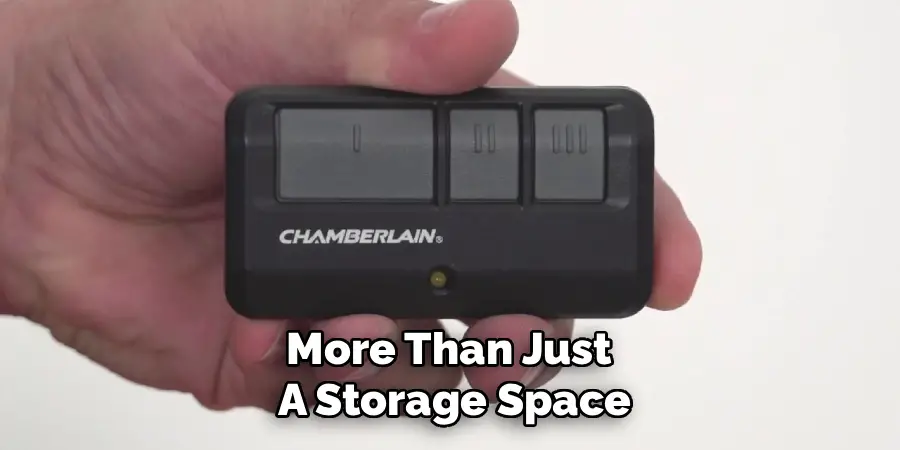
Your garage is more than just a storage space—it’s part of your home’s security system. Properly pairing your Chamberlain garage door opener ensures that your remote or keypad communicates securely with the opener itself. Without pairing the devices correctly, you may face functionality issues, such as your remote not opening the garage or incompatibility with smart home systems.
Another reason this is so critical is Chamberlain’s role in modern convenience. Many models integrate with Wi-Fi and apps like myQ, allowing you to monitor and control your garage from anywhere in the world. When paired correctly, these features can keep your home secure, allow package deliveries inside your garage (if you enable Amazon Key), and make life much easier for your family.
Simply put, pairing maximizes the benefits of having a smart garage door opener, bridging the gap between mechanical operation and digital convenience.
Step-by-Step Guide on How to Pair Chamberlain Garage Door Opener
Step 1: Identify Your Chamberlain Opener Model
Before beginning the pairing process, identify the model of your Chamberlain garage door opener. This information is usually on a label attached to the back or side of the motor housing. The model number helps you locate specific instructions in the user manual if needed.
With Chamberlain’s wide variety of openers, it’s important to confirm compatibility with your desired remote, wall control, or keyless entry system. Some older models may not support modern features, while others might require additional accessories for pairing. Knowing your model guarantees that you’ll follow the correct steps and avoid unnecessary headaches.
Step 2: Prep the Remote or Keypad for Pairing
Next, prepare the device you want to pair with the opener. For a remote, this typically involves ensuring the battery is fresh. Similarly, if you’re using a keypad, verify that it’s functioning properly and not low on battery. A sluggish or malfunctioning device can complicate the process.

During this step, make sure you have easy access to the control panel or learn button on the garage door opener. Depending on your specific model, this button might be located on the back of the motor or near the light cover. Being ready at this point ensures a smooth process.
Step 3: Locate the Learn Button
The learn button is a critical feature for pairing your devices. Usually, it’s a small colored button—yellow, orange, purple, or red—found on the motor unit of your Chamberlain opener. You might need a ladder to access it safely, so have one handy.
Once located, familiarize yourself with how the button works. Pressing it once activates pairing mode, but holding it down might erase existing connections. Handle this step patiently to avoid disrupting previous pairings unintentionally.
Step 4: Activate Pairing Mode
Press the learn button to activate the pairing mode on your opener. A small LED light near the button often indicates that the device is ready for pairing. The LED might blink steadily or remain solid, depending on the model.
Timing is crucial here because pairing mode usually lasts for only 30 seconds. Once activated, proceed immediately to program your remote or keypad. Missing the timing window may require you to repeat this step, but with practice, it becomes second nature.
Step 5: Program the Remote Control
To program your remote, press and hold the button you wish to use to operate the garage door. While holding the button, ensure you’re within close range of the motor unit. After a few seconds, you should hear a click or see the LED light on your motor flash, confirming the successful pairing.
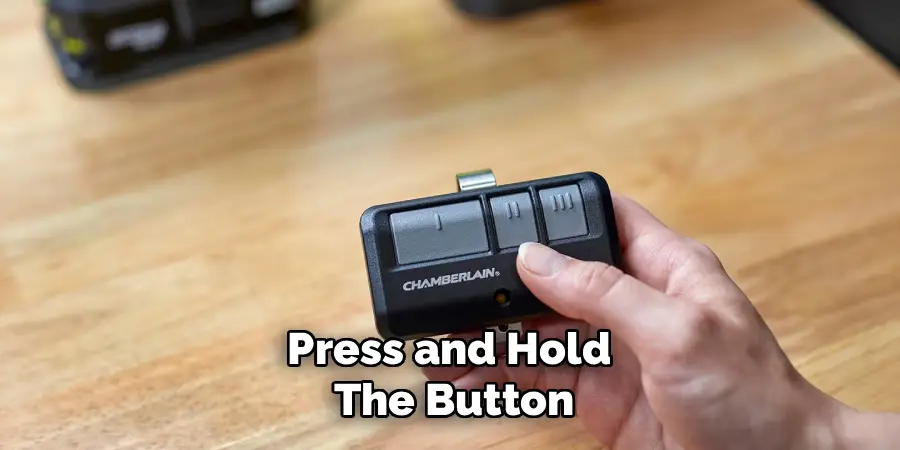
If no confirmation occurs, don’t panic. Double-check the battery in the remote, and ensure you held the button long enough. Repeat the process as needed, testing the remote after each attempt to verify functionality.
Step 6: Configure the Keypad Code
For keypads, pairing works a bit differently. Start by entering a desired 4-digit code on the keypad, then press and hold the enter button. Some models require you to press the learn button on the motor again during this step, so follow any specific instructions for your Chamberlain model.
Once paired, test the keypad by entering the code you set. Successful operation means the keypad and garage door opener are now synced. If it doesn’t work, re-enter the code carefully to avoid mistakes and reset the pairing process if necessary.
Step 7: Test the Devices
After programming, take a moment to test your remote and keypad. Stand a short distance away and ensure both devices operate your garage door smoothly. If successful, these tests confirm that the pairing process was completed correctly.
Remember, testing is an integral part of ensuring security. A properly paired opener only responds to devices you’ve programmed, minimizing the chances of unauthorized access.
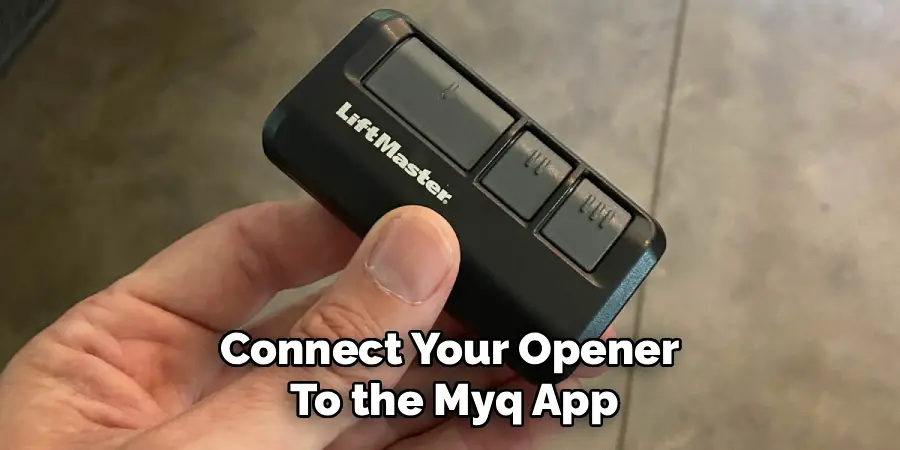
Step 8: Address Connectivity Features
For newer models, connect your opener to the myQ app for enhanced functionality. Start by downloading the app, creating an account, and following the on-screen instructions to pair the opener with your Wi-Fi network. This step takes the process one step further, enabling you to monitor and control your garage remotely.
Step 9: Reset and Retry If Necessary
Sometimes, pairing doesn’t succeed on the first try due to a missed step or an overlooked detail. If needed, hold the learn button to reset the setup and clear any incomplete pairings. Then, retrace your steps carefully and try again.
Step 10: Ensure Regular Maintenance and Battery Checks
Finally, maintain your devices to avoid future issues with pairing. Replace remote and keypad batteries annually, inspect the motor unit for wear, and ensure your garage door opener remains in prime working condition.
Explore Smartphone Integration Benefits
Integrating your garage door opener with your smartphone offers unparalleled convenience and security. By connecting through a dedicated app, you can monitor and control your garage door remotely, allowing you to check its status or open and close it from anywhere. This feature is particularly useful for granting access to visitors, deliveries, or service personnel when you’re not at home. Additionally, smartphone integration often includes real-time alerts, ensuring you’re notified immediately if your garage door is opened unexpectedly. With this technology, you gain enhanced control and peace of mind, making it a valuable addition to your setup.
Smartphone integration with garage door openers is not limited to just remote access and control. Many models also offer scheduling capabilities, allowing you to set specific times for your garage door to open and close automatically. This can be especially helpful for those with busy schedules or forgetful tendencies, as it eliminates the need to manually operate the garage door.
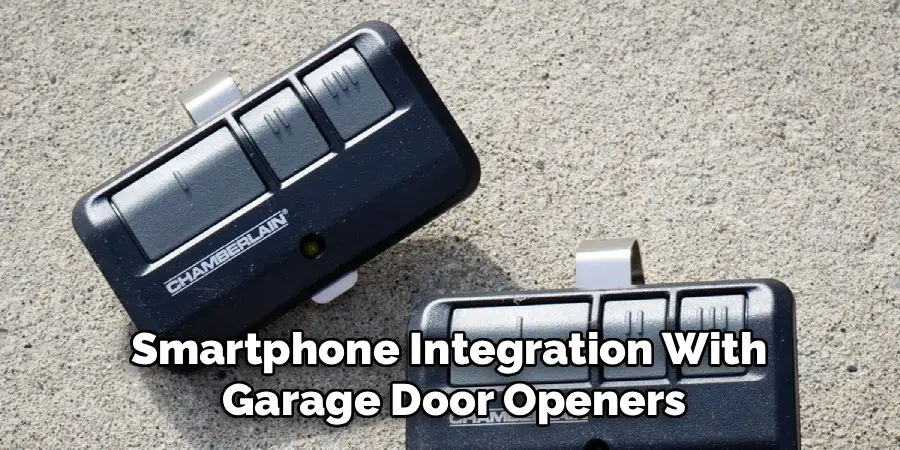
Furthermore, some smartphone-integrated garage door openers come equipped with geofencing technology. This means that the opener can detect when you are within a certain distance from your home and automatically open or close the garage door accordingly. This is a convenient feature for those who frequently come and go from their homes, as it eliminates the need to use a separate app
Frequently Asked Questions
1. What should I do if my remote doesn’t pair?
Start by verifying the battery in your remote. Dead or weak batteries are the most common problem during pairing. Next, ensure you are within range of the opener and that you pressed the correct button. Lastly, reset the system by holding the learn button until the LED light goes out, then start the programming process again.
2. Can I pair multiple remotes to one Chamberlain opener?
Yes, Chamberlain garage door openers typically allow pairing with several remotes. Simply repeat the programming process for each remote following the same instructions. Keep in mind there’s usually a limit (often up to 5 remotes) determined by your opener model.
3. Is it possible to pair a smartphone with my Chamberlain opener?
Yes, many newer Chamberlain models support smartphone integration via the myQ app. Once you’ve paired the physical remote or keypad with the opener, connect it to your Wi-Fi network using the app’s setup guide. This modern feature lets you control your garage from virtually anywhere.
4. Why won’t my keypad accept the code I set?
Double-check that you followed the pairing steps correctly. Ensure the learn button was pressed to activate pairing mode, and try re-entering the code. If problems persist, reset the keypad by holding down the enter button for 30 seconds before starting over.
5. How secure is a paired Chamberlain garage door opener?
A paired Chamberlain opener uses rolling code technology, meaning the access code changes after every use. This feature prevents hackers from intercepting your signal, making the system highly secure against unauthorized entry.
Conclusion
Now that you’ve learned how to pair Chamberlain garage door opener, you’re equipped to take full advantage of its features. From convenient remote operation to smartphone integration with the myQ app, pairing unlocks your opener’s full potential.
Remember to regularly maintain your Chamberlain garage door opener to ensure its longevity and optimal performance. Clean the sensors, check the alignment, and replace the batteries in your remote when necessary. Proper care and attention can significantly extend the life of your opener and keep it functioning smoothly for years to come.
Whether you’re programming a remote for the first time or troubleshooting a keypad, these steps offer the guidance you need. Take action today, and enjoy the seamless functionality and security that a properly paired opener provides!
I am Rick. I grew up helping my dad with his handyman service. I learned a lot from him about how to fix things, and also about how to work hard and take care of business. These days, I’m still into fixing things- only now, I’m doing it for a living.
I’m always looking for new ways to help people grow and develop. That’s why I have created this blog to share all my experience and knowledge so
that I can help people who are interested in DIY repair.