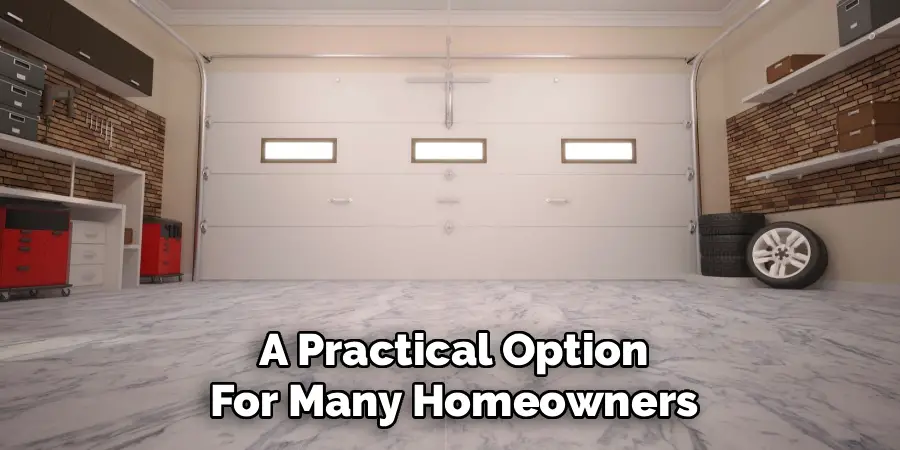
A freshly painted garage floor can completely transform the look and function of your space. Beyond visual appeal, painting the floor boosts durability, making cleaning up oil, dust, or everyday messes a far easier task. For many homeowners, the process may seem daunting at first. However, with the right preparation and materials, learning how to paint garage floors is a manageable project that yields long-lasting rewards. This comprehensive guide walks you through each stage, equipping you with practical tips and strategies for achieving professional-quality results.
Why You Should Consider Painting Your Garage Floor
Deciding to paint your garage floor delivers more than just a cosmetic upgrade. If you’re tired of looking at dull, stained concrete, a fresh coat of paint dramatically brightens the space, creating a cleaner and more inviting environment. Paints and epoxy coatings add a crucial protective layer, defending the surface against oil spills, automotive fluids, chemical stains, and everyday wear. A sealed garage floor also collects less dust, preventing it from getting tracked into the home, and makes sweeping up debris far easier. Ultimately, a painted floor offers enhanced functionality while adding tangible value to your home.
Choosing the Right Paint: Epoxy vs. Latex Paint
Understanding Epoxy Coatings
Epoxy coatings are recognized for their exceptional toughness. Available in both one-part and two-part formulas, epoxies chemically cure into a dense, durable surface that stands up to heavy automotive traffic, dropped tools, and exposure to chemicals. Two-part epoxy, which requires mixing resin and hardener, offers superior longevity and resistance to abrasion—ideal for high-traffic garages and anyone seeking a true industrial-grade finish.
Understanding Latex Floor Paint
Acrylic latex floor paint provides a more user-friendly entry point for garage floor painting. These water-based paints are straightforward to apply, dry quickly, and clean up easily with soap and water. While latex paints don’t offer the extreme durability of epoxies, they function well in garages that see lighter use, and their lower cost makes them a practical option for many homeowners.
Making the Right Choice for Your Needs
When deciding which paint to use, think about your garage’s primary function and your expectations. If you need a floor that handles frequent car use, heavy tools, or regular exposure to chemicals, a two-part epoxy is the clear winner. For low-traffic garages, or if you want a straightforward and budget-friendly update, a high-quality acrylic latex paint can serve well for years with proper maintenance. Consider both initial investment and desired lifespan when making your choice.
Essential Tools and Materials
For Preparation
Thorough preparation is critical for long-term results. Gather a pressure washer (or a hose with a good nozzle), a stiff-bristled brush, concrete degreaser, etching solution, and a shop vacuum. These tools ensure the surface is clean and properly textured before painting begins.
For Application
For a smooth, consistent finish, you’ll need paint trays, roller frames with extension poles, 3/8-inch nap rollers suited to smooth surfaces, a quality paintbrush for cutting in edges, painter’s tape to protect walls and fixed objects, and mixing sticks.
For Safety
Safety should never be overlooked. Equip yourself with safety glasses, chemical-resistant gloves, and a quality respirator whenever using etchers or working with concentrated cleaning solutions. Proper ventilation in the garage is particularly important during both prep and painting.
A Step-by-Step Guide on How to Paint Garage Floors
Step 1: Clear and Clean the Floor
Begin by removing all items—vehicles, shelving, storage bins, and anything else—from the garage. Sweep away loose dust and grit. Pay particular attention to stains from oil or grease. Apply a heavy-duty degreaser and scrub thoroughly with a stiff-bristle brush. Rinse away the residue and use a shop vacuum or mop to eliminate excess water and dirt. This preparatory cleaning is the foundation for a professional-quality paint job.
Step 2: Repair Cracks and Etch the Concrete
After the floor is dry, inspect for cracks or holes, no matter how minor. Use a concrete patch compound to fill these defects, following label directions for curing time. Once repairs are set, it’s time to etch the surface. Etching opens up microscopic pores in the concrete so paint will adhere properly. Always wear gloves and eye protection for this step. Prepare the etching solution by diluting according to package directions, then carefully spread it across the entire floor, working in small sections. Allow it to fizz and react, scrubbing stubborn spots for extra effect. After the recommended dwell time, rinse thoroughly to eliminate all traces of acid and neutralizer.

Step 3: Thoroughly Rinse and Dry the Floor
With cleaning and etching complete, you must ensure the floor is absolutely free of any chemical residue. Rinse multiple times if needed, making sure water runs clear. Patience is crucial here—paint should never be applied unless the floor is 100% dry. Depending on the weather and airflow, this drying process can take 24 to 48 hours. To confirm dryness, tape a piece of clear plastic to the floor and wait overnight. If no moisture beads appear under the plastic, the floor is ready for painting.
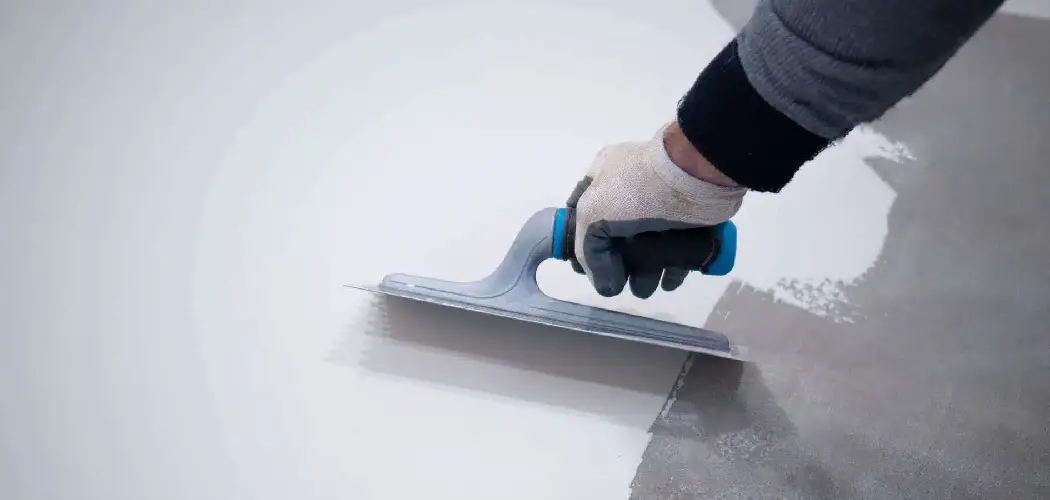
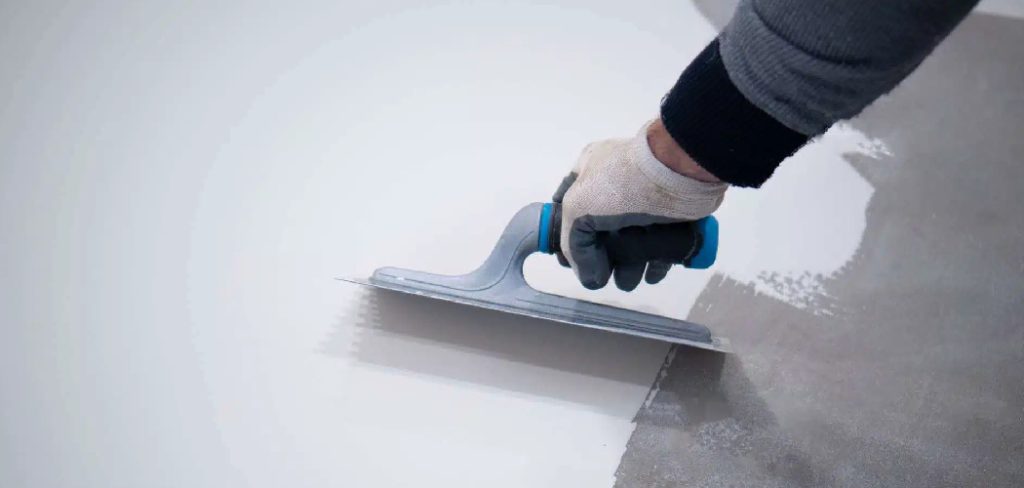
Step 4: Apply the First Coat of Paint
Once dry, use painter’s tape to mask walls, baseboards, or any surfaces you don’t want to paint. Start by “cutting in” the edges with a brush, creating a neat border a few inches wide around the perimeter. Move on to the main area, pouring paint into a tray and loading the roller evenly. Work in manageable sections, rolling the paint on in a consistent, overlapping pattern to maintain a wet edge and achieve a seamless finish. Avoid going back over dried paint, which can leave lines or an uneven surface.
Step 5: Apply the Second Coat and Optional Decorative Flakes
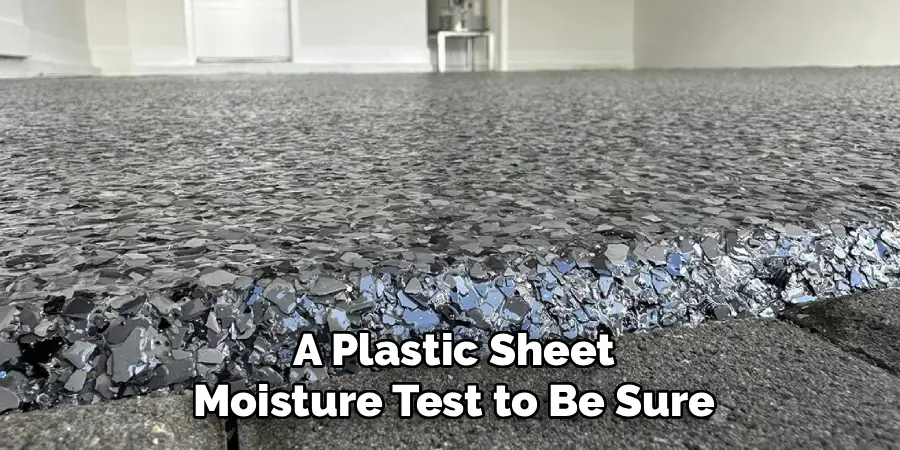
After the first coat is dry—usually four to eight hours, but always check manufacturer guidelines—apply a second coat. This enhances both color coverage and long-term durability. If you desire a textured appearance or added traction, sprinkle decorative color flakes onto the freshly painted surface while it’s still wet. Allow the final coat to dry thoroughly before progressing to the next step.
Avoiding Common Painting Mistakes
The Pitfall of Poor Preparation
Shortcuts during cleaning or skipping the etching process are the most common reasons paint jobs fail. If grease, dust, or old coatings remain, the new paint will peel or lift within months. Dedicating effort to prepping the floor is the single most reliable way to ensure your garage makeover will last for years.
Dangers of Applying Paint to a Damp Floor
Applying any coating to concrete that’s still holding moisture will almost always cause bubbling, blistering, or poor adhesion. Even if the surface looks dry, hidden moisture can ruin your work. Always perform a plastic sheet moisture test to be sure.
Applying Coats Too Thickly
A heavy hand with the roller or brush can lead to pooling, runs, and slow drying. Thick coats not only extend drying and curing times, but can also result in a patchy, uneven appearance. For best results, always apply two thin coats rather than one thick one.
Curing Time and When to Use Your Garage
Dry to the Touch vs. Fully Cured
Don’t confuse a floor that is “dry to the touch” with one that is fully cured. While a newly painted garage floor might feel dry within 8 to 12 hours, it remains susceptible to damage like scuffs, tire impressions, or peeling until it has thoroughly cured.
When to Use Your Garage Again
For most products, light foot traffic is safe after 24 hours, but driving or parking vehicles should be avoided for at least 72 hours—and ideally up to one week—for best results. Always consult the manufacturer’s guidelines, as certain epoxies or specialty coatings may require extended curing times to ensure durability and longevity.
Long-Term Maintenance and Care
A little maintenance goes a long way in preserving your garage floor’s coating and ensuring its longevity. Implementing consistent care routines can keep the surface looking and performing its best over the years.
Regular Cleaning Tips
Sweep the floor regularly to remove sand, grit, and debris that could potentially scratch or wear down the coating. Promptly clean up spills to prevent stains and damage, particularly from substances like oil or chemicals that may harm the surface.
Preventing Wear and Tear
Placing protective mats or pads under vehicle tires is a proactive step to minimize the risk of “hot tire pickup.” This common issue occurs when heat and pressure from tires cause even well-cured coatings to peel or lift over time. Additionally, occasional mopping with a mild detergent helps maintain the surface’s shine and overall cleanliness.
Conclusion
Painting your garage floor is a highly effective way to improve appearance, function, and cleanliness. The process, while requiring careful prep and patience, is within reach of most homeowners equipped with the right guidance. The key takeaways: Invest time in preparation, choose materials suited to your space and needs, and diligently follow each step. The rewards of a freshly painted garage floor—greater durability, easier cleaning, reduced dust, and a bright, finished look—are well worth the effort. With these steps, you now know how to paint garage floors and can enjoy your refreshed, welcoming space for many years ahead.
I am Rick. I grew up helping my dad with his handyman service. I learned a lot from him about how to fix things, and also about how to work hard and take care of business. These days, I’m still into fixing things- only now, I’m doing it for a living.
I’m always looking for new ways to help people grow and develop. That’s why I have created this blog to share all my experience and knowledge so
that I can help people who are interested in DIY repair.