
How do you measure garage door belts? When it comes to installing a new or replacement garage door belt, accurate measurements can be the difference between a successful installation and one that requires multiple attempts. Luckily, there are simple steps you can take to ensure you get an accurate measurement of your existing garage door belt.
In this blog post, we’ll provide detailed instructions on how to measure garage door belt so that everything goes as smoothly as possible when it comes time for installation. Keep reading for more!
If you’re in the process of installing a new garage door opener, there is one important calculation you will need to make before proceeding: measuring your garage door belt. While not a difficult task, it is essential to make sure that your new setup runs properly and efficiently.
To help ensure that everything goes smoothly, we’ve put together this comprehensive guide on how to measure your garage door belt and calculate the pulley size needed for optimal performance. Read on to learn the best practices when it comes to selecting the right size and type of garage door belt!
Why May You Want to Measure Garage Door Belt?
1. To Ensure the Garage Door Belt is the Correct Size
One of the most important reasons to measure a garage door belt is to ensure that it is the right size for your garage door system. If the belt is too small, it will not be able to effectively power the opener and could lead to serious issues with opening and closing the door.

On the other hand, if the belt is too large, it could cause excessive wear and tear on the garage door opener, leading to costly repairs. Measuring the belt can eliminate problems before they occur by ensuring that it is the right size for your system.
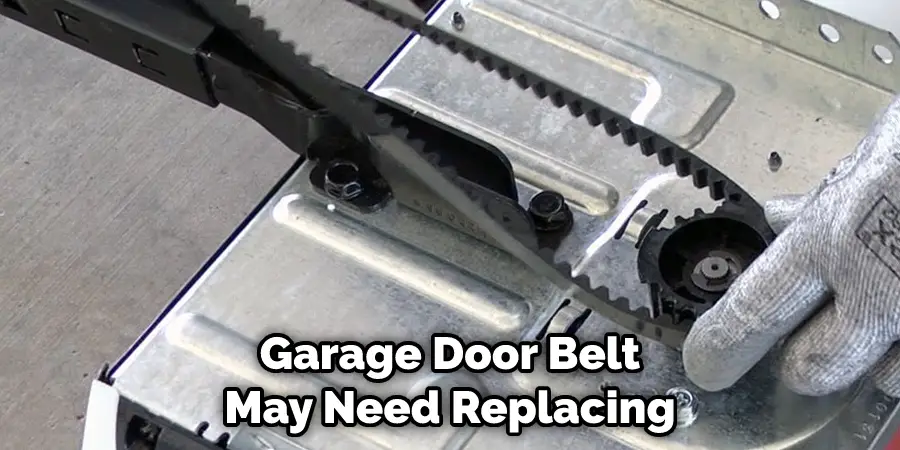
2. To Determine if Replacements are Needed
Depending on how frequently you use your garage door, you may find that the belt needs to be replaced after a certain amount of time. If you do not measure the belt, you may be in for some costly repairs if the belt breaks or snaps due to wear and tear.
Regularly measuring the garage door belt can help you spot warning signs that replacements are necessary before major damage occurs, allowing you to change out the belt before it becomes an issue.
3. To Improve Performance
Regularly measuring the garage door belt can also help you identify potential issues that are causing your system to run inefficiently. This may include issues such as improper tension on the belt, which can cause it to slip or stretch and affect the opener’s performance. Measuring the garage door belt regularly can help you identify and resolve such issues, leading to improved performance of your garage door system.
Knowing how to measure a garage door belt is essential for ensuring your garage door runs smoothly and efficiently. From determining the right size for your system to spotting signs that replacements are necessary, measuring the belt can be a great way to keep your garage fine.
How to Measure Garage Door Belt in 5 Easy Steps
Step 1: Open the Garage Door All the Way
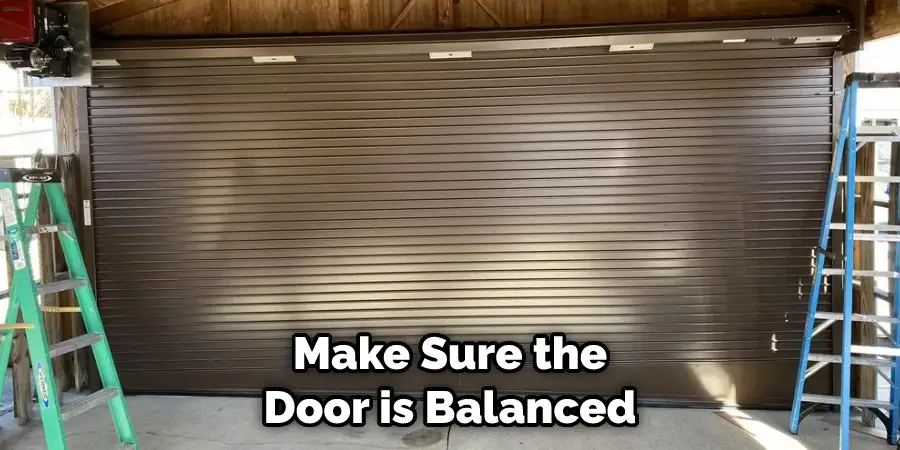
The very first step is to open the garage door all the way. This will help you accurately measure the belt and make sure it fits correctly. Also, make sure the door is balanced and even when open. Finally, be careful and make sure the door is secure before proceeding.
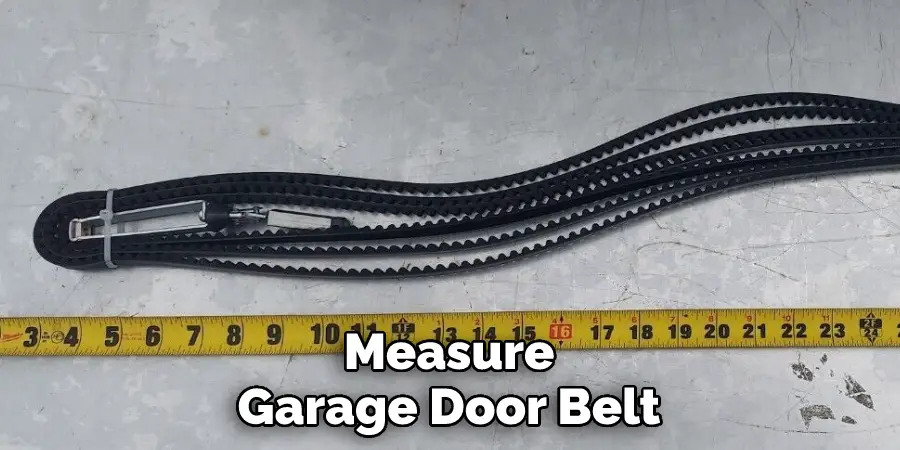
Step 2: Measure the Belt Length
Once you have opened the garage door all the way, measure the belt length with a tape measure. You should measure from one side to the other, making sure you cover the full length of the door track. Make sure to include any bends or curves.
Step 3: Measure from the Motor to the Door Track
The next step is to measure from the motor to the door track. This will tell you how much of your belt needs to be replaced. Again, take into account any bends or curves. Also, make sure you are doing it with proper care.
Step 4: Calculate the Replacement Belt Length
Once you have taken all the measurements, you can calculate how much of a replacement belt you will need. Simply add up your two measurements and subtract any overlap that may occur. This is the total length of the belt you will need to purchase.
Step 5: Buy Belts & Install Them Carefully
The last step is to buy replacement belts and install them carefully. It is important to be very precise while doing this, so it may be best to hire an experienced technician to make sure the job is done correctly. Be sure to double-check all measurements before installing the new belts.
Once you have completed these five steps, your garage door should be ready for use! Make sure that everything works properly before using the door, and always keep safety in mind. With these five easy steps, measuring and replacing a garage door belt should be a breeze!
Some Additional Tips to Measure Garage Door Belt
1. Do Not Make Estimations
It’s important to take accurate measurements when it comes to purchasing a garage door belt. Measure twice and purchase once, as the saying goes. Also, ensure you measure your belt’s entire length and do not make estimations.
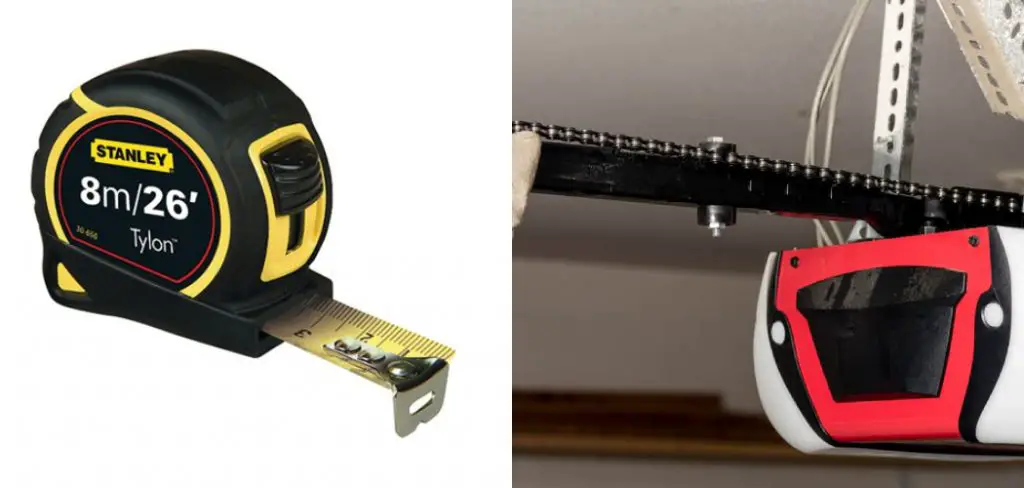
2. Use a Tape Measure
Using a tape measure is the most accurate way to measure your garage door belt. If you do not have one, you can use a meter stick or even a ruler, although it may not provide as accurate measurements as a tape measure.
3. Measure in Inches
Make sure to measure your garage door belt in inches, as this is the most accurate way to size up what you need to purchase. Don’t forget to make sure that you include both the length of the belt and its width when measuring it.
4. Check Your User Manual
Sometimes manufacturers will provide information about the belt size for different models. It’s important to double-check before making a purchase, as you want to make sure that you get the right length and width for your garage door belt.
5. Contact The Manufacturer
If you still have questions concerning how to measure a garage door belt, it’s a good idea to contact the manufacturer directly. They should be able to provide you with more details about their product, as well as what size belt will best fit your garage door.
By following these tips, you can ensure that you get an accurate measurement for your garage door belt and make sure that you purchase the right one for your specific needs.
Frequently Asked Questions
What Precautions Should I Take When Measuring for a Garage Door Belt?
When measuring for a garage door belt, it is important to take certain precautions. Make sure to measure the length from eyelet to eyelet and that you have taken measurements of the inside diameter of each eyelet as well. For best results, double-check your measurements with a measuring tape and ensure they are accurate.
Also, remember the type of garage door you have as some belts may require a specific size or length. Finally, pay attention to any installation instructions provided with the belt for added safety.
How Do I Check If My Garage Door Belt Is Installed Correctly?
Once your new garage door belt is installed, it’s important to check if the installation was done correctly. To do this, you can manually open and close the door several times to make sure that it runs smoothly.
Additionally, inspect the belt for any signs of wear or damage and any gaps between eyelets that may need to be filled. Finally, regularly inspect the belt and replace any worn or damaged sections as needed.
What Are Some Signs I Should Look For To Determine If My Garage Door Belt Needs Replacing?
Some signs that your garage door belt may need replacing include loud noises when opening and closing, jerky movements, and visible signs of wear or damage such as fraying or cracking.
Additionally, if the belt does not fit correctly, it may need to be replaced with one that is the correct size and length. Finally, if you notice any gaps in between eyelets, this could also indicate that your garage door belt needs replacing.
Conclusion
It’s not just important to measure the belt, but also to ensure that all components are properly in place with the system. Regardless of what type of garage door you have, making sure that everything is aligned and working correctly can help ensure long-lasting life for your garage door system.
Replacing parts when necessary will go a long way toward maintaining longevity. This guide on how to measure garage door belt has given you some helpful information about measuring your garage door belt and assessing any necessary repairs.
With this knowledge and some basic tools, you should be able to determine if any changes are necessary in order to keep your garage door system running smoothly and securely.
I am Rick. I grew up helping my dad with his handyman service. I learned a lot from him about how to fix things, and also about how to work hard and take care of business. These days, I’m still into fixing things- only now, I’m doing it for a living.
I’m always looking for new ways to help people grow and develop. That’s why I have created this blog to share all my experience and knowledge so
that I can help people who are interested in DIY repair.