
Are you thinking about replacing your garage door? Before purchasing a new door, it’s important to know the correct measurements. Improper measurements can lead to a door that doesn’t fit properly, causing potential safety hazards and wasted time and money.
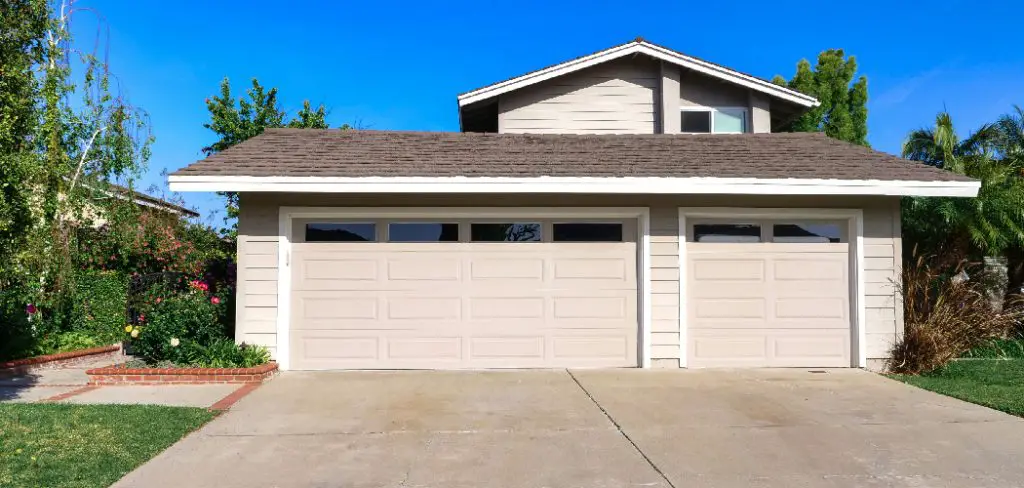
How to measure a garage door for replacement is a crucial step to ensure that the new door fits perfectly and operates smoothly. Accurate measurements are essential to enhance your home’s curb appeal, improve insulation, or simply replace an old and worn-out door. This guide will walk you through the process of taking precise measurements, covering everything from the width and height of the existing door to assessing the space around it.
By following these instructions, you’ll be well-equipped to select the right garage door for your needs and ensure a successful replacement process.
What Will You Need?
Before you begin measuring your garage door, make sure you have the following tools on hand:
- Tape measure
- Step ladder
- Pencil and paper or a note-taking device
These items will save time and prevent interruptions during the measuring process. Now, let’s get started!
10 Easy Steps on How to Measure a Garage Door for Replacement
Step 1. Clear the Area
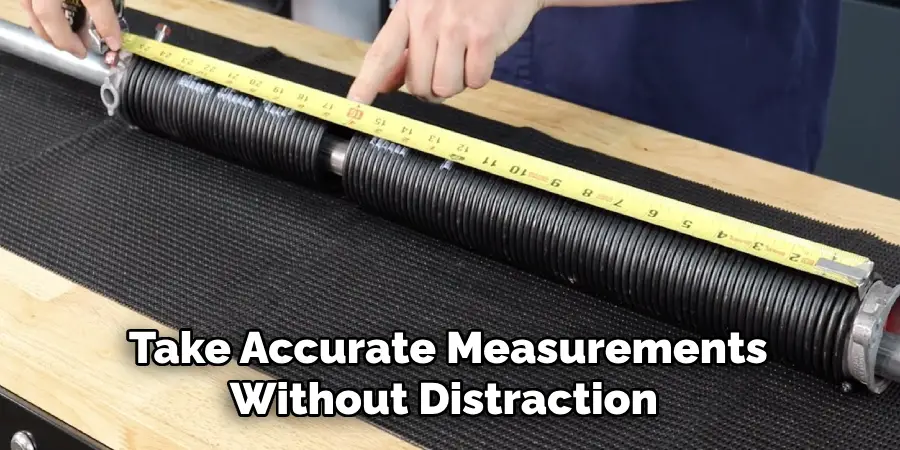
Before taking any measurements, ensure that the area around the garage door is clear of any obstructions. This includes vehicles, tools, or other items that may hinder your access to the door. Having a clean workspace helps you avoid accidents and ensure you can take accurate measurements without distraction.
Step 2. Measure the Width
To measure the width of your garage door, start by measuring from the inside of the vertical tracks on one side to the inside of the vertical tracks on the other. Be sure to take the measurement at three points: the door’s top, middle, and bottom. This ensures accuracy, as doors may not always be perfectly symmetrical due to settling or other factors. Note the smallest of the three measurements, as this will be your official width measurement for the new door.
Step 3. Measure the Height
Next, measure the height of your garage door from the floor to the top of the door frame. Measure at the left, right, and center points to capture any variations. It’s vital to record the smallest of the three measurements, as this will dictate the height of the new door. Additionally, consider the headroom above the garage door opening; you’ll want at least 12 inches of clearance to accommodate the new door’s hardware, specifically if you’re installing a door with a standard lift system. This clearance ensures the door can operate smoothly without obstruction, leading to fewer operational issues.
Step 4. Measure the Depth
To accurately measure the depth of your garage space, determine the distance from the back of the garage door opening to the wall or any obstructions. This measurement is crucial, especially considering an insulated door or a door with added features like windows. Ensure you check for any items in the garage that may affect this space; removing them will provide a more precise assessment. Note that a minimum depth of 24 inches is recommended for most standard garage door installations to accommodate the door’s operation and any additional mechanisms.

Step 5. Check the Type of Door
Before finalizing your measurements, you must identify the type of garage door you currently have. This could be a sectional, roll-up, tilt-up, or one-piece door. Understanding the type will help you select the right replacement door that complements your needs and fits seamlessly within the existing structure. Additionally, make note of the style and material, as this may influence your decision on the new door, especially in terms of aesthetics and functionality.
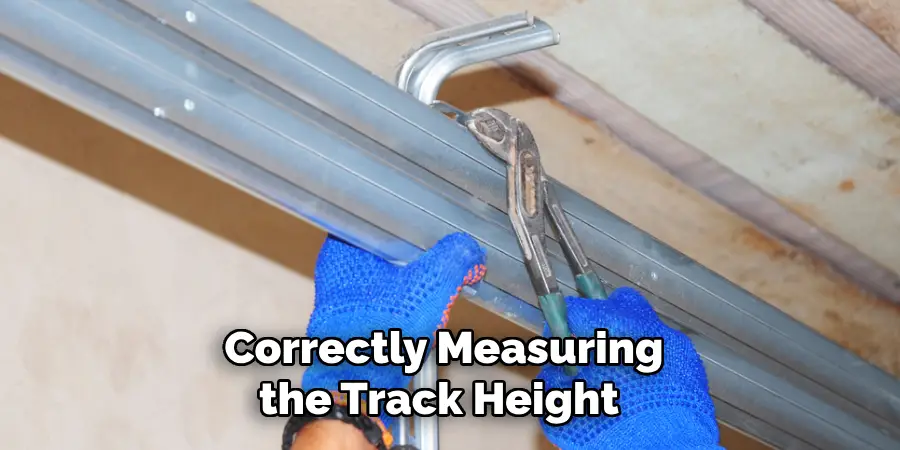
Step 6. Measure the Track Height
Measuring the track height is critical in determining the appropriate size for your new garage door. First, use your tape measure to gauge the distance from the top of the garage door opening to the highest point of the track, typically located above the door frame. Ensure that you consider the door’s operating mechanism, as different systems, such as torsion springs or extension springs, require varying amounts of space above the door. This measurement is crucial because it affects the type of door you can install; if the height is insufficient, you may need to opt for a different door style or adjust the installation area to accommodate the necessary clearance.
These measurements will help you avoid future issues and ensure that the new door operates smoothly without hitting any parts of the garage structure. Moreover, correctly measuring the track height prevents installation complications, such as modifying the existing tracks or making structural changes to the garage. A precise assessment allows you to select a door that fits perfectly and enhances your garage’s overall functionality and aesthetics.
Step 7. Measure the Side of the Room
To determine the side room available for your new garage door, measure the distance from the edge of the door opening to any nearby walls or fixtures. This space is crucial for properly installing the door, particularly for the tracks that allow the door to operate smoothly. Ideally, you should have at least 3 to 4 inches of side room on both sides of the floor.
If you have a limited side room, it may restrict your choice of door types or necessitate modifying the area to accommodate the installation. Take measurements at both the top and bottom of the opening to ensure consistency, as variations can impact door functionality.
Step 8. Assess the Ceiling Height
Checking the ceiling height in the garage is essential, as it affects the type of door system you can use. Measure from the floor to the ceiling at several points along the garage to ensure you capture any inconsistencies. A minimum clearance of 10 to 12 inches above the door’s track is necessary for proper operation. Suppose your garage has a sloped ceiling; factor in the lowest point to confirm that the new door can be installed without issues. This consideration is critical if you opt for a high-lift or vertical lift door system requiring additional headroom.
Step 9. Examine the Weatherstripping
Before finalizing your door measurements, look at the weather stripping around your existing door. Assess its condition and whether it needs to be replaced along with the door. Good weather stripping is essential for preventing air and moisture infiltration, which can impact energy efficiency and comfort in your garage. Take note of the dimensions of the current weather stripping, as this will help you select an appropriate replacement that fits well with the new door installation.
Step 10. Compile and Double-Check Your Measurements
Once you have completed all the measurements, compile them into a clear and organized format, noting each measurement’s location and significance. It’s vital to double-check each measurement to confirm accuracy before proceeding. Errors in measurements can lead to costly mistakes and extended downtime. If possible, enlist someone to help verify your findings, as a fresh set of eyes can catch potential issues often overlooked. After ensuring all measurements are correct, you’ll be ready to confidently choose the ideal replacement garage door that meets your specifications and preferences.

By following these step-by-step instructions, you can accurately measure your garage door opening and make an informed decision when selecting a replacement.
5 Things You Should Avoid
- Ignoring the Existing Door’s Condition: When measuring, do not overlook the aspects of your existing door that may not be functioning correctly, such as warping or structural damage. These factors can affect the measurements and may indicate the need for additional adjustments during installation.
- Rushing the Process: Taking your time is crucial when measuring for a new garage door. Rushing can lead to missed measurements or inaccuracies. Set aside ample time to complete each step thoroughly and avoid potential problems.
- Overlooking Obstructions: Remember to account for any obstacles that may interfere with the door’s operation, such as pipes, lights, or shelving. These items can affect the space required for the door and should be measured accordingly.
- Failing to Consult Manufacturer Specifications: Different door types and brands have specific installation requirements. Avoid disregarding these details, as they may influence your measurements and the overall choice of door. Referencing the manufacturer’s guidelines ensures that your measurements align with their product needs.
- Remember to Factor in Clearance and Safety: When measuring, remember to consider the clearance and safety requirements for your new garage door. For example, if you have low ceilings, a door with a high-lift or vertical lift system may not be suitable.
Conclusion
Accurate measurements are the cornerstone of a successful garage door replacement.
By following the outlined steps on how to measure a garage door for replacement—measuring the door opening, assessing side room and ceiling height, evaluating weather stripping, and compiling your measurements—you ensure that your new door will fit seamlessly and operate effectively. Additionally, avoiding common pitfalls such as overlooking obstructions and failing to consult manufacturer specifications will save you time, money, and potential complications during installation.
With thorough preparation and attention to detail, you can confidently select the right garage door that meets both your functional needs and aesthetic preferences, enhancing the overall appeal of your home.
I am Rick. I grew up helping my dad with his handyman service. I learned a lot from him about how to fix things, and also about how to work hard and take care of business. These days, I’m still into fixing things- only now, I’m doing it for a living.
I’m always looking for new ways to help people grow and develop. That’s why I have created this blog to share all my experience and knowledge so
that I can help people who are interested in DIY repair.