
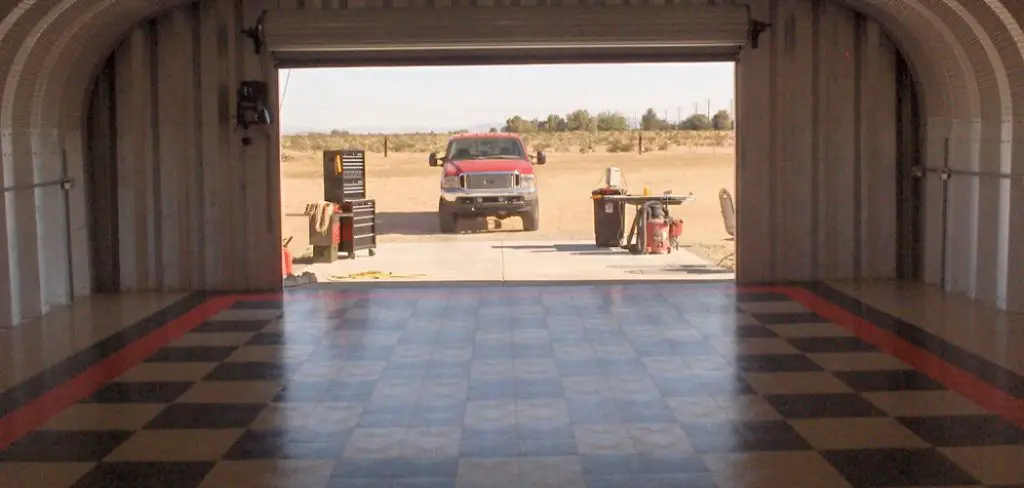
Your garage floor, often overlooked but heavily used, can significantly impact the overall appearance and functionality of your garage space. Over time, it’s not uncommon for garage floors to accumulate stains, cracks, and wear, making them appear old and worn-out.
However, the good news is that revitalizing your garage floor to make it look new is a feasible DIY project that can transform the entire area.
Whether you use your garage for parking, storage, or as a workspace, a fresh and attractive floor can enhance both its aesthetic appeal and practicality.
In this comprehensive guide, we’ll take you through the steps and strategies of how to make garage floor look new, providing you with the knowledge and confidence to create a clean, rejuvenated space that you’ll be proud to show off. From cleaning and repairing to choosing the right finish, we’ll cover all the essential aspects of this transformative process.
Preparing Your Garage Floor for Cleaning and Polishing
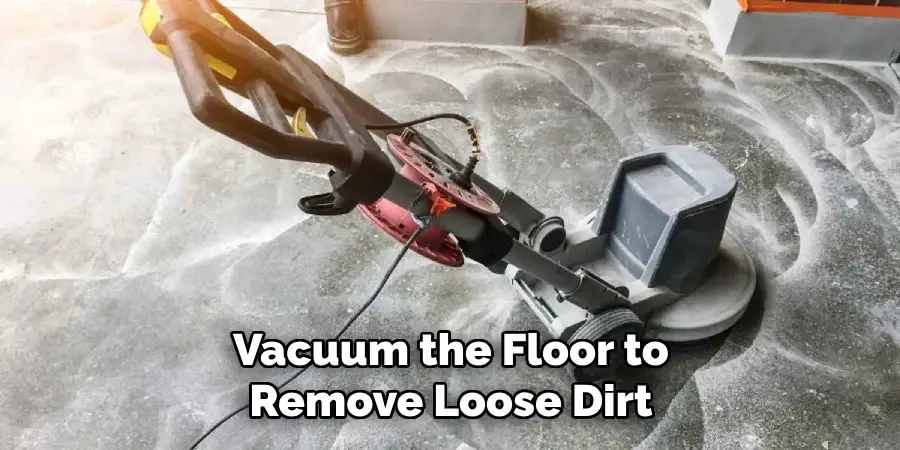
Before you can start cleaning and polishing your garage floor, it’s important to prepare the area. The first step is to clear out any clutter and debris from your garage floor. This includes removing any items that are stored on the floor, such as tools, boxes, or vehicles. Once the floor is clear, you can sweep or vacuum the floor to remove loose dirt and dust.
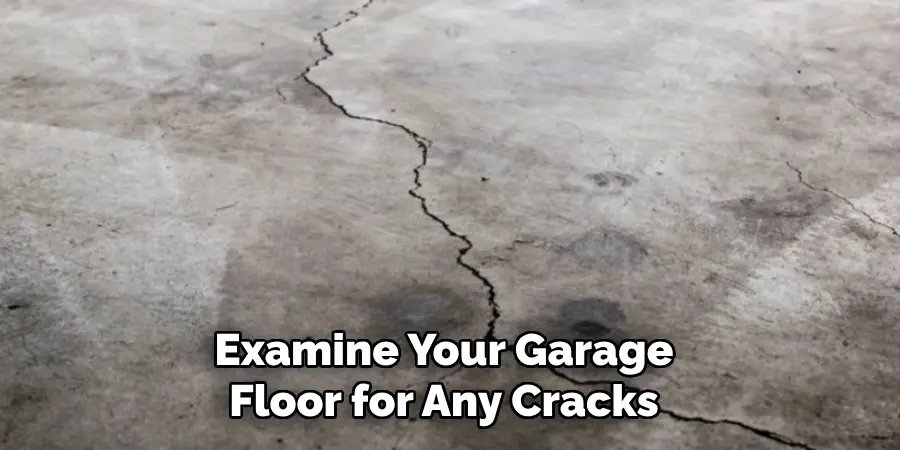
This will make the cleaning process more effective and ensure that the floor is thoroughly cleaned. Finally, take the time to patch any cracks or holes in the floor. This will prevent water and other substances from seeping into the cracks and causing further damage.
Choosing the Right Cleaning Products for Your Garage Floor
When it comes to choosing the right cleaning products for your garage floor, there are a few factors to consider. First, think about the type of flooring you have in your garage. Different types of flooring may require different cleaning products. For example, if you have a concrete floor, you’ll want to choose a cleaning product that is safe for use on concrete.
Additionally, consider the effectiveness of the cleaning product. Look for a product that is specifically designed to remove stains and dirt from garage floors. Reading customer reviews and product descriptions can help you determine which products are the most effective.
10 Steps How to Make Garage Floor Look New
Step 1: Clear Out the Garage
Before you can begin the rejuvenation process, you need to clear your garage of all its contents. Remove vehicles, tools, storage items, and anything else that may be in the way. This will provide you with a clean slate to work with.
Step 2: Inspect and Repair Cracks
Examine your garage floor for any cracks, dents, or other imperfections. Addressing these issues is crucial to achieving a flawless finish. Use a wire brush or crack chaser to clean out cracks, then fill them with an appropriate filler and smooth the surface. For deeper repairs, consider grinding the surface or using a resurfacing compound.
Step 3: Clean the Surface Thoroughly
A clean surface is essential for a successful garage floor makeover. Sweep the entire area to remove dust and loose debris. Follow up with a thorough pressure washing to eliminate stubborn dirt and stains. If you have oil or grease stains, use a degreaser and scrub them with a stiff brush.
Step 4: Etch the Surface
Etching is a crucial step to ensure proper adhesion of any coatings or sealants you apply. Use a concrete etching solution according to the manufacturer’s instructions. This will open up the concrete’s pores and create a rough surface for better bonding.
Step 5: Rinse and Dry
After etching, rinse the garage floor thoroughly to remove any residue from the etching solution. Allow the floor to dry completely before proceeding. This may take a day or two, depending on weather conditions.
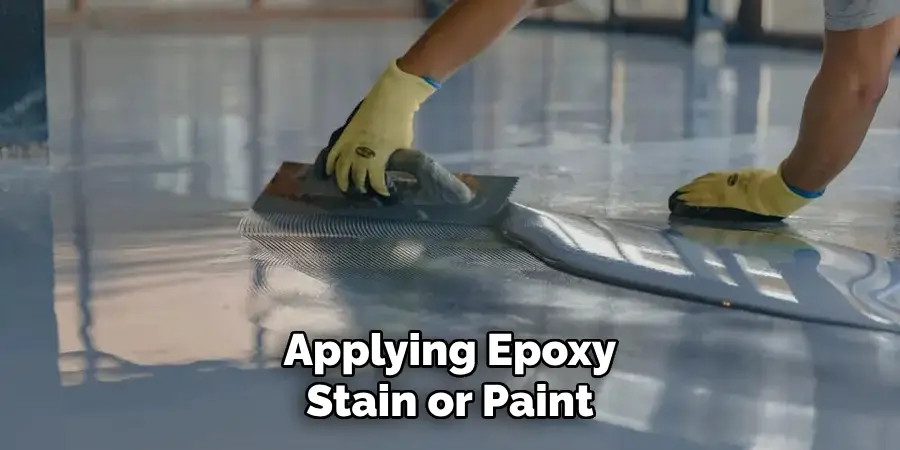
Step 6: Choose Your Finish
Decide on the finish you want for your garage floor. There are several options available, including epoxy coatings, concrete stains, and garage floor paint. Each has its own aesthetic and durability characteristics, so choose one that suits your preferences and needs.
Step 7: Apply the Finish
Follow the manufacturer’s instructions for your chosen finish. Whether you’re applying epoxy, stain, or paint, ensure even coverage and work methodically. Use a roller, brush, or sprayer, as recommended by the product instructions, and apply multiple coats if necessary. Allow each coat to dry completely before proceeding to the next.
Step 8: Add Decorative Elements (Optional)
To give your garage floor a unique and personalized touch, consider adding decorative elements like color flakes, metallic pigments, or stenciled designs. These can enhance the aesthetics of your space while maintaining the floor’s functionality.
Step 9: Seal the Surface
Sealing your newly finished garage floor is essential to protect it from stains, chemicals, and wear. Select an appropriate concrete sealer based on your finish type and follow the manufacturer’s guidelines for application. This step will add longevity to your garage floor’s new appearance.
Step 10: Reorganize and Enjoy
Once the finish and sealer have dried completely, you can start reorganizing your garage. Replace all your belongings and arrange your space to maximize functionality and aesthetics. Enjoy your newly rejuvenated garage floor, which now looks as good as new and provides a clean, welcoming environment for your various activities.
Removing Stains and Tough Spots from Your Garage Floor
If you have stains or tough spots on your garage floor, there are specialized stain removers available that can help. These stain removers are designed to target specific types of stains, such as oil, grease, or rust. To remove these stains, simply apply the stain remover to the affected area and let it sit for the recommended amount of time.
Then, use a brush or scrub pad to scrub the area and loosen the stain. Finally, rinse the area thoroughly with water to remove any residue from the stain remover. Repeat this process as necessary until the stain is completely removed.
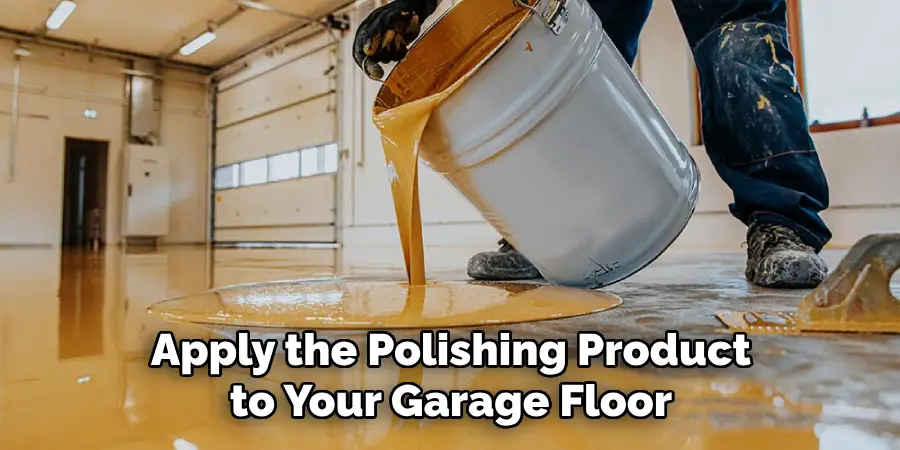
Polishing Your Garage Floor: Tips and Tricks
Once your garage floor is clean, you can take it a step further and polish it to achieve a beautiful shine. When choosing a polishing product, make sure to select one that is safe for your flooring type. Some polishing products are specifically designed for concrete floors, while others may be better suited for epoxy or tile floors.
Follow the instructions on the packaging to apply the polishing product to your garage floor. You can use a mop or a floor buffer to spread the product evenly across the floor. Then, use the buffer or a clean mop to buff the floor and bring out its shine. Applying a Sealant to Protect Your Garage Floor
To protect your garage floor and maintain its shine, it’s important to apply a sealant. A sealant acts as a protective barrier, preventing dirt, oil, and other substances from penetrating the surface of the floor. When choosing a sealant, make sure to select one that is safe for your flooring type.
Apply the sealant according to the instructions on the packaging, making sure to cover the entire floor surface. Allow the sealant to dry completely before using your garage. This will ensure that the sealant has time to bond with the floor and provide maximum protection.
Maintaining Your Shiny Garage Floor: Dos and Don’ts
To keep your garage floor looking its best, there are a few dos and don’ts to keep in mind. Do sweep or vacuum your garage floor regularly to remove loose dirt and debris. This will prevent dirt from building up and causing damage to the floor.
Do clean up spills and stains immediately to prevent them from setting in and becoming more difficult to remove. However, don’t use harsh chemicals or abrasive cleaners on your garage floor, as these can damage the surface of the floor. Stick to gentle cleaning products that are specifically designed for use on garage floors.
DIY vs. Professional Garage Floor Cleaning and Polishing
When it comes to cleaning and polishing your garage floor, you have the option to do it yourself or hire a professional service. The choice between DIY and professional services depends on your budget and time constraints. DIY cleaning and polishing can be cost-effective, as you only need to purchase the necessary cleaning products and tools.
However, it can be time-consuming and require a lot of physical effort. On the other hand, professional services may provide better results, as they have access to specialized equipment and expertise. They can also save you time and effort, allowing you to focus on other tasks.
Conclusion
A clean and shiny garage floor can make a big difference in the appearance and value of your home. By following the steps outlined in this article, you can achieve a beautiful and long-lasting shine. Remember to prepare your garage floor by clearing out clutter and patching any cracks or holes.
Choose the right cleaning products for your flooring type and follow a step-by-step guide to clean and polish your garage floor. Apply a sealant to protect your floor and maintain its shine.
Finally, remember to regularly maintain your garage floor by sweeping or vacuuming and promptly cleaning up spills and stains. Follow these simple instructions outlined in this blog post about how to make garage floor look new and you’ll be able to get the job done with ease.
I am Rick. I grew up helping my dad with his handyman service. I learned a lot from him about how to fix things, and also about how to work hard and take care of business. These days, I’m still into fixing things- only now, I’m doing it for a living.
I’m always looking for new ways to help people grow and develop. That’s why I have created this blog to share all my experience and knowledge so
that I can help people who are interested in DIY repair.