
A level garage floor is not only aesthetically pleasing but also essential for a safe and functional space. If you’re dealing with an uneven or sloping garage floor, leveling it with wood can be a practical and cost-effective solution.
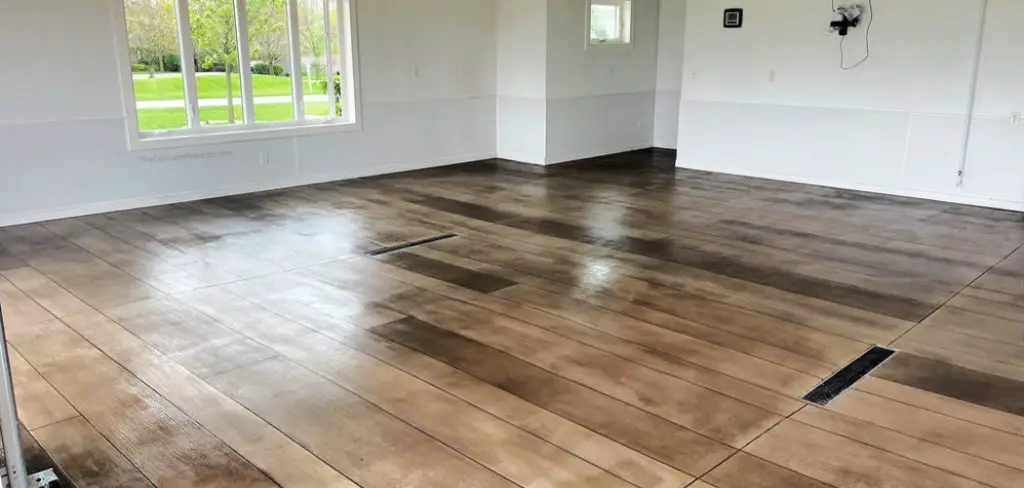
Whether you intend to use your garage for parking, storage, or as a workshop, achieving a flat surface is a fundamental step. In this comprehensive guide, we’ll delve into how to level a garage floor with wood, offering a step-by-step approach to help you transform your uneven floor into a stable and reliable foundation.
From evaluating the floor’s condition and gathering the necessary tools to constructing a sturdy wooden frame and achieving a level surface, we’ll walk you through the entire process, empowering you to create a garage that’s not only visually appealing but also highly functional.
Benefits of Leveling Your Garage Floor
One of the main benefits of leveling your garage floor is improved safety. Uneven surfaces can be hazardous, especially in a space where heavy equipment and tools are often used. By leveling the floor, you eliminate any potential tripping hazards and create a safer environment for yourself and others.
In addition to safety, leveling your garage floor also improves functionality. A level surface allows for easier movement of vehicles, equipment, and other items. It eliminates the need to navigate around uneven areas and makes it easier to park vehicles or set up workstations.
Furthermore, leveling your garage floor enhances the appearance of the space. A smooth and even surface gives the garage a clean and polished look. Whether you use your garage for storage, as a workshop, or as a parking space, having a level floor can make the space more visually appealing.

Tools and Materials Needed for Leveling With Wood
Before you begin leveling your garage floor with wood, you will need a few tools and materials. Here is a list of what you will need:
- Measuring Tape: Used to measure the dimensions of the garage floor.
- Circular Saw or Table Saw: Used to cut the wooden boards or shims to the desired size.
- Drill: Used to secure the wood to the floor.
- Screws or Nails: Used to attach the wood to the floor.
- Level: Used to check for levelness.
- Wood Boards or Shims: Used to fill in the low spots and create a level surface.
Preparing the Garage Floor for Leveling
Before you can begin leveling your garage floor with wood, it is important to properly prepare the surface. This involves clearing the garage floor of any items, filling in cracks and holes, and cleaning the surface.
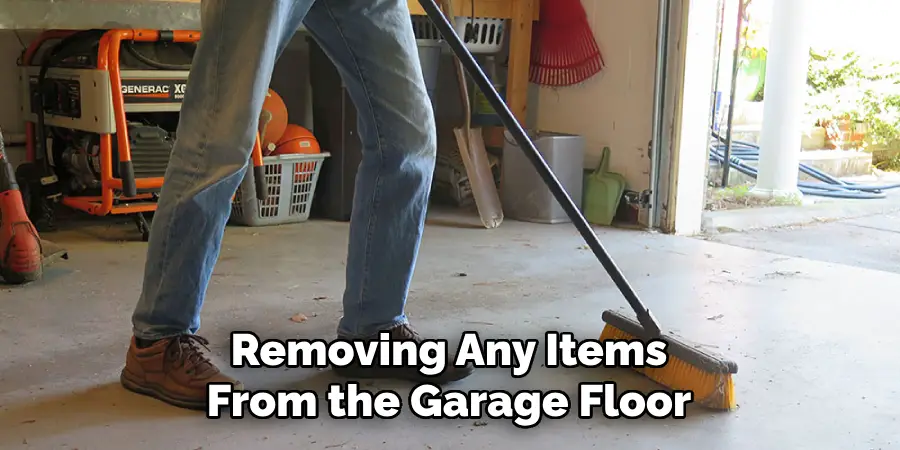
Start by removing any items from the garage floor, such as vehicles, tools, and storage items. This will give you a clear and unobstructed space to work with. Next, inspect the floor for any cracks or holes. Use a concrete filler or epoxy to fill in these areas and allow them to dry completely.
Once the cracks and holes have been filled, it is time to clean the surface of the garage floor. Sweep away any dirt, dust, or debris, and use a pressure washer or hose to remove any stubborn stains or grime. Allow the floor to dry completely before moving on to the next step.
12 Steps How to Level a Garage Floor with Wood
Step 1: Clear the Garage
Before you begin any leveling project, clear your garage of all items, including vehicles, tools, and storage. This will give you ample space to work and prevent any damage to your belongings during the process.
Step 2: Evaluate the Floor
Inspect the garage floor to identify areas that need leveling. Look for low spots, high spots, and any visible cracks or damage. It’s essential to understand the extent of the unevenness to plan your leveling approach effectively.
Step 3: Gather Your Tools and Materials
To level your garage floor with wood, you’ll need the following tools and materials:
- Plywood sheets (typically 3/4-inch thick).
- Pressure-treated 2x4s or 2x6s.
- Circular saw.
- Measuring tape.
- Screws.
- Screw gun.
- Carpenter’s level.
- Shims.
- Hammer and nails.
- Safety gear (gloves, safety glasses, and ear protection).
Step 4: Determine the Height Difference
Measure the height difference between the lowest and highest points on your garage floor. This will help you calculate the thickness of the wood pieces needed for leveling.
Step 5: Create a Leveling Plan
Based on your measurements, create a plan for how you’ll level the floor. Decide on the spacing of your wood pieces and the layout pattern, such as a grid or a series of parallel lines. Ensure that the wood pieces will provide consistent support across the entire floor.
Step 6: Cut Plywood Sheets
Use a circular saw to cut plywood sheets into smaller sections that fit your leveling plan. These plywood pieces will serve as the base for your wood framing.

Step 7: Install the Plywood Base
Lay the cut plywood sections on the garage floor, distributing them according to your leveling plan. Make sure the plywood pieces are flush with the floor’s edges. Screw them into place using a screw gun.
Step 8: Build the Wooden Frame
Construct a wooden frame using pressure-treated 2x4s or 2x6s around the perimeter of the garage floor. This frame will contain the leveling materials and provide stability to the floor. Attach the frame securely to the walls of the garage using screws.
Step 9: Level the Floor
Place a carpenter’s level on the plywood sections and inside the wooden frame. Adjust the height of the plywood sections by adding shims or additional layers of plywood as needed to achieve a level surface. Secure the plywood in its level position with screws.
Step 10: Secure the Wood Frame
Ensure that the wooden frame remains stable and level. Hammer nails or screws through the frame into the walls of the garage for added support and stability.
Step 11: Fill Gaps and Cracks (Optional)
If there are any remaining gaps or cracks in the garage floor, fill them with an appropriate filler or leveling compound. Smooth and level the surface to create a seamless finish.
Step 12: Reassemble Your Garage
Once the leveling process is complete and you’re satisfied with the results, you can begin to reassemble your garage. Return your belongings, tools, and vehicles to their designated spots, taking advantage of your newly leveled and functional garage floor.
Tips for Ensuring a Level Surface
While leveling your garage floor with wood, there are a few tips you can follow to ensure a level surface:
1. Use a level: Always use a level to check for levelness. This will help you identify any areas that need adjustment and ensure that the entire surface is level.

2. Check for gaps: As you place the wood boards or shims, make sure there are no gaps between them. Gaps can create unevenness and compromise the stability of the surface.
3. Make adjustments as needed: If you find any areas that are not level, make the necessary adjustments. This may involve adding more wood or shims, removing excess material, or repositioning the existing wood.
Common Mistakes to Avoid When Leveling With Wood
When leveling your garage floor with wood, there are a few common mistakes that you should avoid:
1. Not measuring accurately: Accurate measurements are crucial for a successful leveling process. Make sure to measure the dimensions of the garage floor correctly to ensure that you cut the wood to the right size.
2. Not securing the wood properly: It is important to secure the wood to the floor tightly and evenly. If the wood is not secured properly, it can shift or move, creating an uneven surface.
3. Not checking for levelness: Always use a level to check for levelness. Skipping this step can result in an uneven surface that may cause problems in the future.
Maintenance Tips for a Leveled Garage Floor
To keep your leveled garage floor in good condition, follow these maintenance tips:
1. Regular cleaning: Sweep or vacuum the floor regularly to remove dirt, dust, and debris. Use a mop or hose to clean any spills or stains.
2. Checking for wear and tear: Inspect the wood surface regularly for any signs of wear and tear. Look for cracks, splintering, or loose boards. Make repairs as needed to maintain a level and safe surface.
3. Making repairs as needed: If you notice any damage or issues with the wood surface, make repairs as soon as possible. This may involve replacing damaged boards, securing loose ones, or applying a fresh coat of paint or sealant.
Conclusion and Final Thoughts on Leveling With Wood
Leveling your garage floor with wood is a practical and cost-effective way to create a smooth and even surface. It offers several benefits, including improved safety, better functionality, and enhanced appearance. By following the step-by-step guide and using the necessary tools and materials, you can successfully level your garage floor.
Remember to measure accurately, secure the wood properly, and check for levelness to avoid common mistakes. Hopefully, this article gave you some helpful tips about how to level a garage floor with wood successfully, so now that you have the proper knowledge on how to get the job done, why not give it a try today?
I am Rick. I grew up helping my dad with his handyman service. I learned a lot from him about how to fix things, and also about how to work hard and take care of business. These days, I’m still into fixing things- only now, I’m doing it for a living.
I’m always looking for new ways to help people grow and develop. That’s why I have created this blog to share all my experience and knowledge so
that I can help people who are interested in DIY repair.